前置条件:jdk、maven、tomcat、idea都准备就绪
1、》使用idea创建maven工程,使用quickStart模板依次创建,选择对应的maven配置文件
使用quickstart 第一次创建可能较慢,或者没有生成src目录,对idea进行如下配置:
File>>setting
VM Options: -DarchetypeCatalog=internal

在maven的setting.xml中添加阿里云镜像
<mirrors>
    <mirror>
      <id>alimaven</id>
      <name>aliyun maven</name>
      <url>http://maven.aliyun.com/nexus/content/groups/public/</url>
      <mirrorOf>central</mirrorOf>
    </mirror>
</mirrors>
创建project后,工程目录如下

2、添加依赖
https://testng.org/doc/download.html //在此查看testng最新版本依赖
https://www.selenium.dev/downloads/ //在此查看selenium最新版本依赖
https://reportng.uncommons.org/
另外需要引入谷歌推出的轻量级IoC容器 guice
<dependency>
            <groupId>org.testng</groupId>
            <artifactId>testng</artifactId>
            <version>6.10</version>
            <scope>test</scope>
        </dependency>
        <dependency>
            <groupId>org.seleniumhq.selenium</groupId>
            <artifactId>selenium-java</artifactId>
            <version>3.141.0</version>
        </dependency>
        <dependency>
            <groupId>org.uncommons</groupId>
            <artifactId>reportng</artifactId>
            <version>1.1.4</version>
            <scope>test</scope>
        </dependency>
        <dependency>
            <groupId>com.google.inject</groupId>
            <artifactId>guice</artifactId>
            <version>4.0</version>
            <scope>test</scope>
        </dependency>
引入以上依赖,当然创建工程的时候就包含了junit依赖,不再赘述。
3、获取Chrome浏览器驱动
Chromedriver与selenium的版本映射表:https://blog.csdn.net/xc_zhou/article/details/80687819
附:
所有chromedriver均可在下面链接中下载到:
在测试脚本中首先需要配置ChromeDriver
System.setProperty("webdriver.chrome.driver", "C:\Users\Administrator\Desktop\chromedriver.exe");
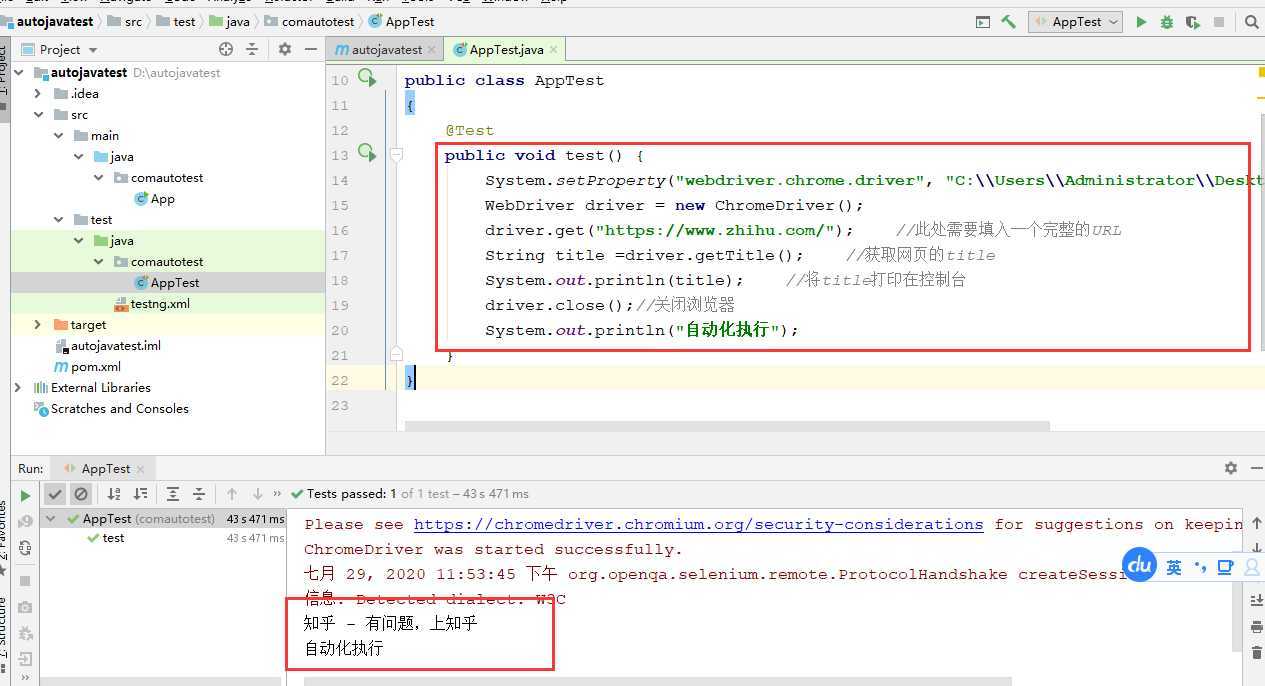
4、输出自动化脚本
    @Test
    public void test() {
        System.setProperty("webdriver.chrome.driver", "C:\\Users\\Administrator\\Desktop\\chromedriver.exe");
        WebDriver driver = new ChromeDriver();
        driver.get("https://www.zhihu.com/");    //此处需要填入一个完整的URL
        String title =driver.getTitle();    //获取网页的title
        System.out.println(title);    //将title打印在控制台
        driver.close();//关闭浏览器
        System.out.println("自动化执行");
    }
5、使用xml连跑自动化脚本,结合testng输出可视化结果
<?xml version="1.0" encoding="UTF-8"?>
<!DOCTYPE suite SYSTEM "http://testng.org/testng-1.0.dtd" >
<suite name="suite">
    <test name="test" enabled="true">
        <parameter name="autotest" value="autotest"/>
        <classes>
            <class name="comautotest.AppTest">
            </class>
        </classes>
    </test>
    <listeners>
        <listener class-name="org.uncommons.reportng.HTMLReporter"/>
        <listener class-name="org.uncommons.reportng.JUnitXMLReporter"/>
    </listeners>
</suite>
然后构造简单的自动化脚本,右键testng.xml 选择run进行连跑,连跑结束后,生成test-output目录,浏览器打开index.html可以直观的查看自动化连跑结果
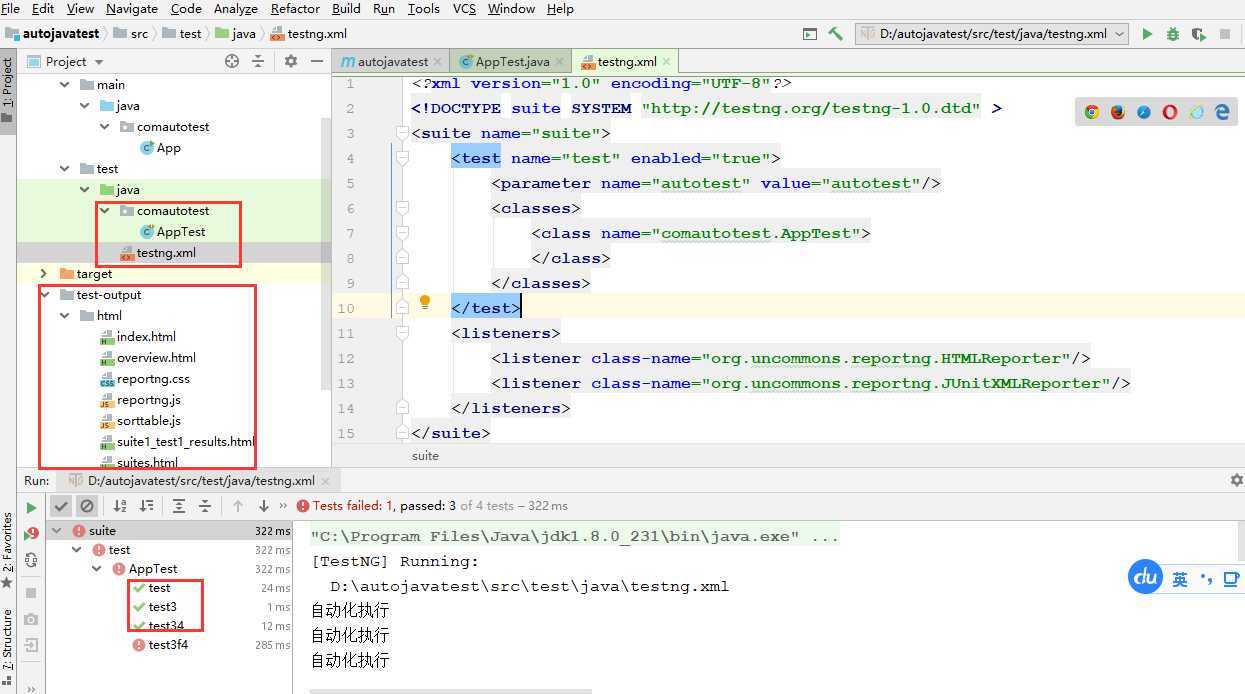
查看连跑结果

点击左侧的test可以查看失败日志
java+selenium+testng+reportng+jenkins自动化环境搭建
原文:https://www.cnblogs.com/always200/p/13401495.html