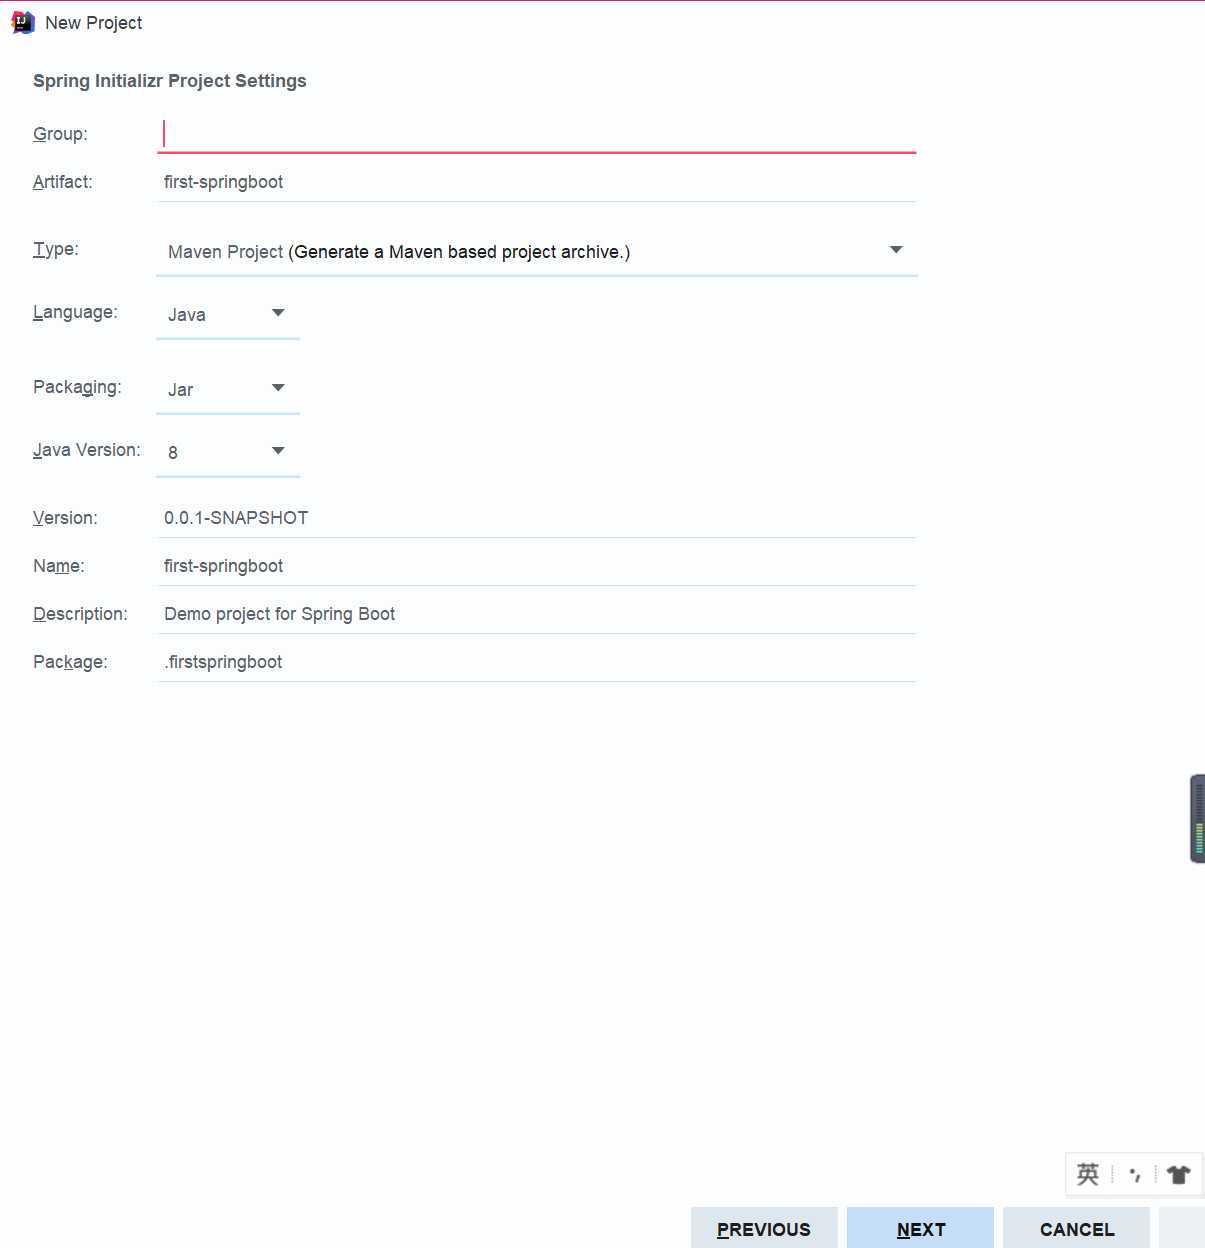
#SpringBoot介绍 ##引言
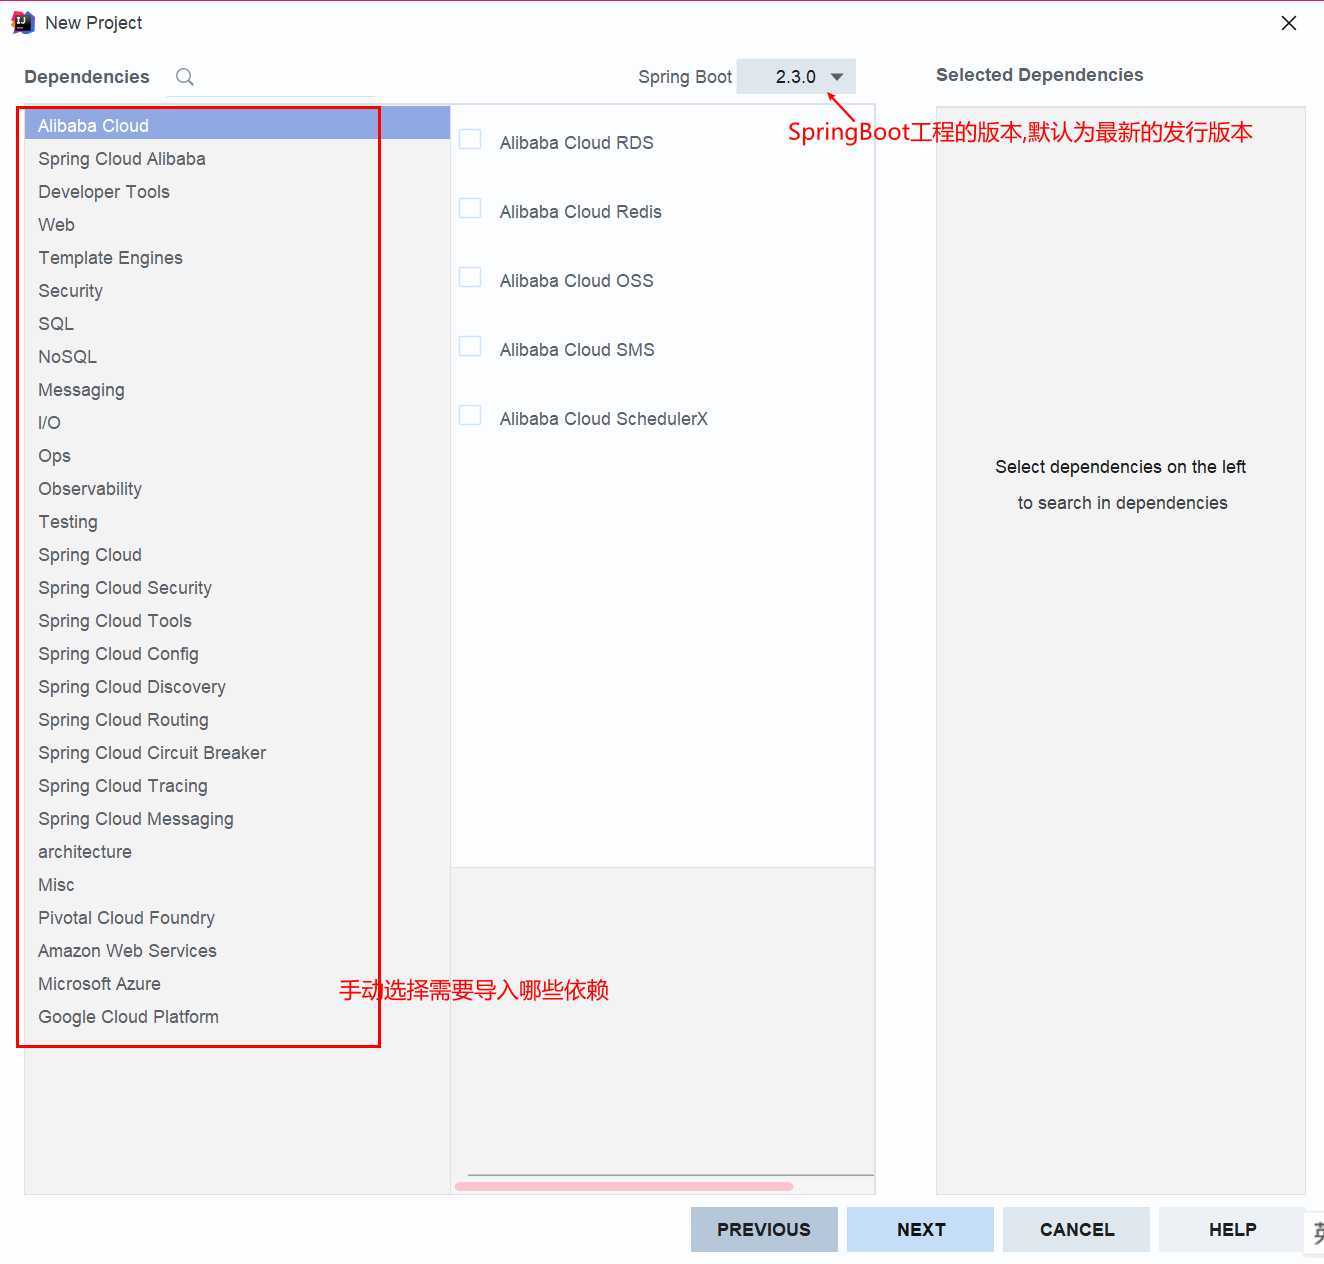
 点击下一步,选择需要导入的依赖,我什么都没选,因为我只是写个小Demo
 第一次创建SpringBoot工程,下载大量的依赖,要保证maven已经配置了阿里云的私服:
####阿里云私服配置:
cmd中输入mvn -v会显示maven的安装路径
到其安装路径下找到conf文件夹进去找到settings.xml,用文本编辑器打开找到mirrors标签添加如下标签
第一次创建SpringBoot工程,下载大量的依赖,要保证maven已经配置了阿里云的私服:
####阿里云私服配置:
cmd中输入mvn -v会显示maven的安装路径
到其安装路径下找到conf文件夹进去找到settings.xml,用文本编辑器打开找到mirrors标签添加如下标签<mirror>
<id>alimaven</id>
<name>aliyun maven</name>
<url>http://maven.aliyun.com/nexus/content/groups/public/</url>
<mirrorOf>central</mirrorOf>
</mirror>
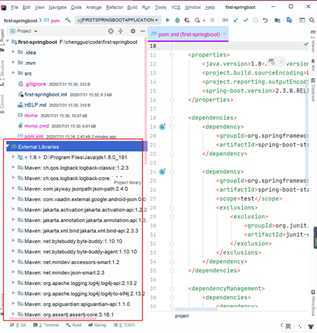
####然后点击finish等待下载完成下载完成后会在,External Labraries中看到默认导入的所有依赖
 在xml文件中把spring-boot-starter依赖改为,因为我要创建的是一个web的Demo
        <dependency>
            <groupId>org.springframework.boot</groupId>
            <artifactId>spring-boot-starter-web</artifactId>
        </dependency>
直接点击src直到找到java目录然后点到你的Application所在的包在这个包中新建一个Controller在Controller包下创建一个java文件,写入一下内容
@RestController
@RequestMapping
public class TestController {
  @GetMapping("/test")
  public String test(){
    return "Hello SpringBoot";
  }
}
127.0.0.1:8080/test或者localhost:8080/test 

<dependency>
            <groupId>org.springframework.boot</groupId>
            <artifactId>spring-boot-starter-web</artifactId>
        </dependency>

        <dependency>
            <groupId>org.springframework.boot</groupId>
            <artifactId>spring-boot-starter-test</artifactId>
            <scope>test</scope>
            <exclusions>
                <exclusion>
                    <groupId>org.junit.vintage</groupId>
                    <artifactId>junit-vintage-engine</artifactId>
                </exclusion>
            </exclusions>
        </dependency>
 <plugin>
         <groupId>org.springframework.boot</groupId>
         <artifactId>spring-boot-maven-plugin</artifactId>
 </plugin>
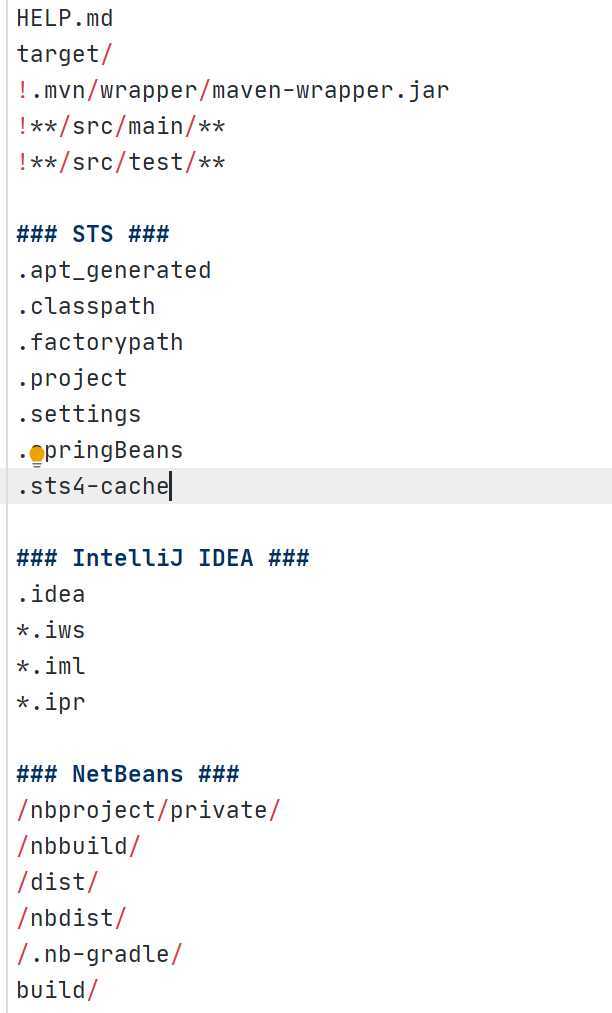
####.gitignore文件,默认帮我们忽略了一些文件和目录,防止多余文件推送到git中
 ####src目录,(带-的都是目录)
-mvc
  -main
    -java
      -包名
        启动类.java     #需要将controller类,放在启动类的子包中或者同级包下
    -resources
      -static        #存放静态资源的
      -templates     #存放模板页面的,static和templates文件夹不是自动创建的
      application.properties     #SpringBoot提供的唯一配置文件
  -test
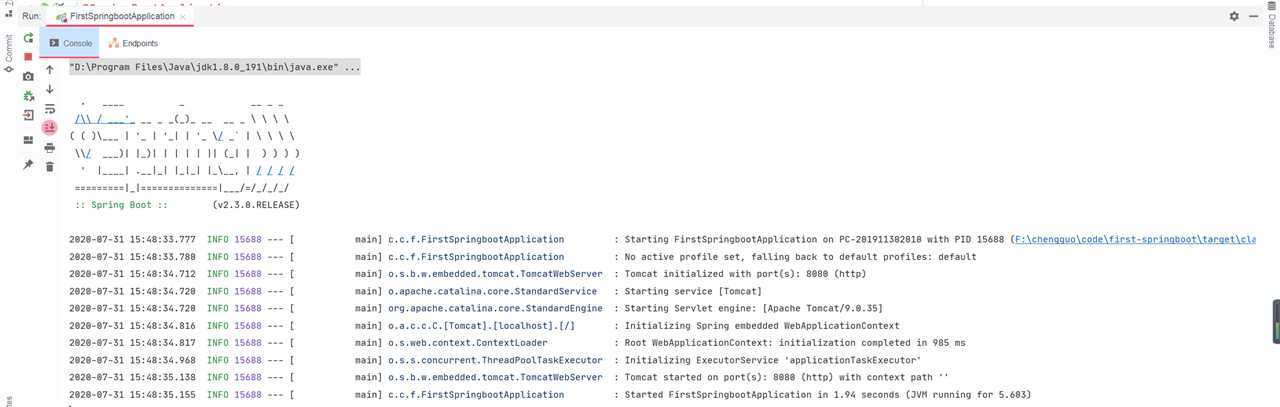
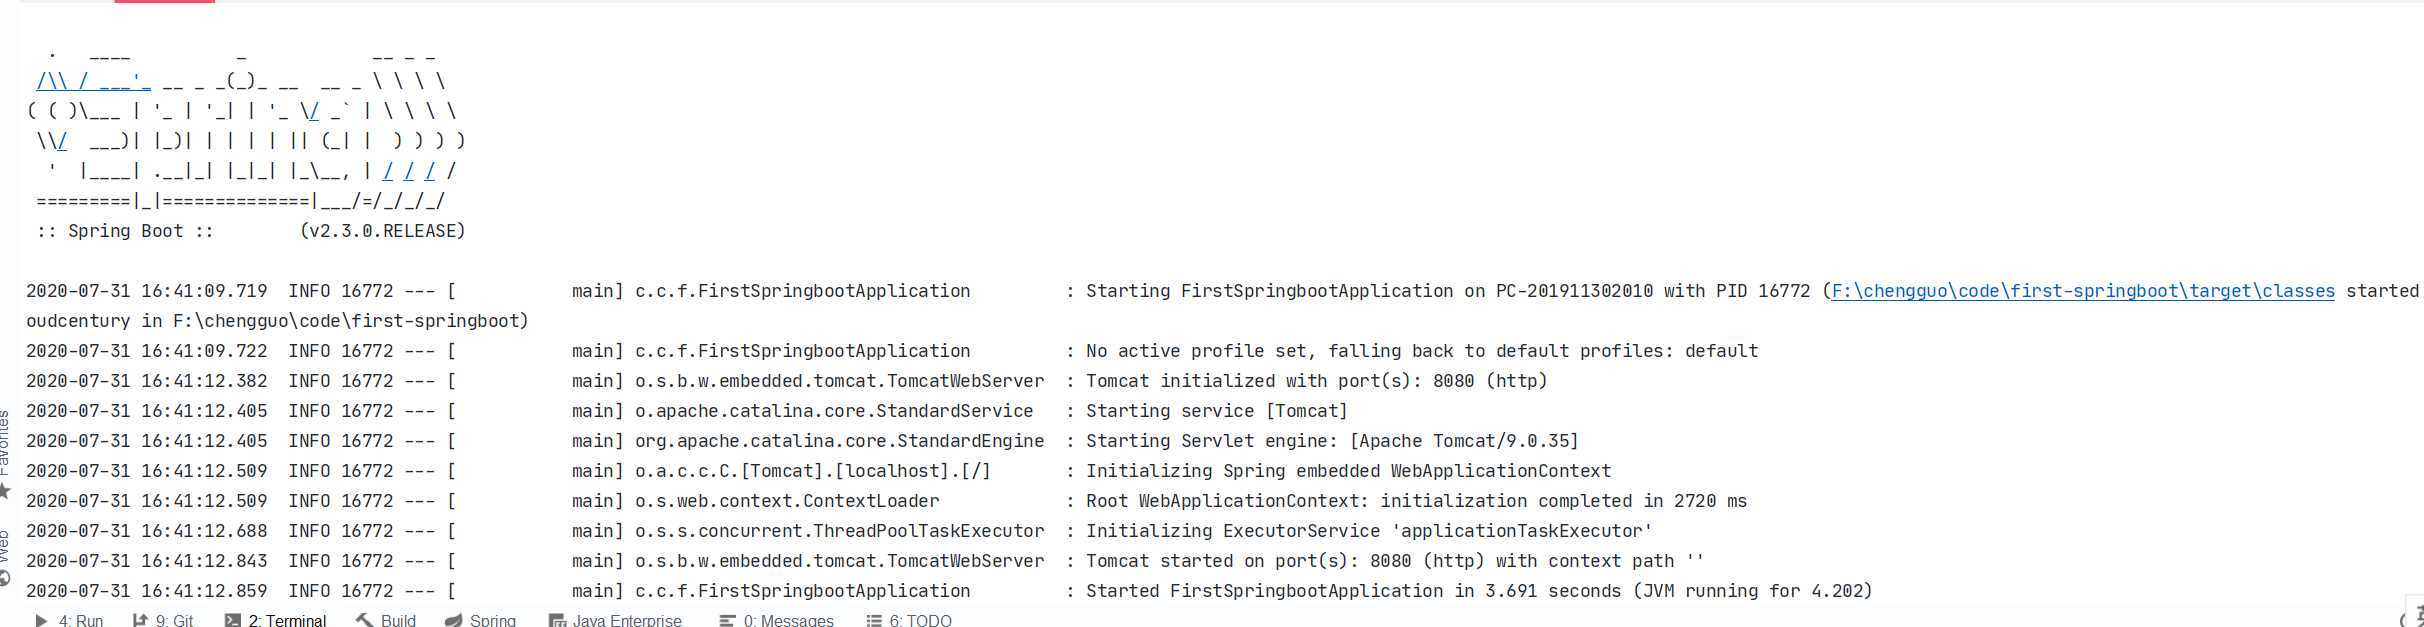
##SpringBoot三种启动方式 ####运行启动类main方法即可运行SpringBoot工程 ####采用maven的命令运行SpringBoot工程
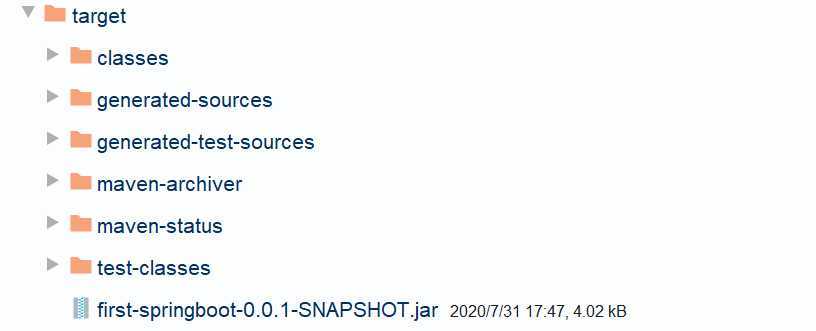
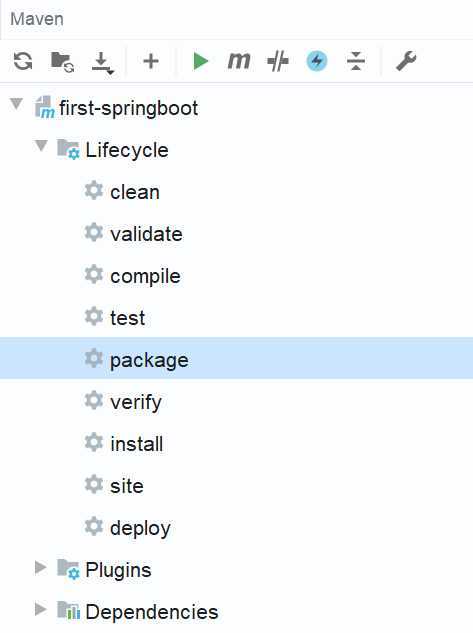 打完的包会在target下
SpringBoot介绍,快速入门小例子,目录结构,不同的启动方式
原文:https://www.cnblogs.com/chougoushi/p/13411242.html