1.因为百度的ueditor还没有可以在vue项目中直接使用的 插件,所以使用百度的插件的话需要自己去官网下载;
官网地址为:http://ueditor.baidu.com
git 仓库地址为:https://github.com/fex-team/ueditor
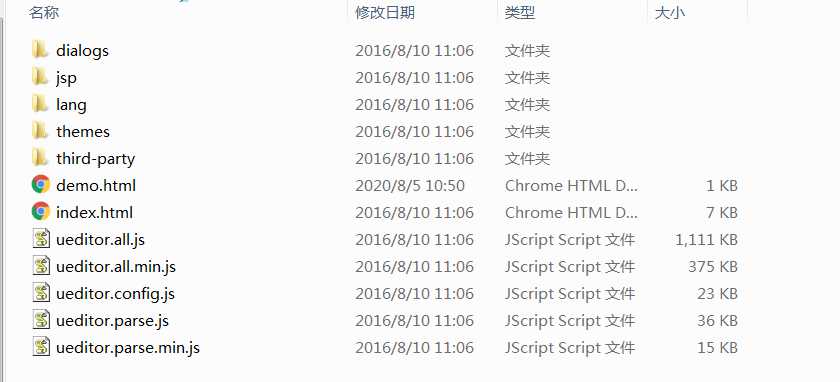
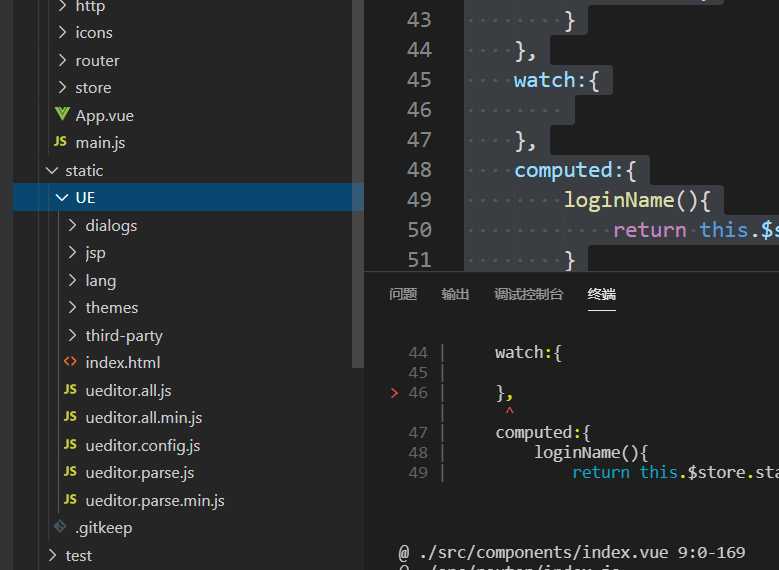
2.下载之后解压,把以下下文件放到项目中的static文件夹下,新建一个文件夹名字为ue;
3.放入到项目中之后要修改ueditor.config.js这个文件,主要修改一下地方;
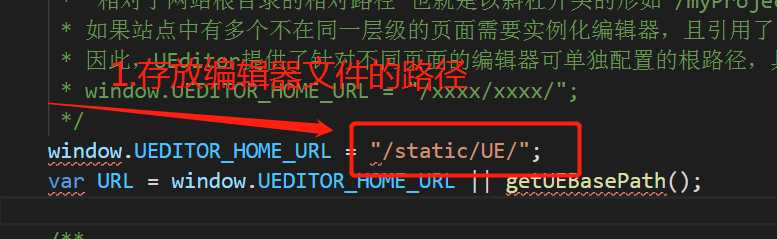
(注意:本地和打包之后文件路径要进行修改,打包的路径为xxxx/xxxx/;)
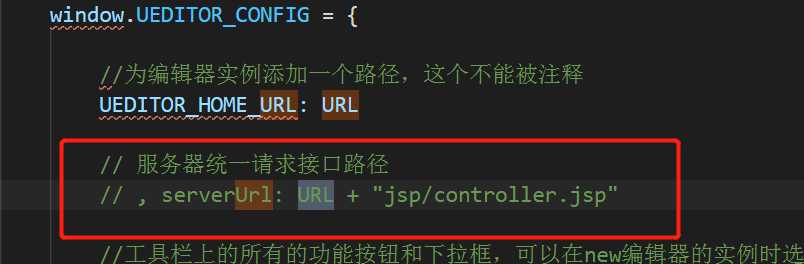
还有一个地方需要注意,如果需要上传文件或者是图片则需要配置后台的路径,如果不需要,则要把以下地方注释,否则无法使用
4.编写ue组件
<template>
  <div>
    <script :id=id type="text/plain"></script>
  </div>
</template>
<script>
export default {
  name: ‘UE‘,
  data() {
    return {
      editor: null,
    };
  },
  props: {
    config: {
      type: Object,
    },
    id: {
      type: String
    },
    content: {
      type: String
    },
  },
  mounted() {
    this._initEditor();
  },
  methods: {
    _initEditor() { // 初始化
      this.editor = window.UE.getEditor(this.id, this.config);
    },
    getUEContent() { // 获取含标签内容方法
      return this.editor.getContent();
    },
  },
  destroyed() {
    this.editor.destroy();
  },

};
</script>
5.在需要的使用的组件中引入即可
  <template>
    <div>
      <div style="position: relative;z-index: 1;width: 100%;">
        <UE :id=id :config=config  ref="ue"></UE>
      </div>

    </div>
  </div>
</template>
<script>
  import UE from ‘@/components/ue‘;

  export default {
    components: {
      UE,
    },
    data() {
      return {
        // 初始化Ueditor配置参数
        config: {
          initialFrameWidth: null,
          initialFrameHeight: 300,
        },
      };
    },
    methods: {
      getEdiotrContent() {
        const content = this.$refs.ue.getUEContent(); // 调用子组件方法
        this.articleData.articleContent = content;
      },
    },

  };
</script>
以上用法可适用于vue2.0的,在vue3.0中有点区别的地方就是:
1.下载的文件需要放在public文件下,同样的需要创建新的文件夹存放;
2.ueditor.config.js文件中路径的配置需要修改,若还是/XXXX/XXXX/的形式,会报ZeroClipoard is not defined;此时,路径应该改为:/xxxx/;
打包路径为:XXXX/;
原文:https://www.cnblogs.com/mamifeng/p/13523622.html