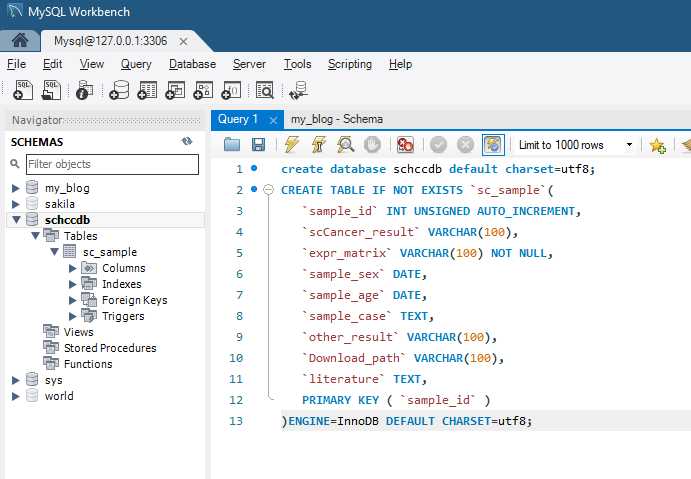
 1 create database schccdb default charset=utf8;
 2 CREATE TABLE IF NOT EXISTS `sc_sample`(
 3    `sample_id` INT UNSIGNED AUTO_INCREMENT,
 4    `scCancer_result` VARCHAR(100),
 5    `expr_matrix` VARCHAR(100) NOT NULL,
 6    `sample_sex` DATE,
 7    `sample_age` DATE,
 8    `sample_case` TEXT,
 9    `other_result` VARCHAR(100),
10    `Download_path` VARCHAR(100),
11    `literature` TEXT,
12    PRIMARY KEY ( `sample_id` )
13 )ENGINE=InnoDB DEFAULT CHARSET=utf8;
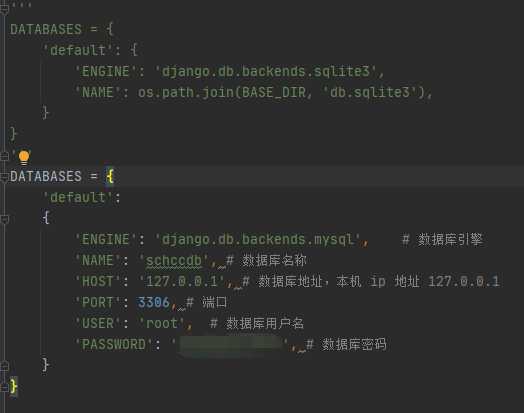
 1 DATABASES = {
 2     ‘default‘:
 3     {
 4         ‘ENGINE‘: ‘django.db.backends.mysql‘,    # 数据库引擎
 5         ‘NAME‘: ‘你自己数据库的名称‘, # 数据库名称
 6         ‘HOST‘: ‘127.0.0.1‘, # 数据库地址,本机 ip 地址 127.0.0.1
 7         ‘PORT‘: 3306, # 端口
 8         ‘USER‘: ‘root‘,  # 数据库用户名
 9         ‘PASSWORD‘: ‘你自己的数据库密码‘, # 数据库密码
10     }
11 }
接下来,告诉 Django 使用 pymysql 模块连接 mysql 数据库: 在与 settings.py 同级目录下的 __init__.py 中引入模块和进行配置
1 import pymysql
2 pymysql.install_as_MySQLdb()
到此,数据库就链接成功了

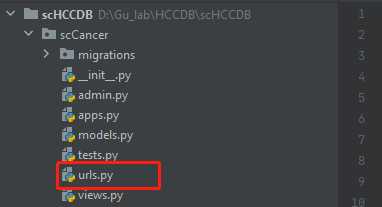
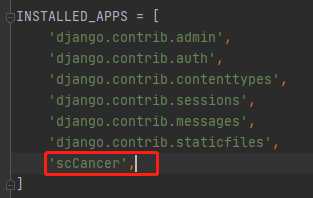
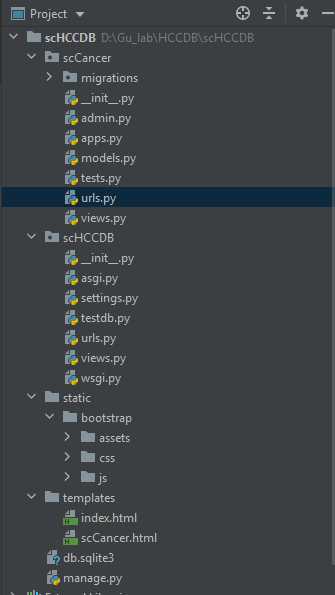
1 python .\manage.py startapp scCancer
就会生成一个文件夹,在里面增加urls.py文件夹
 1 from django.db import models
 2
 3 class sc_sample(models.Model):
 4     sample_id = models.AutoField(primary_key=True)
 5     scCancer_result = models.CharField(max_length=100)
 6     expr_matrix = models.CharField(max_length=100)
 7     sample_sex = models.IntegerField()
 8     sample_age = models.IntegerField()
 9     sample_case = models.TextField()
10     other_result = models.CharField(max_length=100)
11     Download_path = models.CharField(max_length=100)
12     literature = models.TextField()
1 python manage.py migrate   # 创建表结构
2
3 python manage.py makemigrations scCancer  # 让 Django 知道我们在我们的模型有一些变更
4 python manage.py migrate scCancer   # 创建表结构
testdb内容为
 1 # -*- coding: utf-8 -*-
 2
 3 from django.http import HttpResponse
 4
 5 from scCancer.models import sc_sample
 6
 7
 8 # 数据库操作
 9 def testdb(request):
10     test1 = sc_sample(sample_id=1,scCancer_result="ceshi",expr_matrix="zheshiyigejiadedizhi",
11                       sample_sex=0,sample_age=1,sample_case="haha")
12     test1.save()
13     return HttpResponse("<p>数据添加成功!</p>")
/scHCCDB/urls.py为
1 from django.urls import path
2
3 from . import views,testdb
4
5 urlpatterns = [
6     path(‘‘, views.index),
7     path(‘index/‘, views.index),
8     path(‘testdb/‘, testdb.testdb),
9 ]
然后运行页面出现
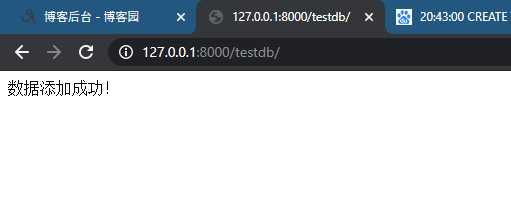
说明数据库成功链接
Anaconda + Djongo + spyder 网站开发 (三)
原文:https://www.cnblogs.com/shanyr/p/13562403.html