下载 Node.js 和 Git,网上教程很多,这里不再赘述。
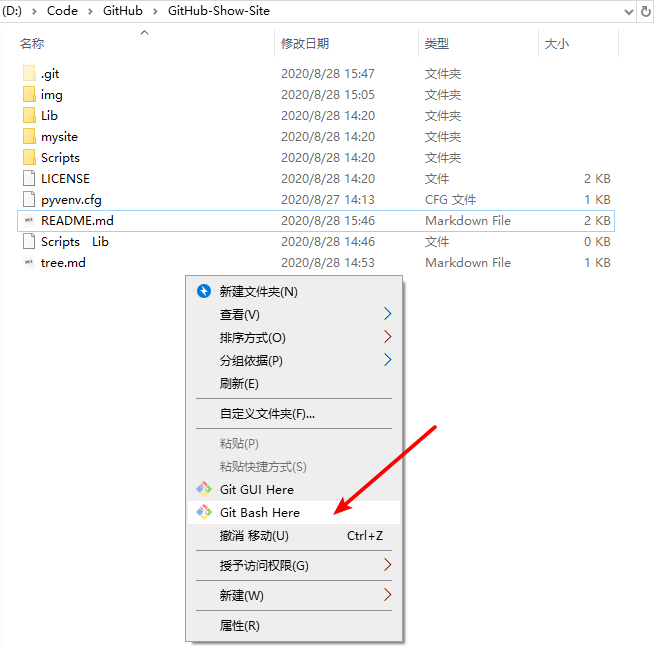
在项目的根文件夹下鼠标右键打开 Git Bash Here:
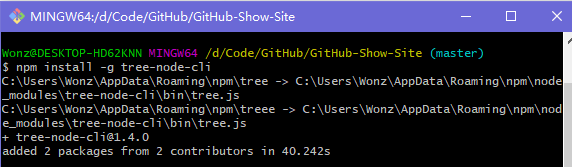
输入下面命令进行安装:
npm install -g tree-node-cli
输入下面命令:
tree -L 4 -I "Scripts|Lib|pycache" > tree.md

解释:
tree -L n 显示项目的层级。n 表示层级数。比如你想要显示项目的 4 层结构,可以用tree -L 4。tree -I "Scripts|Lib|pycache" 表示要过滤的文件夹/目录。tree > tree.md 表示将结构输出到 tree.md 这个文件。更多操作可以输入 tree --help 进行查看:
Options:
  -V, --version             output the version number
  -a, --all-files           All files, include hidden files, are printed.
  --dirs-first              List directories before files.
  -d, --dirs-only           List directories only.
  -I, --exclude [patterns]  Exclude files that match the pattern. | separates alternate patterns. Wrap your entire pattern in double quotes. E.g. `"node_modules|coverage".
  -L, --max-depth <n>       Max display depth of the directory tree.
  -r, --reverse             Sort the output in reverse alphabetic order.
  -F, --trailing-slash      Append a ‘/‘ for directories.
  -h, --help                output usage information
查看 tree.md 文件里的内容:
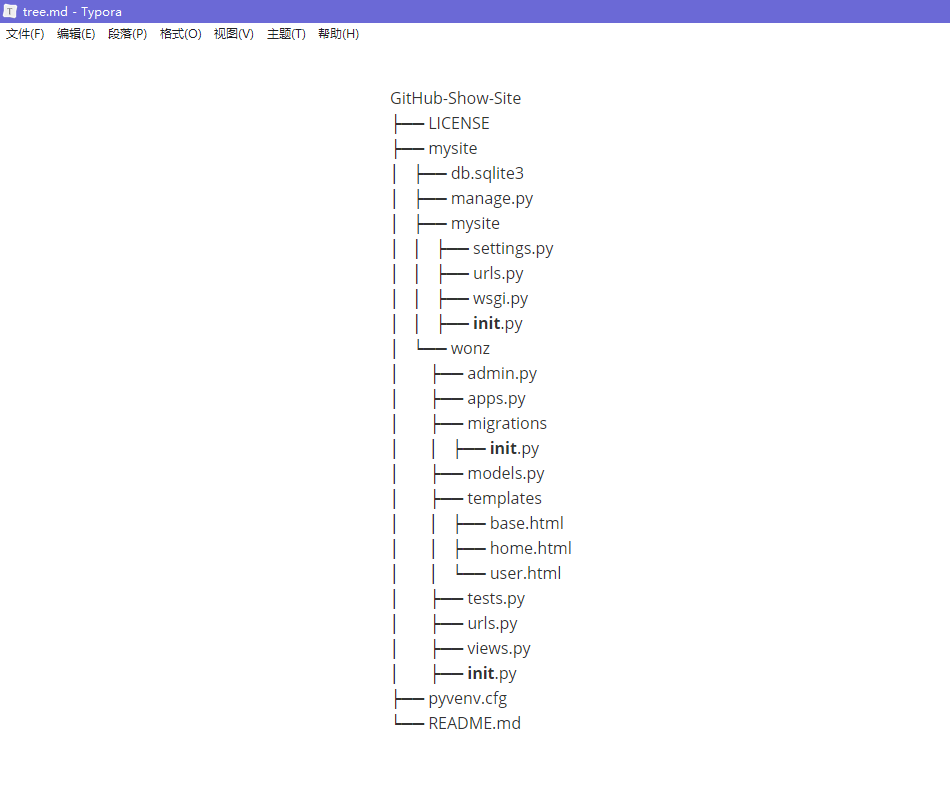
这样就能直接复制内容写进 GitHub 项目里的 README 中了,超级方便,而且很有条理。
原文:https://www.cnblogs.com/wonz/p/13578242.html