<?xml version="1.0" encoding="UTF-8"?>
<shape xmlns:android="http://schemas.android.com/apk/res/android"
    android:shape="rectangle">
    <stroke
        android:width="2dp"
        android:color="#000fff" />
    <!--设置边框线宽度和颜色!-->

    <solid android:color="#000000" />
    <!--设置内容填充色!-->
    <corners android:radius="10dp"
       />
    <!--设置角度!-->
</shape>
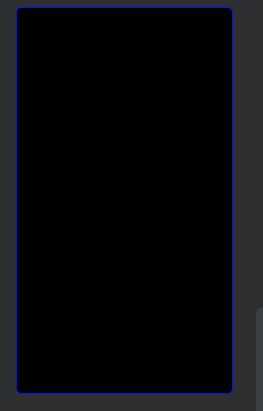
效果图:

使用方式:为控件设置android:background="xml文件名"
也可利用
 android:topLeftRadius=""
        android:topRightRadius=""
        android:bottomLeftRadius=""
        android:bottomRightRadius=""
为四个角分别设置角度。
2.1 矩形旋转绘制三角形
Vector图片
<vector xmlns:android="http://schemas.android.com/apk/res/android"
    android:width="158dp"
    android:height="64dp"
    android:viewportWidth="24"
    android:viewportHeight="14">
    <path
        android:fillColor="#99000000"
        android:pathData="M7,14l5,-5 5,5z" />
</vector>
效果图:

这是AS自带的vector正三角,我更改了一下数值变为等腰且下移。
width,height代表控件实际的尺寸。
viewportWidth代表把width分成了24份,同理viewportHeight把height分成了14份,它相当于我们的视图窗口。
pathData数值就是依靠它来画出我们的三角形。
解析一下:
坐标向右为正,向下为正。
第一个点(7,14),点(0,0)移动至坐标(7,14)起始点。(viewportHeight为14,说明现在初始点移动到了底部)
第二个点(5,-5),它是相对于第一个点向右移动5个单位,向上移动5个单位。
第三个点(5,5),它是相对于第二个点向右移动5个单位,向下移动5个单位。
M是移动,l是画线,z是形成闭合,这样一个等腰三角形就画出来了。
原文:https://www.cnblogs.com/dearnotes/p/13698060.html