一、下载mysql-installer-community-8.0.12.0.msi
点击 :下载链接
二、安装mysql-installer-community-8.0.12.0.msi
1.点击安装包进入安装页面,选中I accept the license terms

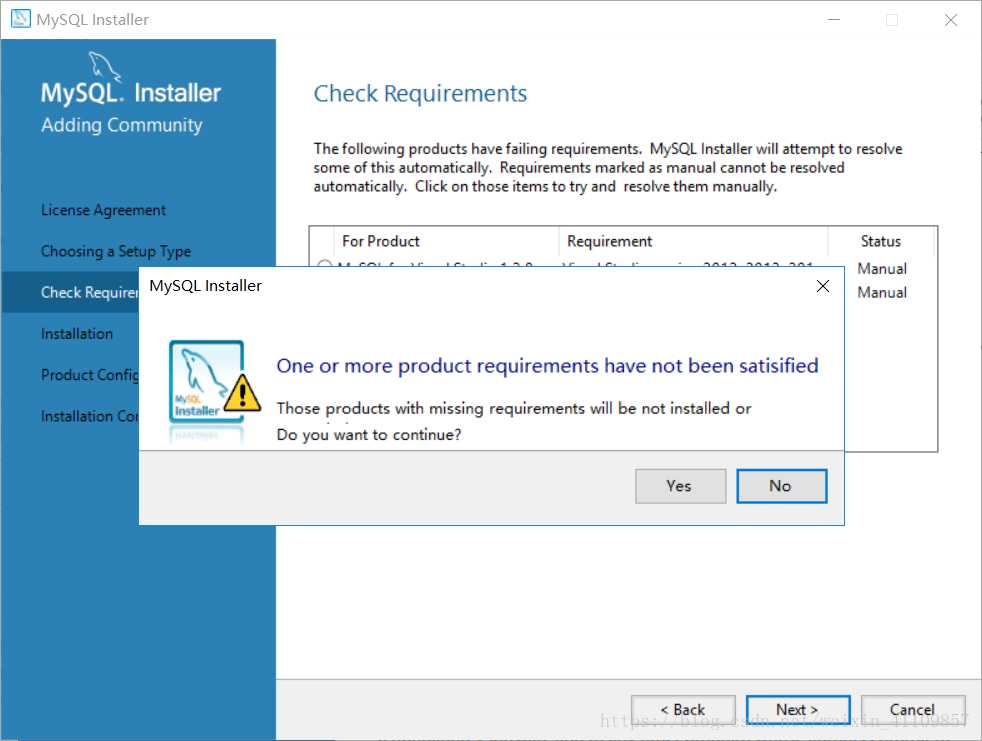
2.一直点击next,遇到此页面,点击yes,然后点击execute,等待安装。
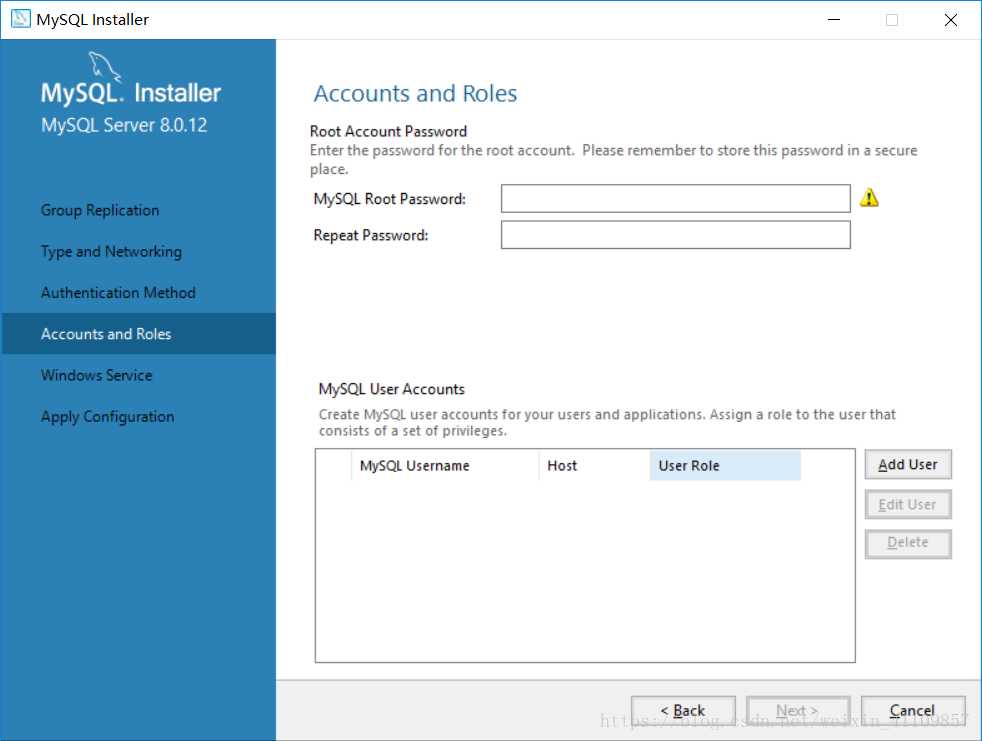
3.安装成功以后,一直点击next,遇到以下窗口,设置root用户的密码,也可以自己添加用户
4.设置用户名和密码以后,点击next,然后点击execute
5.点击finish,进入配置向导
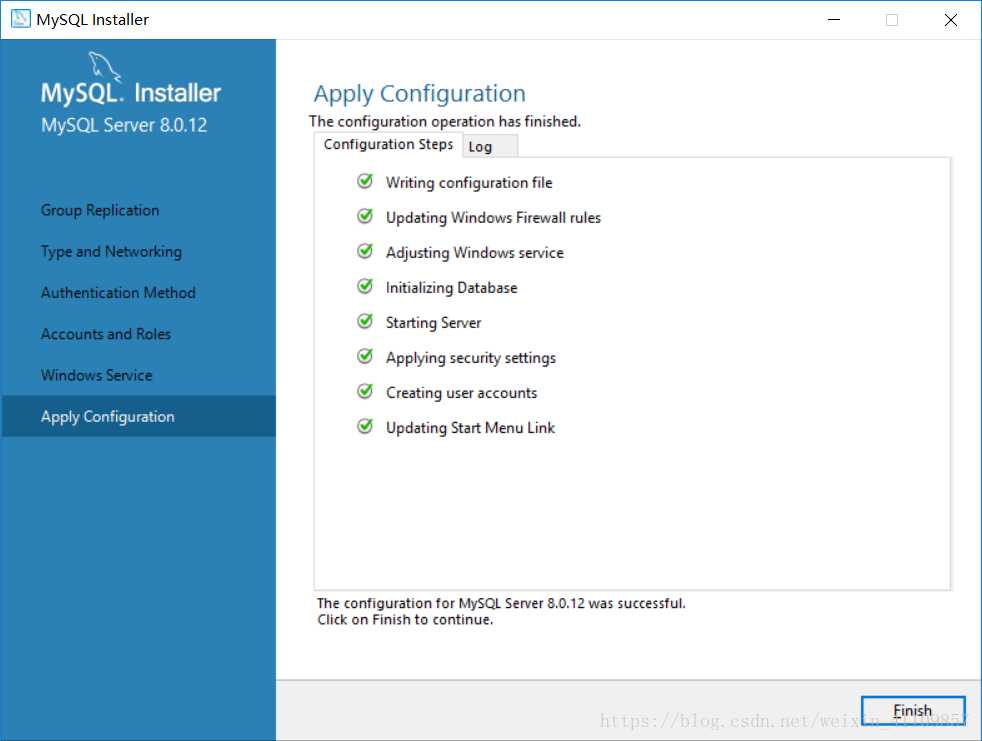
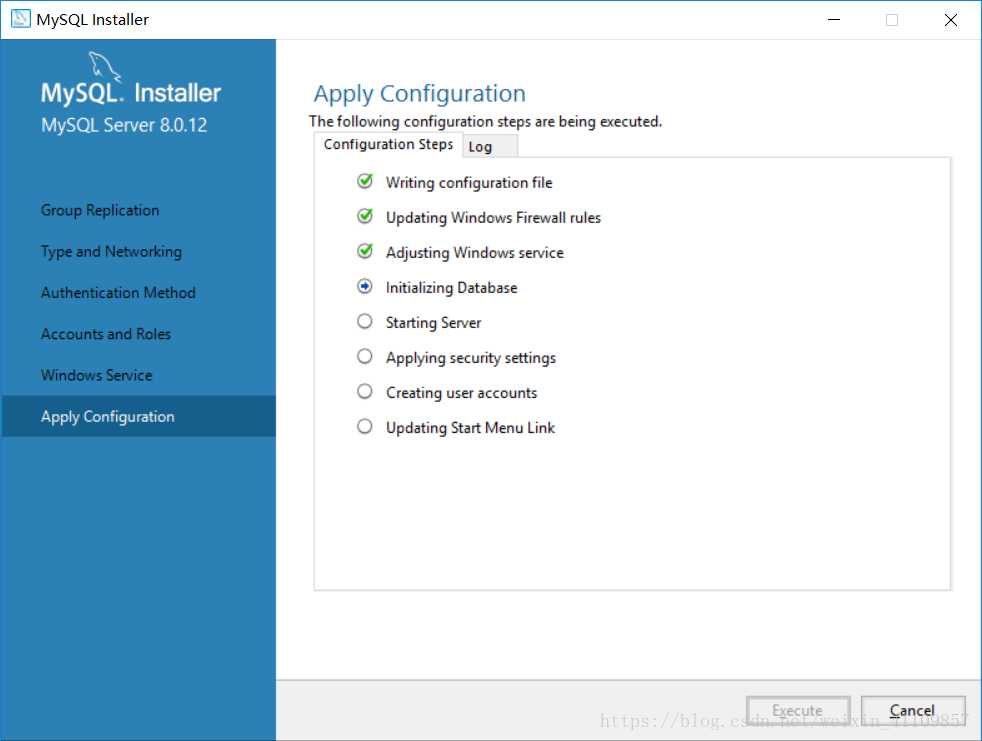
6.一直点击next,然后遇到此窗口,输入密码,点击check,然后点击next,然后点击execute,完成以后点击next
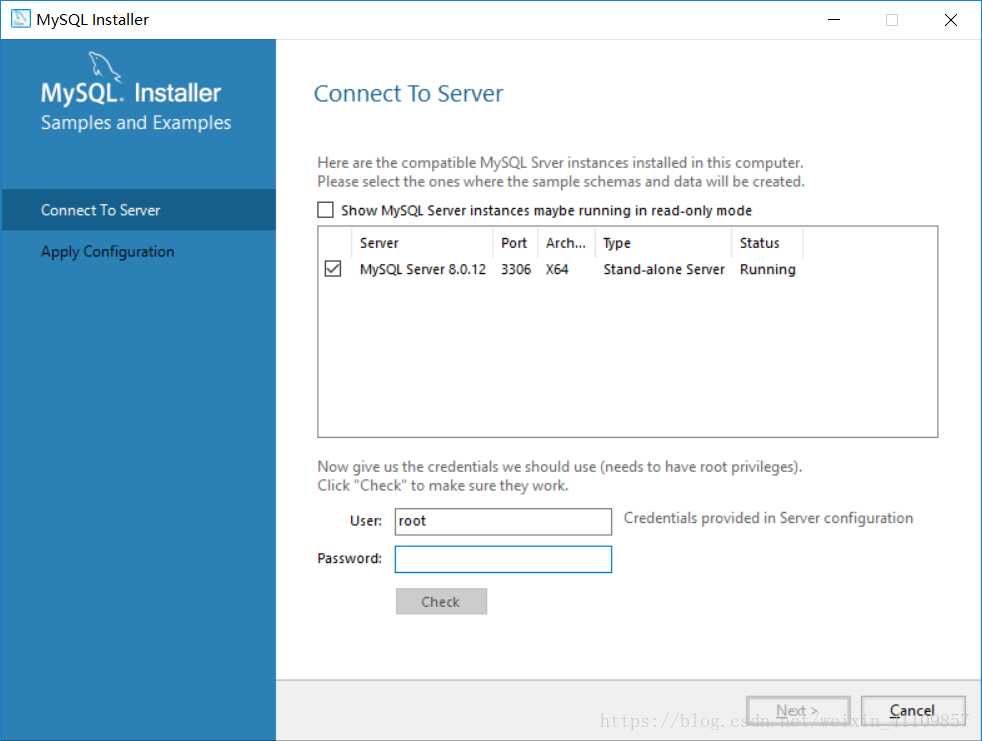
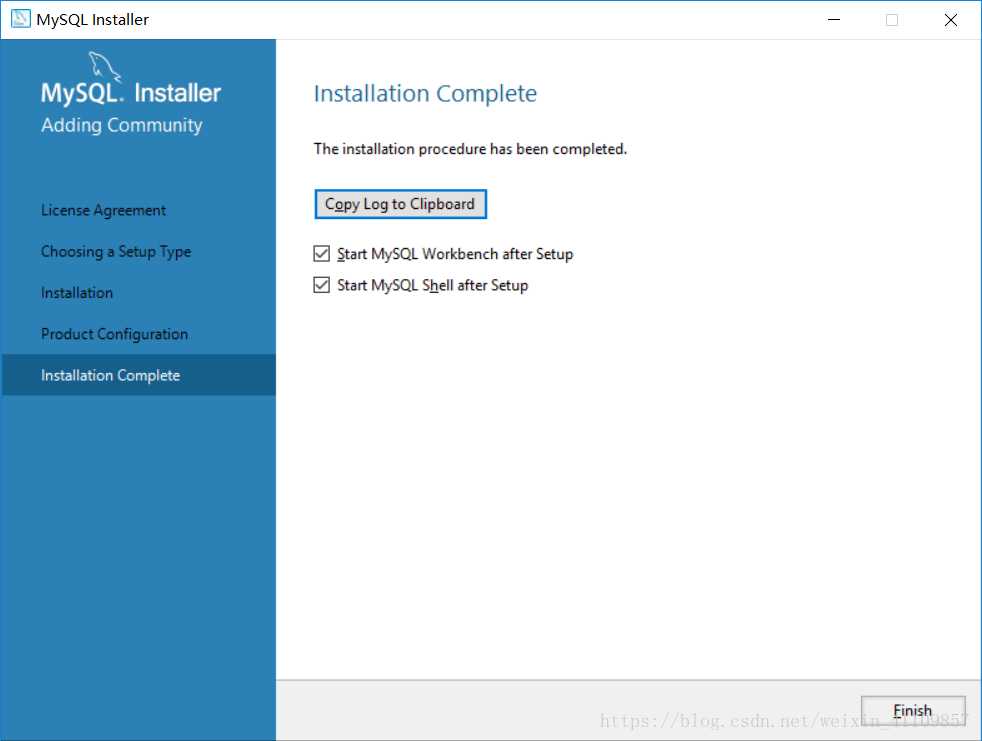
7.点击finish,再次点击next,再次点击finish,然后会自动启动mysql workbench
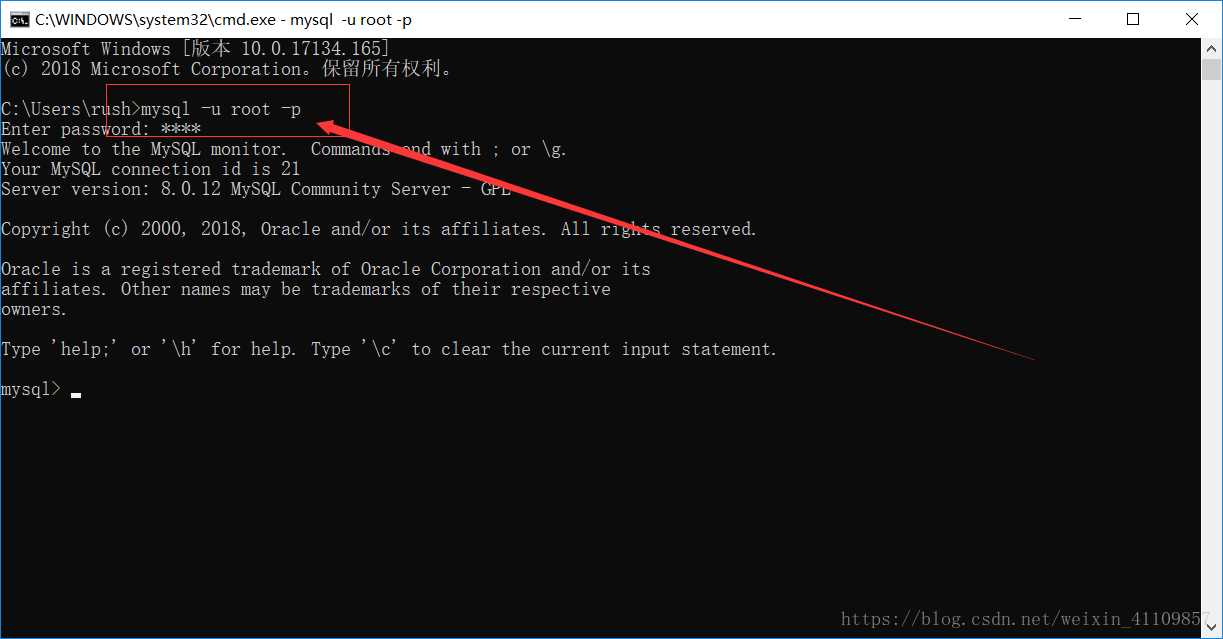
8.右键点击“我的电脑”-“属性”-“高级”-“环境变量”-“系统变量”-双击“Path”-将mysql的路径“C:\Program Files\MySQL\MySQL Server 8.0\bin”添加进去-“确定”添加完毕之后,再到DOS下进行测试:
输入mysql -u root -p
输入密码启动mysql命令行窗口