debian所有的网卡都在一个配置文件里,这点和Centos7不一样
root@debian:~# grep "^[a-Z]" /etc/network/interfaces
source /etc/network/interfaces.d/*
auto lo
iface lo inet loopback
allow-hotplug eth0
auto eth0
iface eth0 inet static
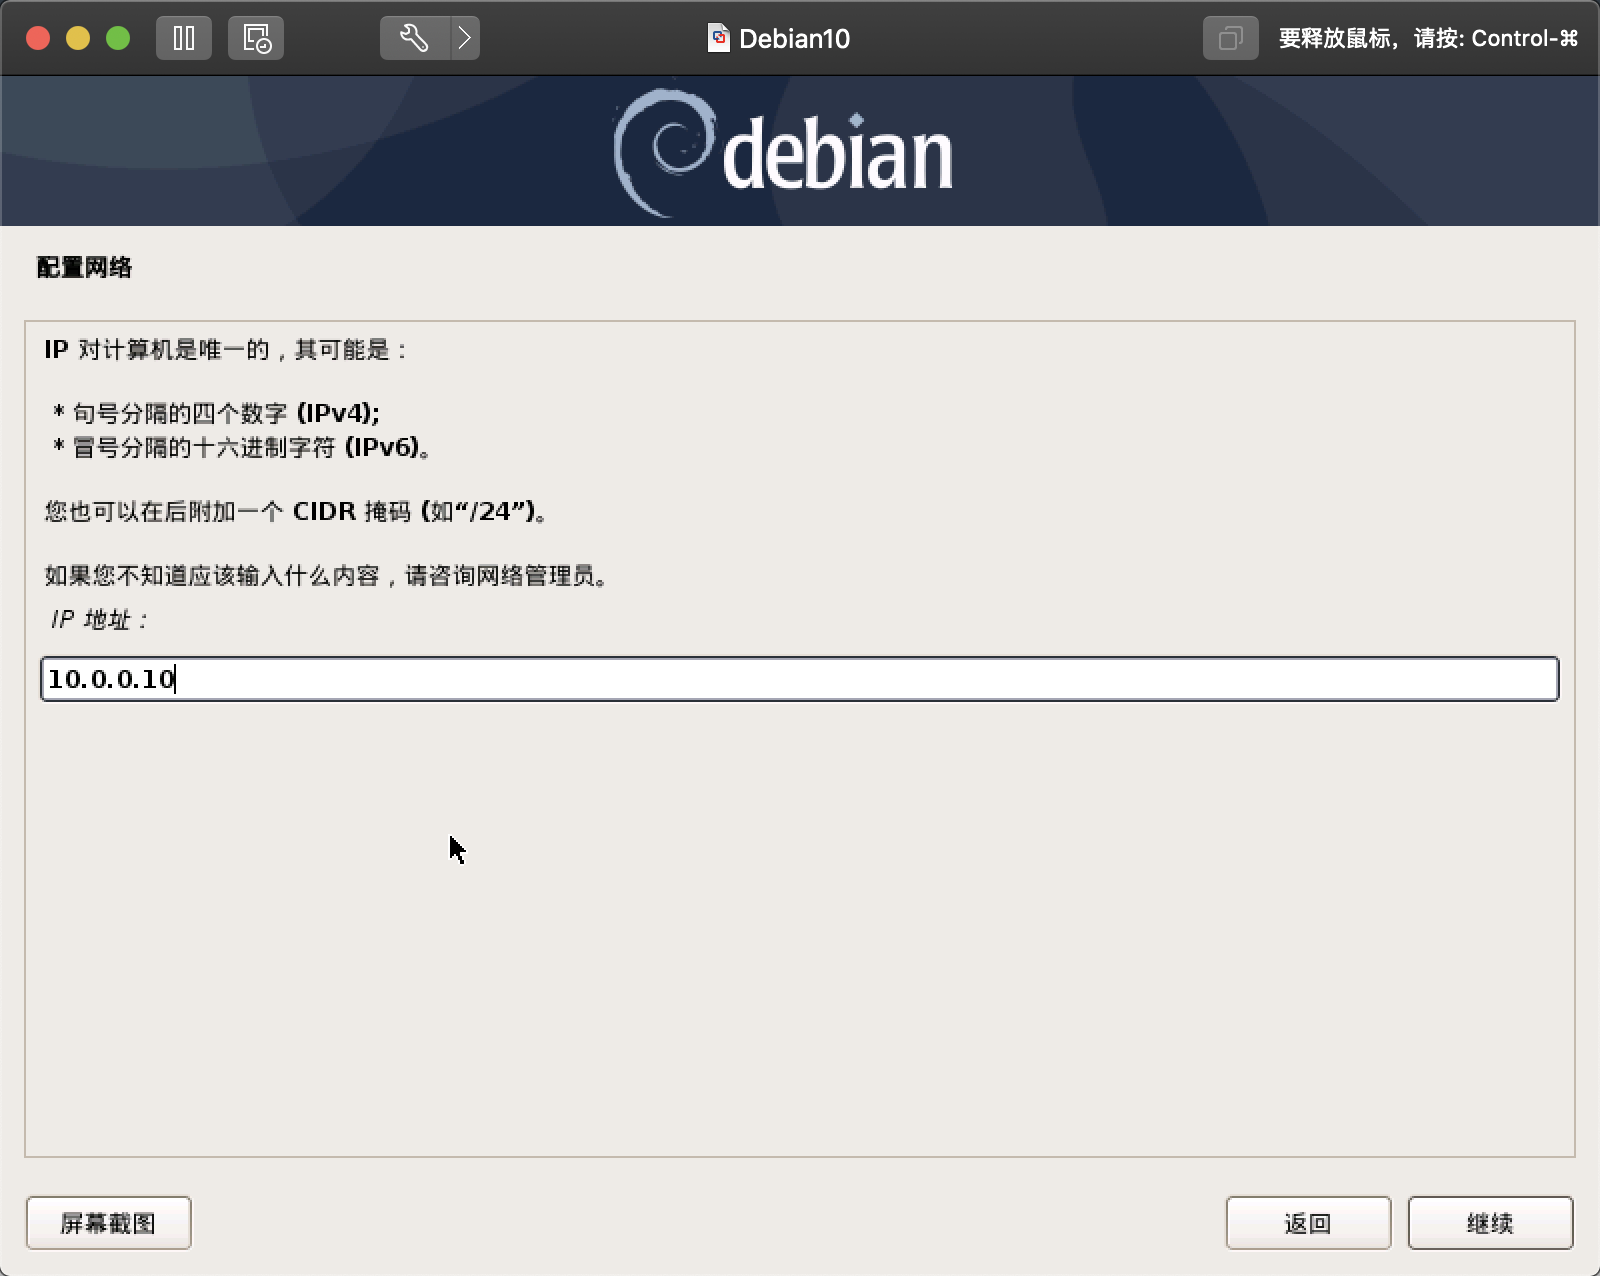
address 10.0.0.20
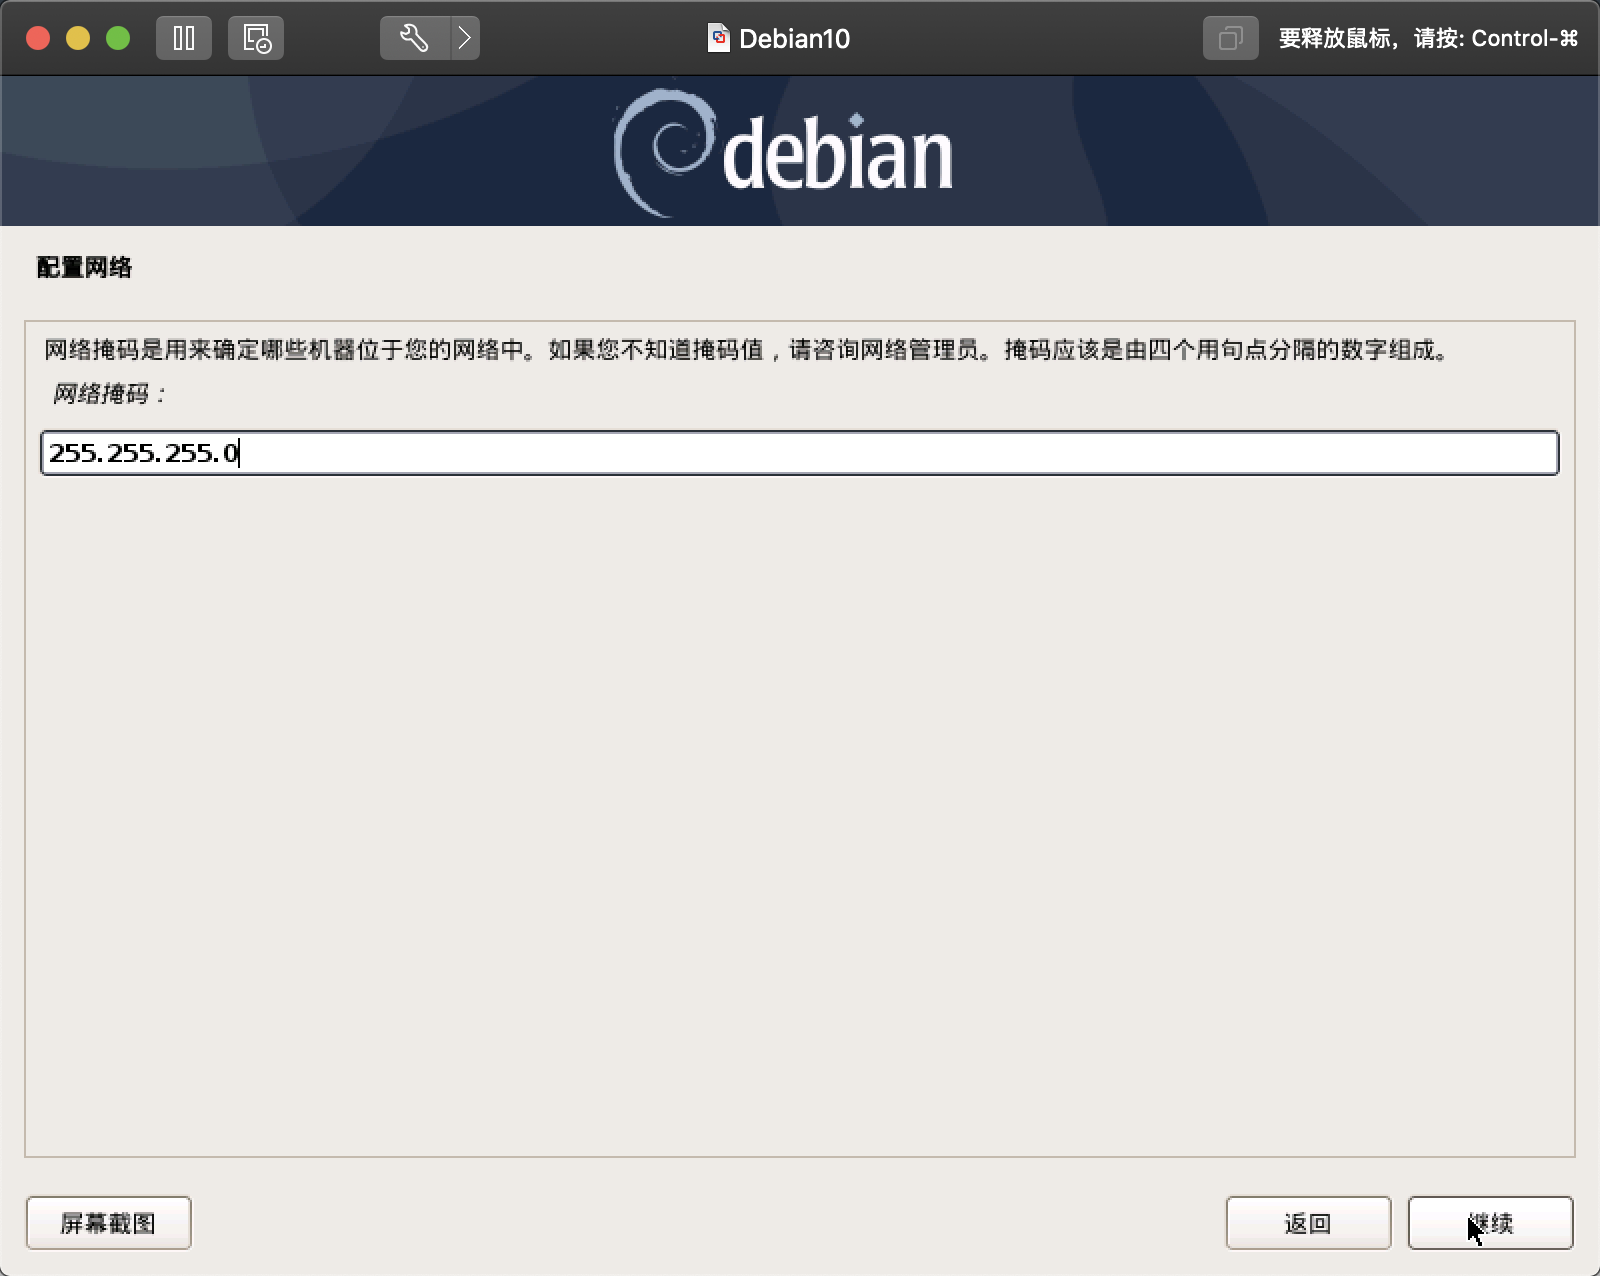
netmask 255.255.255.0
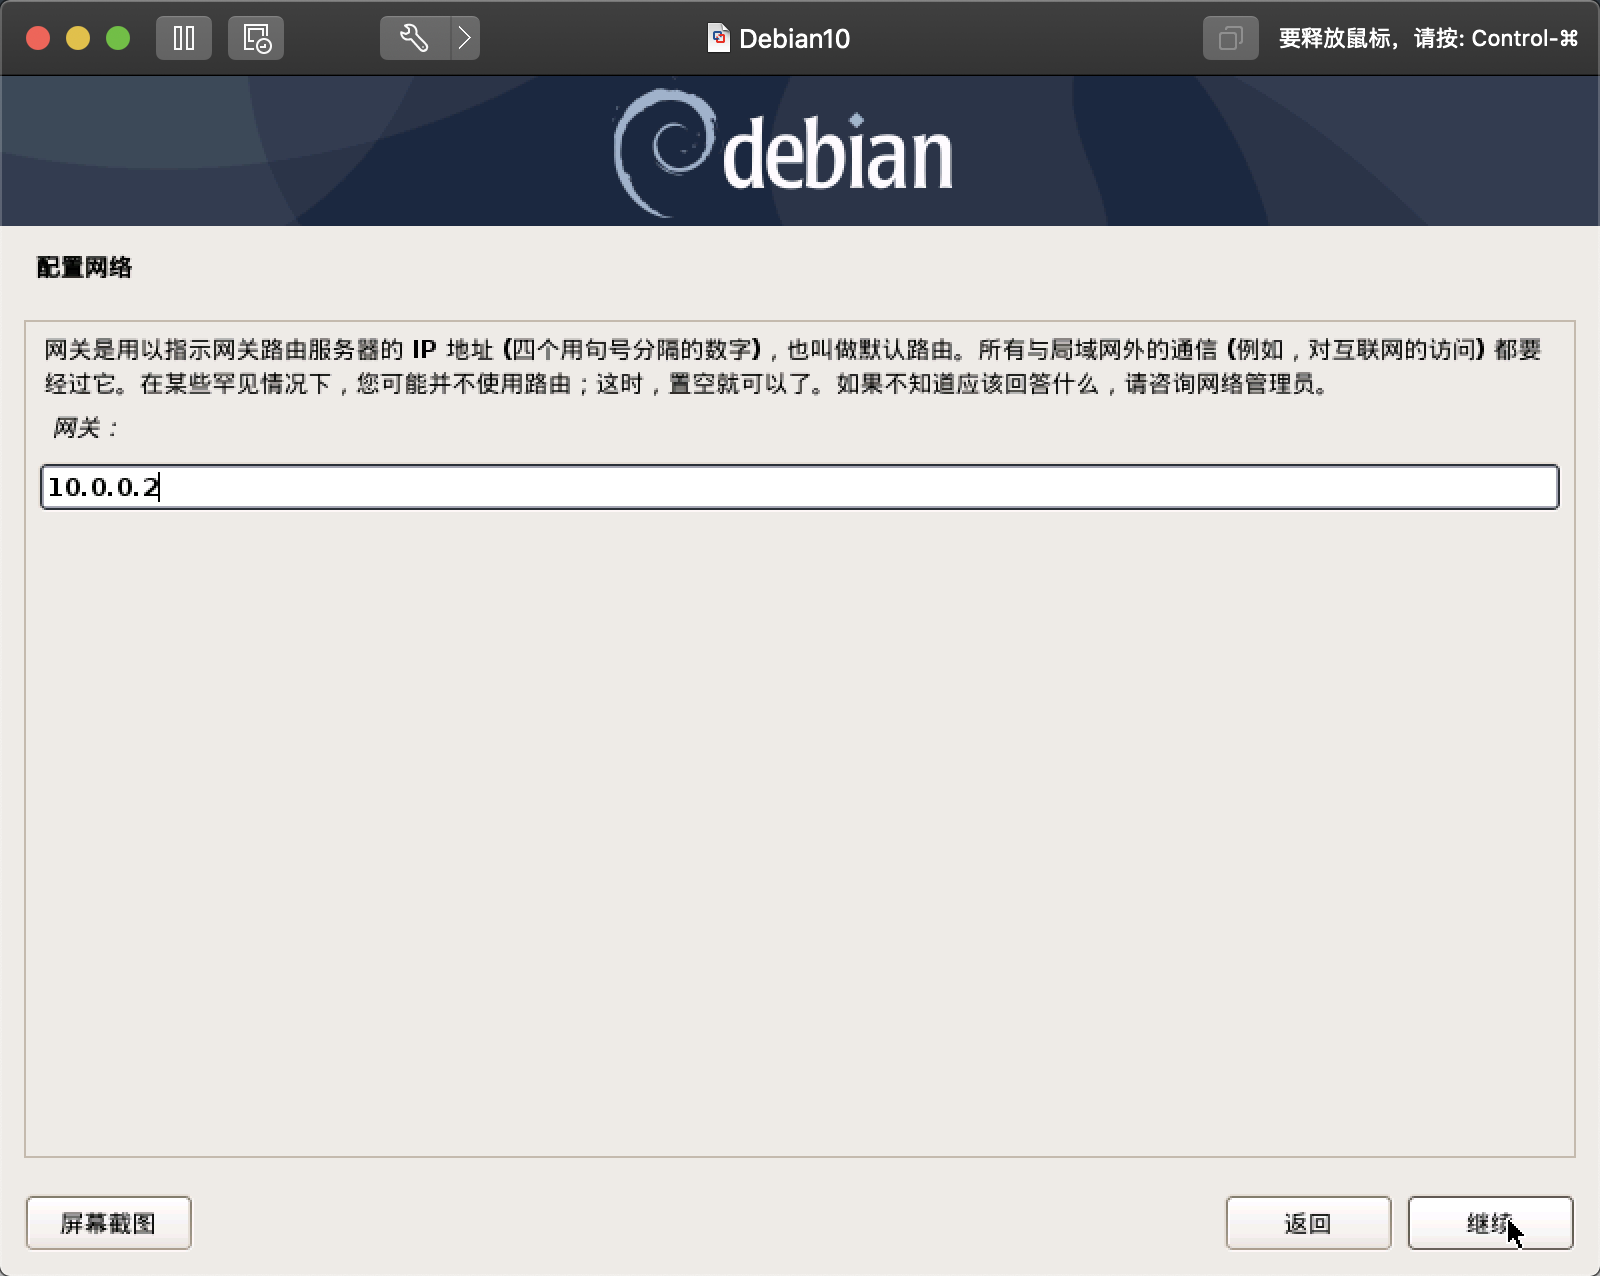
gateway 10.0.0.2
重启网卡命令
systemctl restart networking.service
默认Debian不允许root远程登录,必须通过修改SSH配置文件才可以使用root远程登录。
root@debian:~# grep "PermitRootLogin" /etc/ssh/sshd_config
#PermitRootLogin prohibit-password
PermitRootLogin yes
重启sshd
systemctl restart sshd
Debian10直有清华源,阿里源只提供到Debian9
https://mirrors.tuna.tsinghua.edu.cn/help/debian/
配置命令
cp /etc/apt/sources.list /opt/
cat > /etc/apt/sources.list << ‘EOF‘
deb https://mirrors.tuna.tsinghua.edu.cn/debian/ buster main contrib non-free
deb https://mirrors.tuna.tsinghua.edu.cn/debian/ buster-updates main contrib non-free
deb https://mirrors.tuna.tsinghua.edu.cn/debian/ buster-backports main contrib non-free
deb https://mirrors.tuna.tsinghua.edu.cn/debian-security buster/updates main contrib non-free
EOF
更新缓存
注意: 在Centos7里update是更新系统,在Debian里是更新软件源
apt update
Debian默认没有配置常用的命令别名,rm也不会有提示,需要的话可以手动打开注释
root@debian:~# cat ~/.bashrc
# ~/.bashrc: executed by bash(1) for non-login shells.

# Note: PS1 and umask are already set in /etc/profile. You should not
# need this unless you want different defaults for root.
# PS1=‘${debian_chroot:+($debian_chroot)}\h:\w\$ ‘
# umask 022

# You may uncomment the following lines if you want `ls‘ to be colorized:
# export LS_OPTIONS=‘--color=auto‘
# eval "`dircolors`"
alias ls=‘ls $LS_OPTIONS‘
alias ll=‘ls $LS_OPTIONS -l‘
alias l=‘ls $LS_OPTIONS -lA‘

# Some more alias to avoid making mistakes:
alias rm=‘rm -i‘
alias cp=‘cp -i‘
alias mv=‘mv -i‘
等同于Centos7的yum命令
apt-get是第一代的包管理工具,最稳定
apt是改进的包管理工具,比apt-get要先进
官方推荐使用apt来管理软件
apt install package
apt remove package
apt --reinstall install package
apt-cache search nginx
等同于Centos7的RPM命令
dpkg -S sshd
dpkg -s sshd
dpkg -l ssh
dpkg -s *.deb
dpkg -i *.deb
dpkg -r package
dpkg -P package
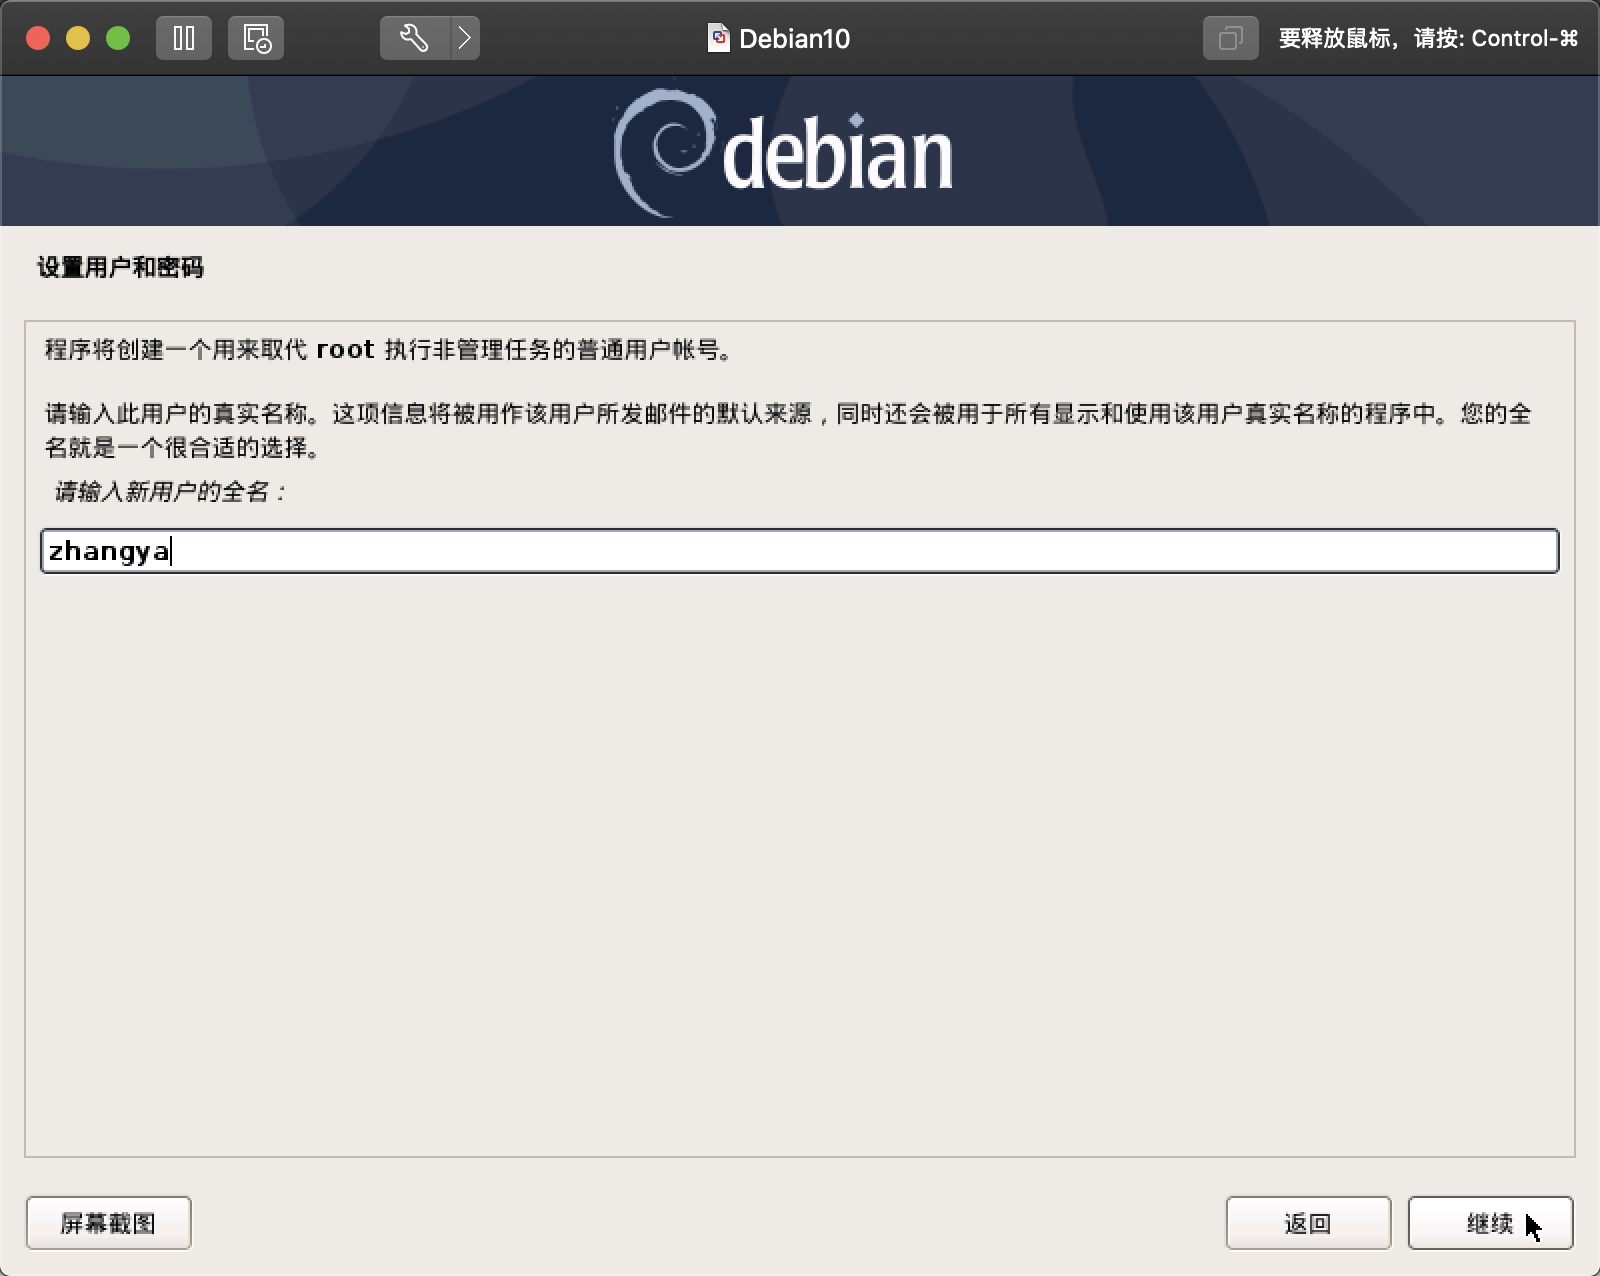
Centos7和Debian使用useradd命令的区别,以下面的命令举例:
useradd zhangya
这条命令在Debian下不会做如下几件事
1.不会创建家目录
2.默认shell是/bin/sh
3.而/bin/sh默认是软连接到/bin/dash解释器
/bin/sh -> dash
如果需要创建这些内容则必须指定参数
useradd -m -s /bin/bash zhangya
Debian的passwd命令没有--stdin选项,要想免交互,使用chpasswd
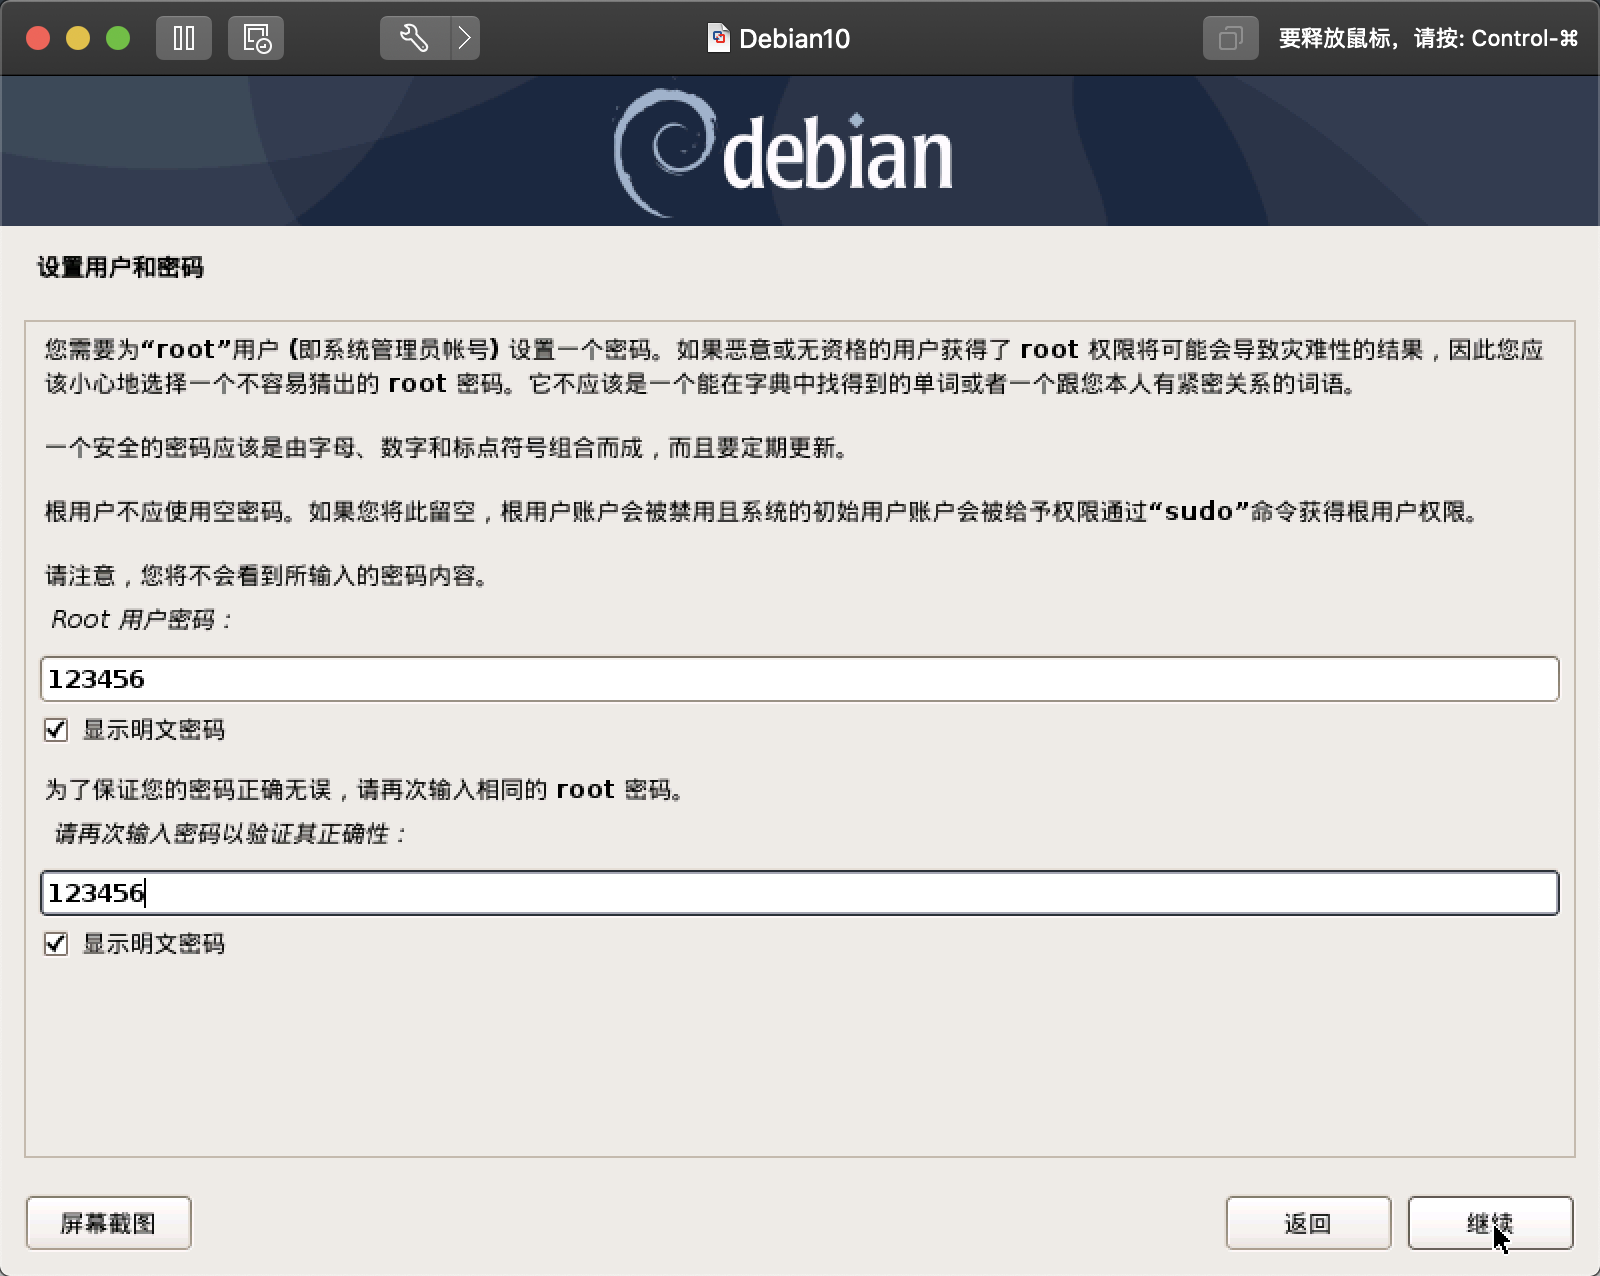
echo "root:123456"|chpasswd
清华源网址
https://mirrors.tuna.tsinghua.edu.cn/help/docker-ce/
安装命令
apt-get remove docker docker-engine docker.io
apt-get install apt-transport-https ca-certificates curl gnupg2 software-properties-common -y
curl -fsSL https://download.docker.com/linux/debian/gpg |apt-key add -
add-apt-repository    "deb [arch=amd64] https://mirrors.tuna.tsinghua.edu.cn/docker-ce/linux/debian    $(lsb_release -cs)    stable"
apt-get update
apt-get install docker-ce
#使用iptables
update-alternatives --set iptables /usr/sbin/iptables-legacy
update-alternatives --set ip6tables /usr/sbin/ip6tables-legacy
update-alternatives --set arptables /usr/sbin/arptables-legacy
update-alternatives --set ebtables /usr/sbin/ebtables-legacy

#设置仓库源
cat > /etc/apt/sources.list.d/kubernetes.list <<EOF
deb https://mirrors.aliyun.com/kubernetes/apt/ kubernetes-xenial main
EOF
curl -s https://mirrors.aliyun.com/kubernetes/apt/doc/apt-key.gpg | apt-key add -
apt-get update

#安装kubeadm
apt-get install -y kubelet kubeadm kubectl ipvsadm

#配置参数
cat > /etc/default/kubelet <<‘EOF‘
KUBELET_CGROUP_ARGS="--cgroup-driver=systemd"
KUBELET_EXTRA_ARGS="--fail-swap-on=false"
EOF

#设置内核参数
cat >  /etc/sysctl.d/k8s.conf <<EOF
net.bridge.bridge-nf-call-ip6tables = 1
net.bridge.bridge-nf-call-iptables = 1
net.ipv4.ip_forward = 1
EOF
sysctl --system

#启动服务
systemctl enable kubelet && systemctl start kubelet

#加载ipvs模块
modprobe -- ip_vs
modprobe -- ip_vs_rr
modprobe -- ip_vs_wrr
modprobe -- ip_vs_sh
modprobe -- nf_conntrack

#查看模块
lsmod | grep -e ip_vs -e nf_conntrack_ipv

#初始化安装master节点
kubeadm init --apiserver-advertise-address=10.0.0.20 --image-repository registry.aliyuncs.com/google_containers --kubernetes-version v1.20.0 --service-cidr=10.1.0.0/16 --pod-network-cidr=10.2.0.0/16 --service-dns-domain=cluster.local --ignore-preflight-errors=Swap --ignore-preflight-errors=NumCPU
原文:https://www.cnblogs.com/alaska/p/14141992.html