#Kickstart Configurator for cobbler by Jason Zhao
#platform=x86, AMD64, or Intel EM64T
#System language
lang en_US
#System keyboard
keyboard us
#Sytem timezone
timezone Asia/Shanghai
#Root password
rootpw --iscrypted $default_password_crypted
#Use text mode install
text
#Install OS instead of upgrade
install
#Use NFS installation Media
url --url=$tree
#System bootloader configuration
bootloader --location=mbr
#Clear the Master Boot Record
zerombr
#Partition clearing information
clearpart --all --initlabel
#Disk partitioning information
part /boot --fstype xfs --size 1024 --ondisk sda
part swap --size 16384 --ondisk sda
part / --fstype xfs --size 1 --grow --ondisk sda
#System authorization infomation
auth --useshadow --enablemd5
#Network information
$SNIPPET(‘netowork config‘)
#network --bootproto=dhcp --device=em1 --onboot=on
#Reboot after installation
reboot
#Firewall configuration
firewall --disabled
#SELinux configuration
selinux --disabled
#Do not configure XWindows
skipx
#Package install information
%pre
$SNIPPET(‘log_ks_pre‘)
$SNIPPET(‘kickstart_start‘)
$SNIPPET(‘pre_install_network_config‘)
#Enable installation monitoring
$SNIPPET(‘pre_anamon‘)
%end

%packages
@base
@core
sysstat
iptraf
ntp
lrzsz
ncurses-devel
openssl-devel
zlib-devel
OpenIPMI-tools
mysql
nmap
screen
%end

%post
systemctl disable postfix.service
$yum_config_stanza
%end
四、导入镜像
1.挂载光盘
mount /dev/cdrom /mnt
2.导入镜像
cobbler import --path=/mnt/ --name=Centos-7-x86_64 --arch=x86_64
3.查看镜像
ls /var/www/cobbler/ks_mirror
4.查看导入的镜像文件
cobbler profile list
5.查看profile的内容
cobbler profile report
6.自定义的kickstart文件
cobbler profile edit --name=CentOS-7-x86_64 --kickstart=/var/lib/cobbler/kickstarts/CentOS-7-x86_64.cfg
7.修改网络名称
cobbler profile edit --name=CentOS-7-x86_64 --kopts=‘net.ifnames=0 biosdevname=0‘
8.同步配置
cobbler sync
五、自动化重装(在想重装的系统上执行)
1.配置epel源
wget -O /etc/yum.repos.d/epel.repo http://mirrors.aliyun.com/repo/epel-7.repo
2.安装
yum install -y koan
3.查看cobbler server上的配置文件
koan --server=10.0.0.200 --list=profiles
4.指定要重装的系统
koan --replace-self --server=10.0.0.200 --profile=CentOS-6-x86_64
5.重启
reboot
六、图形化管理
1.安装依赖
yum install -y cobbler-web python-pip
pip install Django==1.8.9
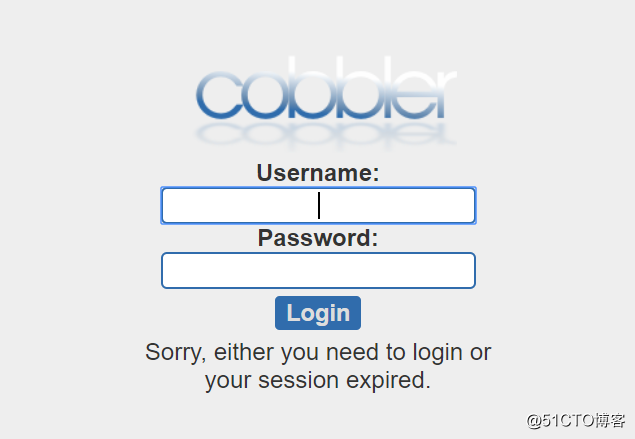
2.登录
https://10.0.0.200/cobbler_web
用户:cobbler
密码:cobbler
用户文件:cat /etc/cobbler/users.conf
密码文件:cat /etc/cobbler/users.digest
修改密码:htdigest /etc/cobbler/users.digest "Cobbler" cobbler #第一个为描述,第二个为用户
七、定制化安装
cobbler system add --name=linux-node1.devblpw.com --mac=00:50:56:3B:0B:08 --profile=CentOS-7-x86_64 --ip-address=10.0.0.12 --subnet=255.255.255.0 --gateway=10.0.0.2 --interface=eth0 --static=1 --hostname=linux-node1.devblpw.com --name-servers="10.0.0.2" --kickstart=/var/lib/cobbler/kickstarts/CentOS-7-x86_64.cfg
cobbler system list
cobbler sync
原文:https://blog.51cto.com/7965676/2583326