若是想将git源码修改记录上传到github,需要将springboot源码fork到本人gitbub。此文是直接下载源码到本地的。
https://github.com/spring-projects/spring-boot
git clone -b 2.2.x https://github.com/spring-projects/spring-boot.git
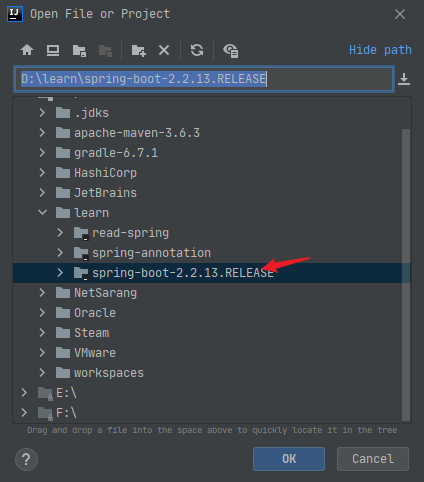
打开idea,【File】-->【Open...】,打开刚才拉取的Springboot源码。
选择【File】->【project Structure…】
Project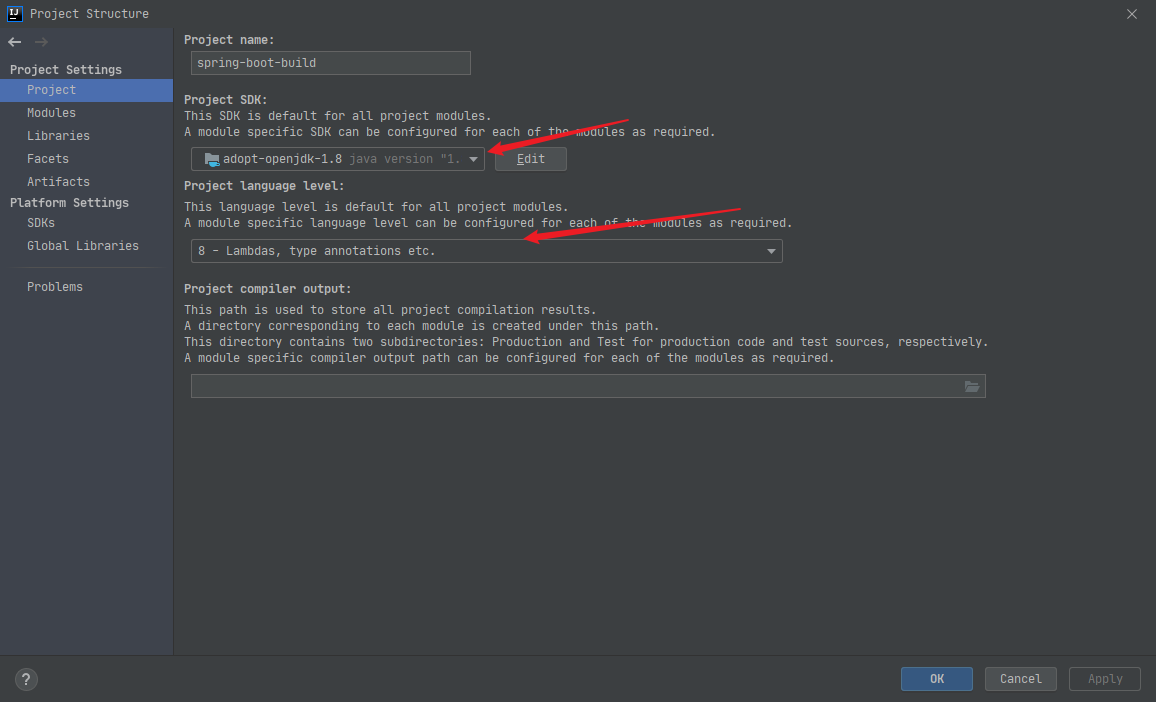
Model
SDKs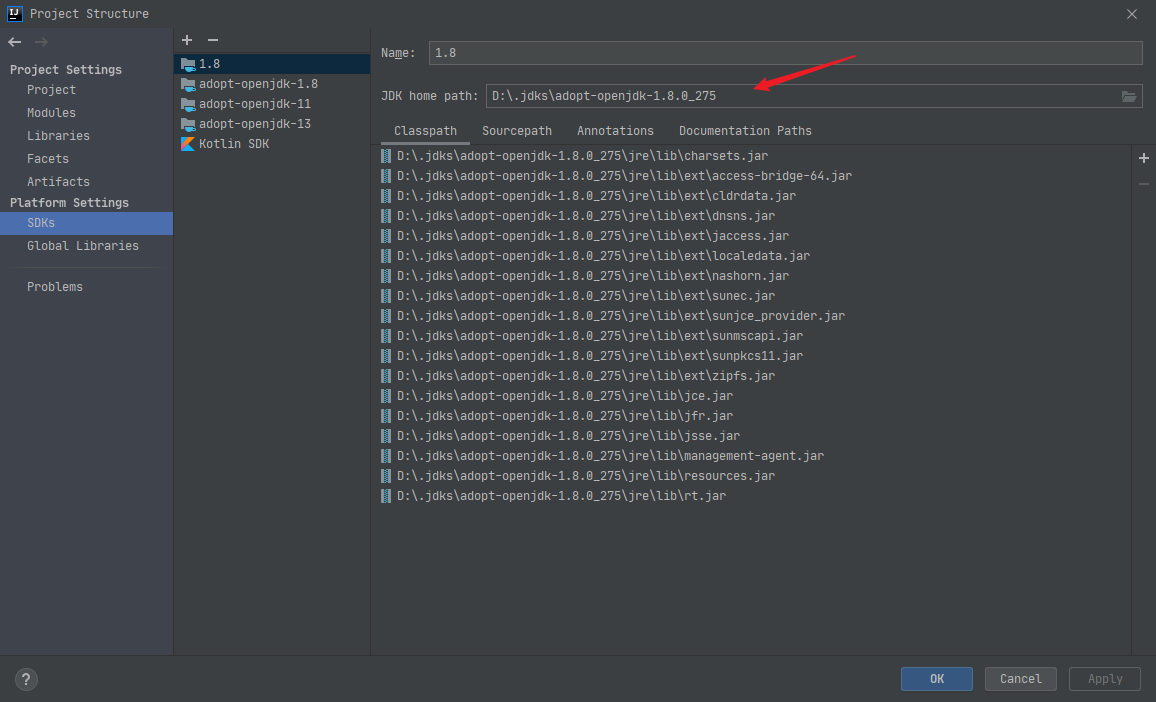
修改
spring-boot-project\spring-boot-tools\spring-boot-gradle-plugin\gradle\wrapper\gradle-wrapper.properties文件distributionUrl属性。
distributionUrl=file:///D:/gradle-6.7.1/gradle-6.7.1-bin.zip
修改
spring-boot-project\spring-boot-tools\spring-boot-gradle-plugin\build.gradle文件。
buildscript {
   repositories {
      // 加上阿里云仓库, 记得将此行注释删除
      maven { url ‘https://maven.aliyun.com/nexus/content/groups/public/‘ }
      maven { url ‘https://maven.aliyun.com/nexus/content/repositories/jcenter‘ }
      maven { url "https://repo.spring.io/plugins-release" }
      mavenLocal()
      mavenCentral()
   }
   dependencies {
      classpath("io.spring.javaformat:spring-javaformat-gradle-plugin:0.0.15")
   }
}

repositories {
   // 加上阿里云仓库, 记得将此行注释删除
   maven { url ‘https://maven.aliyun.com/nexus/content/groups/public/‘ }
   maven { url ‘https://maven.aliyun.com/nexus/content/repositories/jcenter‘ }
   maven { url "https://repo.spring.io/plugins-release" }
   mavenLocal()
   mavenCentral()
}
找到
Spring Boot Build(root)
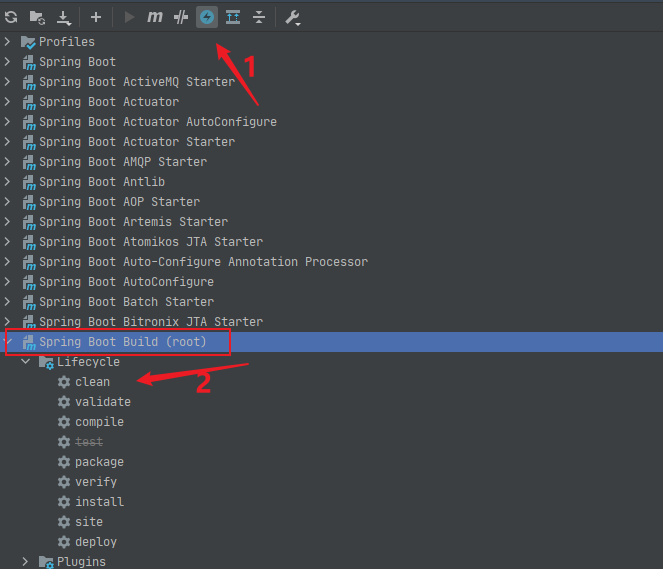
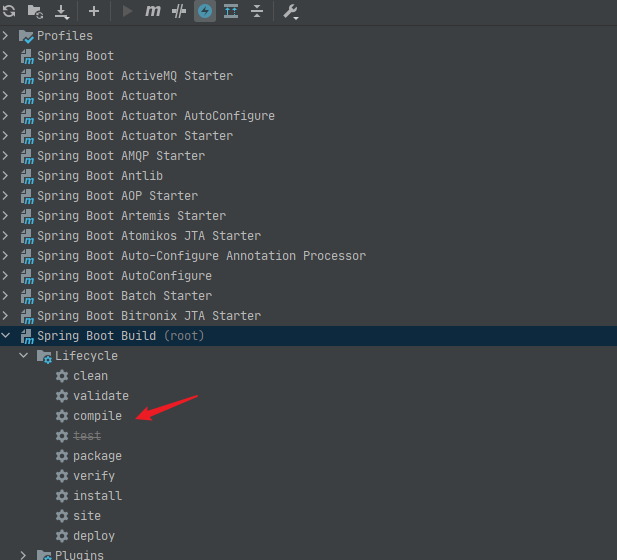
此时会抛出异常Run spring-javaformat:apply to fix.
解决方案: 控制台执行mvn命令
mvn spring-javaformat:apply
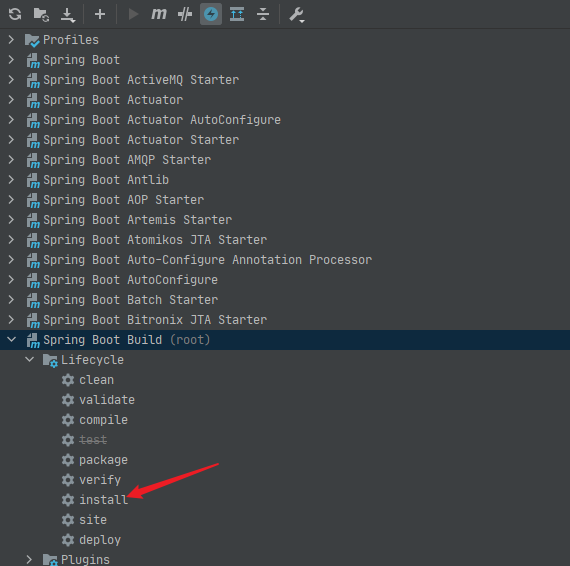
给源码添加注释之后,记得重新install(按需install)下,要么debbug调试时会出现与源码行数对应不上的情况。
SpringBoot源码学习(零) 搭建Springboot源码调试环境
原文:https://www.cnblogs.com/chinda/p/14287146.html