首先确保本地已安装LNMP环境
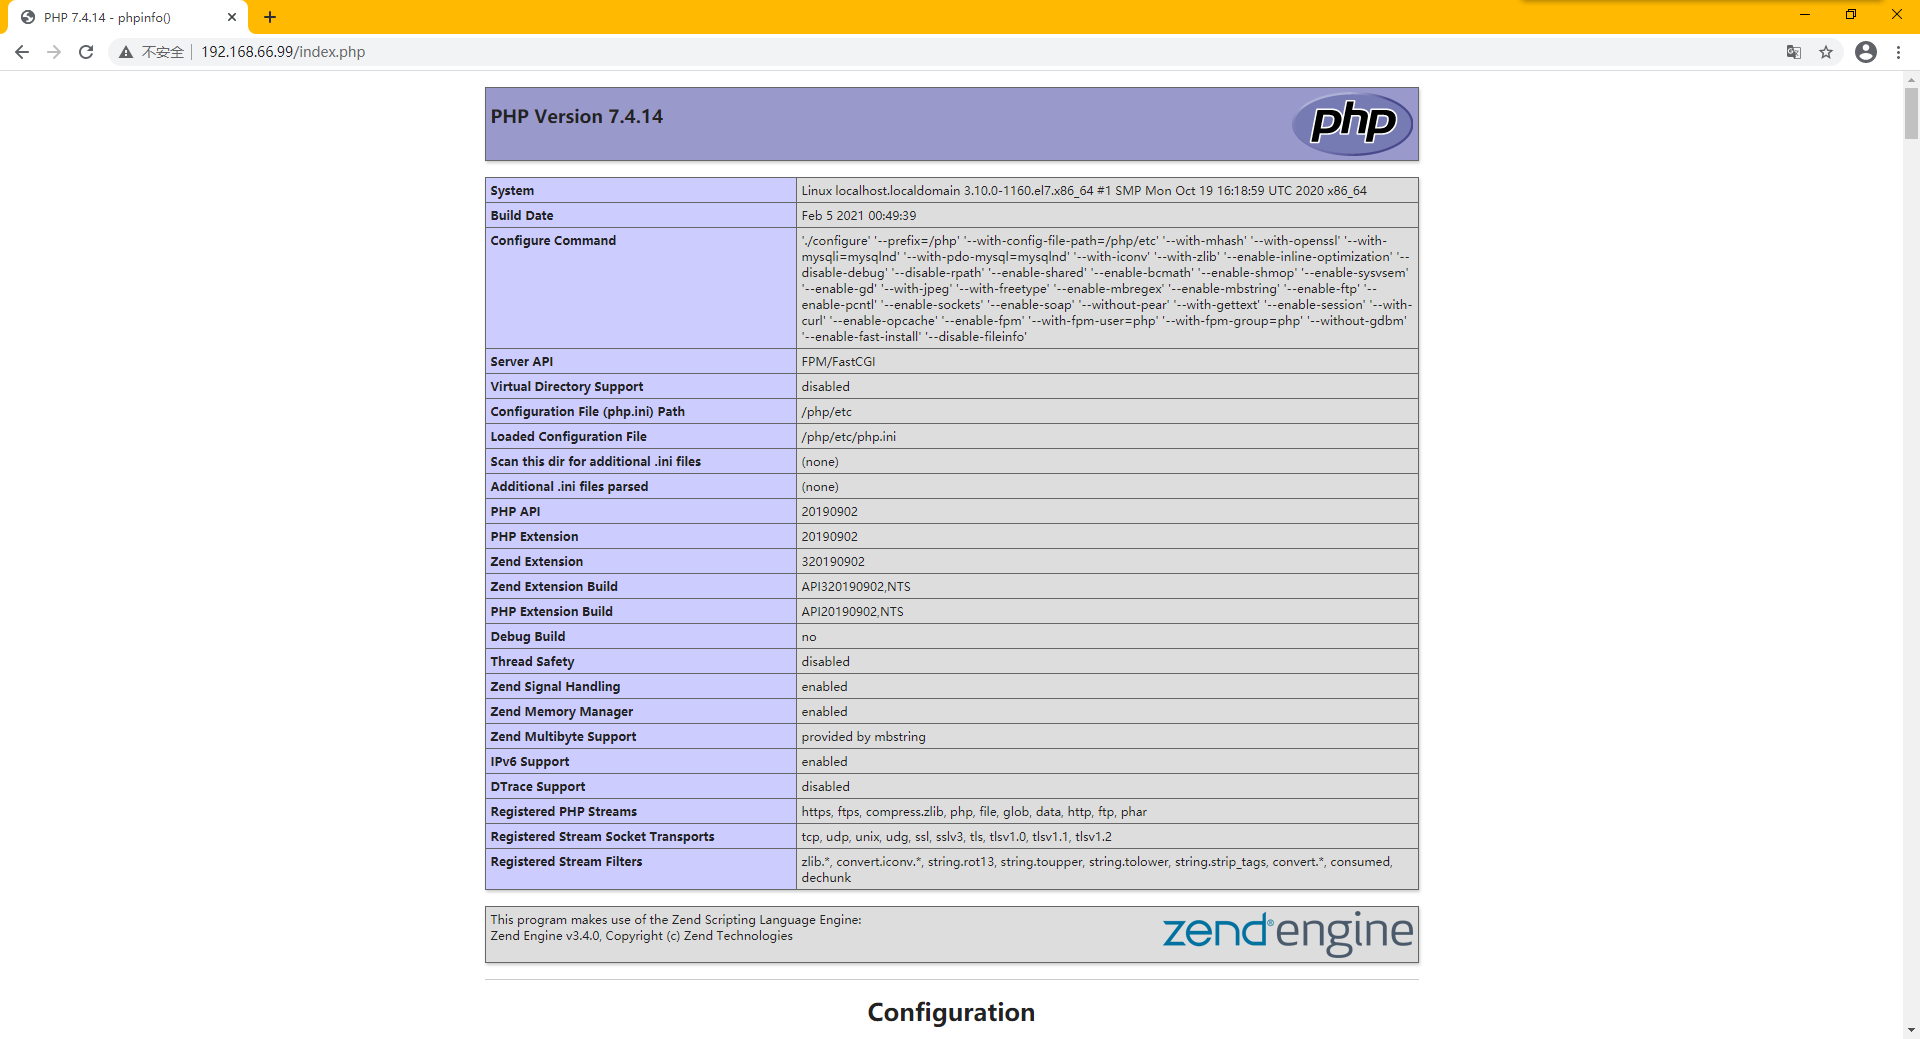
zabbix5.0下载地址:https://cdn.zabbix.com/zabbix/sources/stable/5.0/zabbix-5.0.2.tar.gz
1.创建zabbix用户
[root@localhost ~]# useradd -s /sbin/nologin zabbix
2.安装zabbix所需依赖包
[root@localhost ~]# yum install unixODBC-devel net-snmp-devel libevent-devel libxml2-devel libcurl-devel -y
3.下载zabbix5.0源码包
[root@localhost ~]# wget https://cdn.zabbix.com/zabbix/sources/stable/5.0/zabbix-5.0.2.tar.gz
4.解压zabbix源码包
[root@localhost ~]# tar -zxvf zabbix-5.0.2.tar.gz
5.进行安装前编译
[root@localhost zabbix-5.0.2]# ./configure --prefix=/zabbix-server --enable-server --enable-agent --with-mysql=/mysql/bin/mysql_config --with-net-snmp --with-libcurl --with-libxml2 --with-unixodbc
6.编译无报错直接进行安装
[root@localhost zabbix-5.0.2]# make && make install
7.安装完成后进行数据库初始化,初始化文件在/zabbix-5.0.2/database/mysql目录下
首先登录数据库,创建zabbix库
mysql> create database zabbix_server character set UTF8 collate utf8_bin;
Query OK, 1 row affected (0.00 sec)

mysql> show databases;
+--------------------+
| Database           |
+--------------------+
| information_schema |
| mysql              |
| performance_schema |
| sys                |
| zabbix_server      |
+--------------------+
5 rows in set (0.00 sec)
随后依次导入数据
mysql> use zabbix_server;
Database changed
mysql> source ~/zabbix-5.0.2/database/mysql/schema.sql;
mysql> source ~/zabbix-5.0.2/database/mysql/images.sql;
mysql> source ~/zabbix-5.0.2/database/mysql/data.sql;
8.配置zabiix_server.conf文件
[root@localhost ~]# vim /zabbix-server/etc/zabbix_server.conf
修改以下信息
DBHost=localhost
DBName=zabbix_server
DBUser=root
DBPassword=123.com
DBSocket=/usr/local/mysql/mysql.sock
DBPort=3306
9.将mysql lib目录添加到lib环境变量中
[root@localhost ~]# echo ‘/mysql/lib/‘ > /etc/ld.so.conf.d/mysql.conf
[root@localhost ~]# ldconfig -v
10.启动zabbix
[root@localhost ~]# /zabbix-server/sbin/zabbix_server -c /zabbix-server/etc/zabbix_server.conf
11.查看zabbix状态,启动成功
[root@localhost ~]# ps -ef | grep zabbix
zabbix    12921      1  0 18:36 ?        00:00:00 /zabbix-server/sbin/zabbix_server -c /zabbix-server/etc/zabbix_server.conf
root      12924   1538  0 18:36 pts/0    00:00:00 grep --color=auto zabbix
12.将zabbix源码包目录/ui目录下的zabbix所有前端文件复制到nginx/html目录下
[root@localhost ui]# cp -r * /nginx/html/
13.修改nginx配置文件
[root@localhost ui]# vim /nginx/conf/nginx.conf
添加两个location字段
 location / {
            root   html;
            index  index.php index.htm;
        }
        location ~ \.php$ {
            root           html;
            fastcgi_pass   127.0.0.1:9000;
            fastcgi_index  index.php;
            fastcgi_param  SCRIPT_FILENAME  /scripts$fastcgi_script_name;
            include        fastcgi.conf;
        }
14.修改php.ini配置文件
修改以下参数
post_max_size = 16M
max_execution_time = 300
max_input_time = 300
date.timezone =Asia/Shanghai
mysqli.default_socket = /usr/local/mysql/mysql.sock      #此sock文件按mysql实际运行生成的sock文件为准
pdo_mysql.default_socket= /usr/local/mysql/mysql.sock   #此sock文件按mysql实际运行生成的sock文件为准
15.启动php.fpm
[root@localhost php]# bash init.d.php-fpm start
Starting php-fpm  done
16.浏览器访问zabbix界面
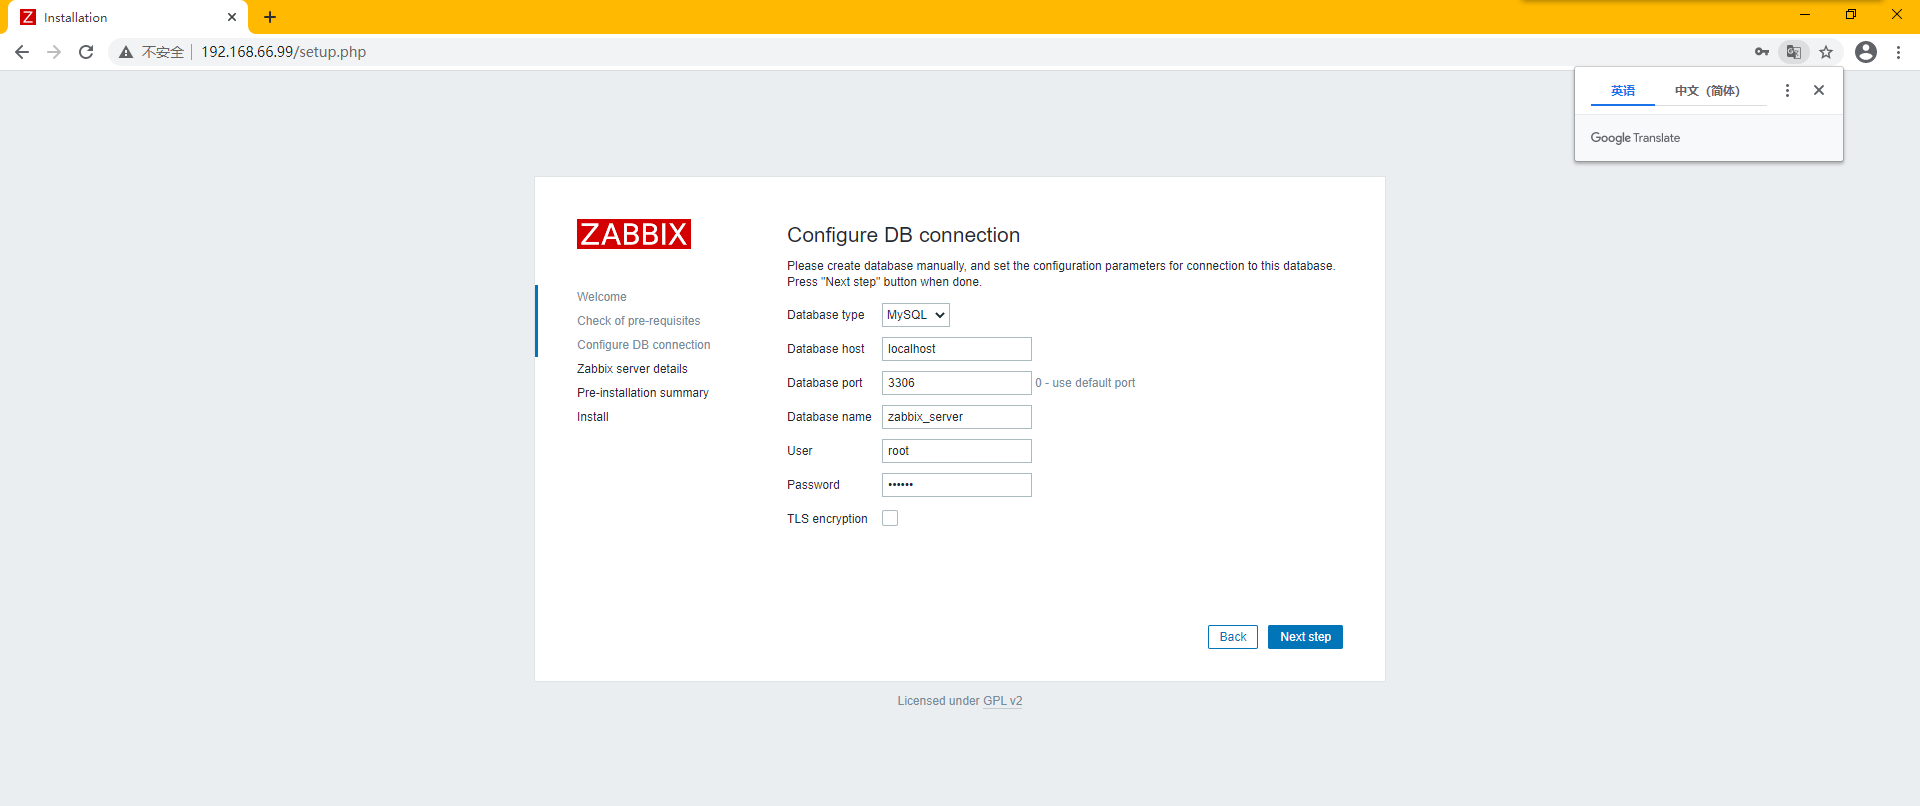
按实际填入相关信息,随后点击下一步

下一步
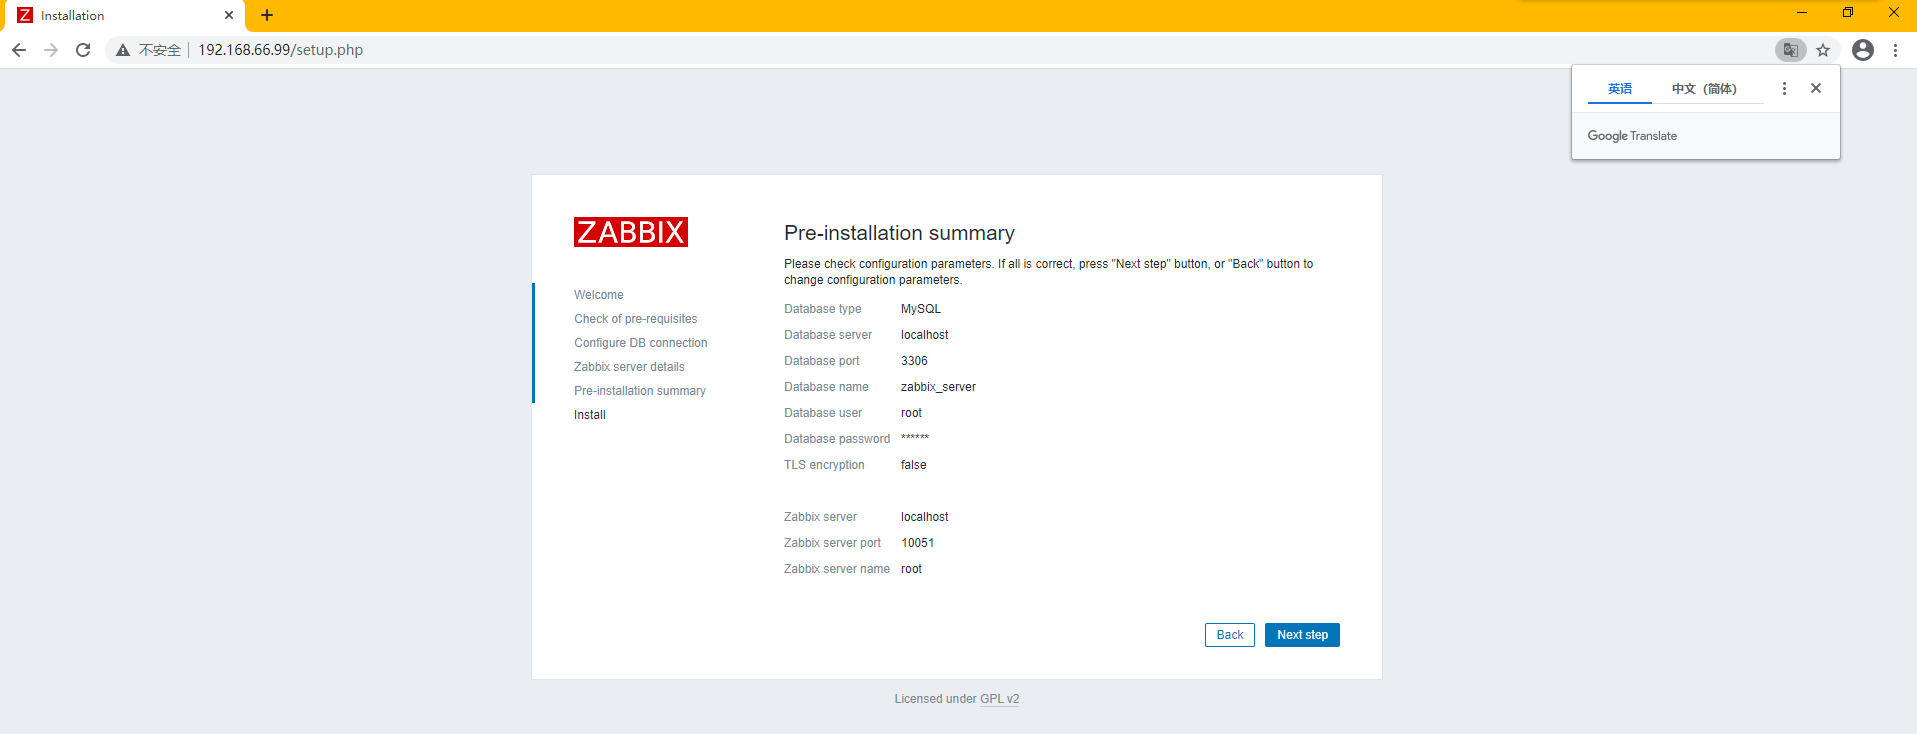
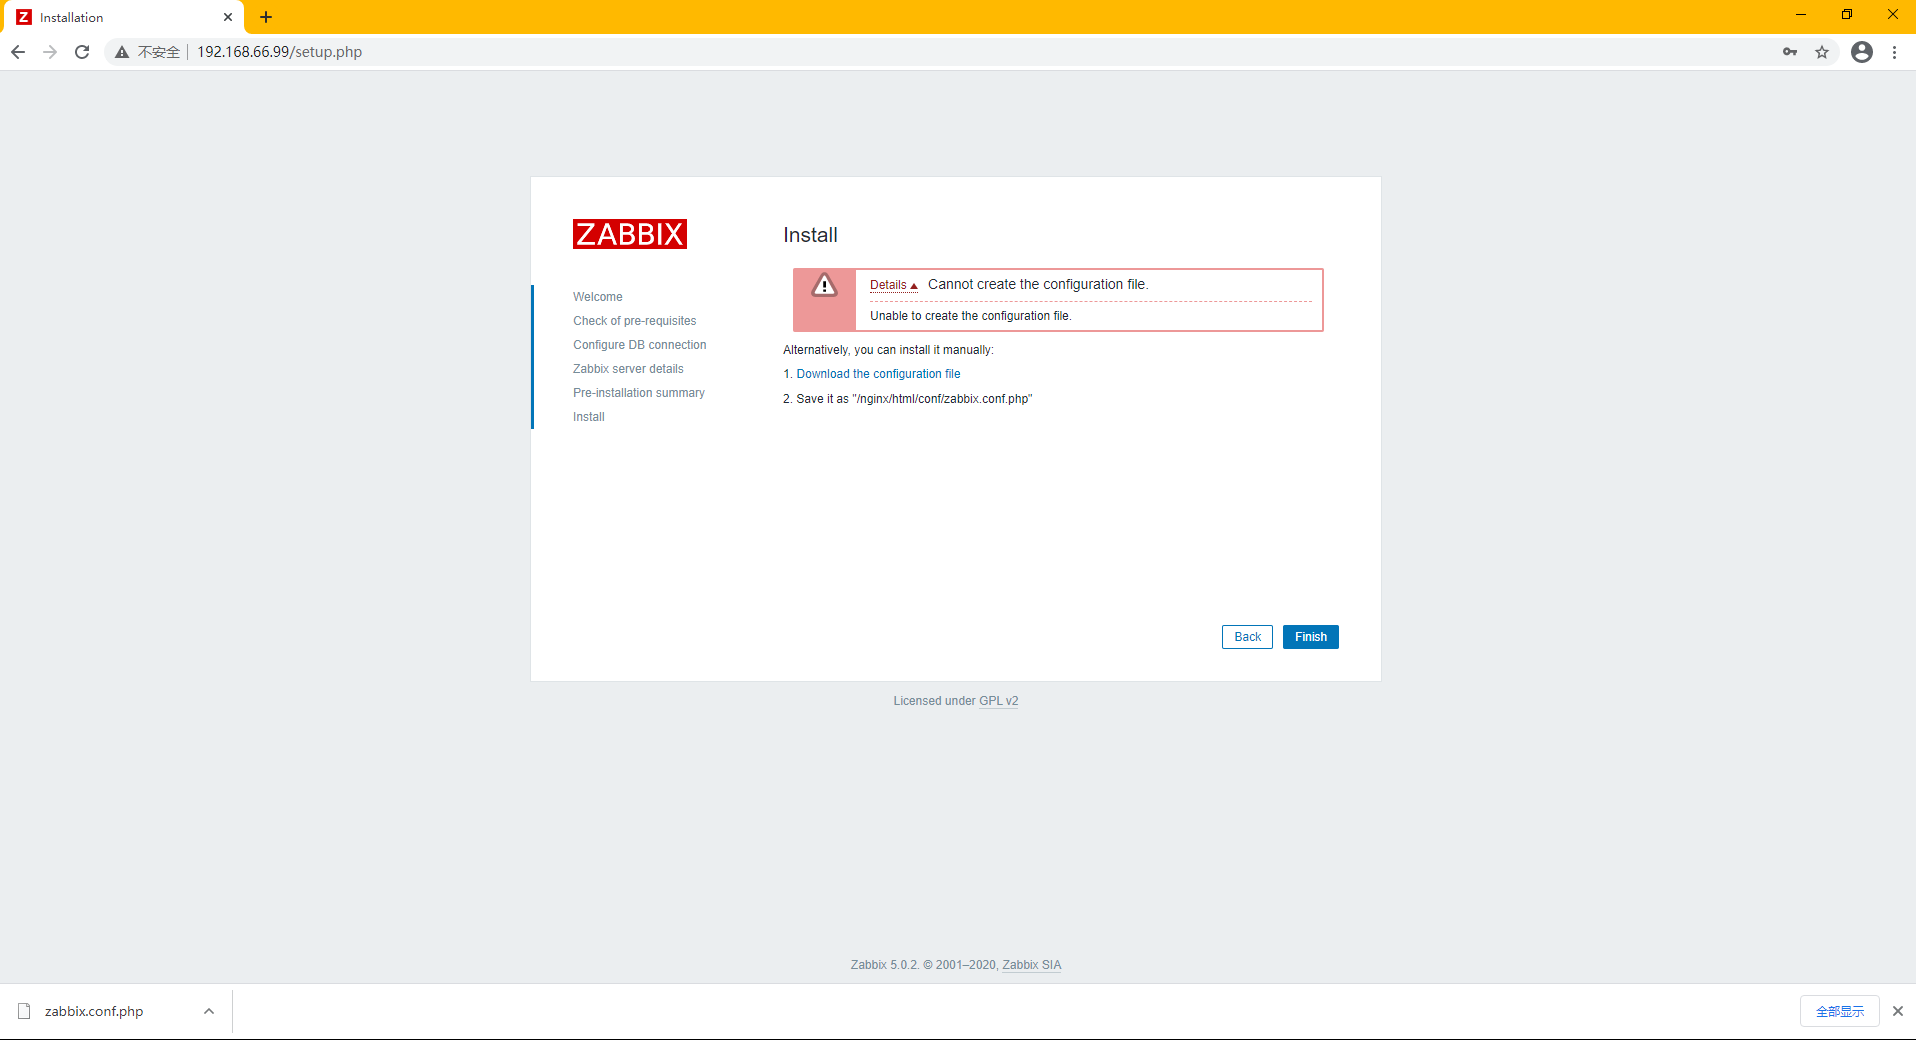
下一步,下载zabbix.conf.php文件并放至/nginx/html/conf目录下,随后点击下一步
至此进入登陆页面,输入用户名Admin,密码zabbix
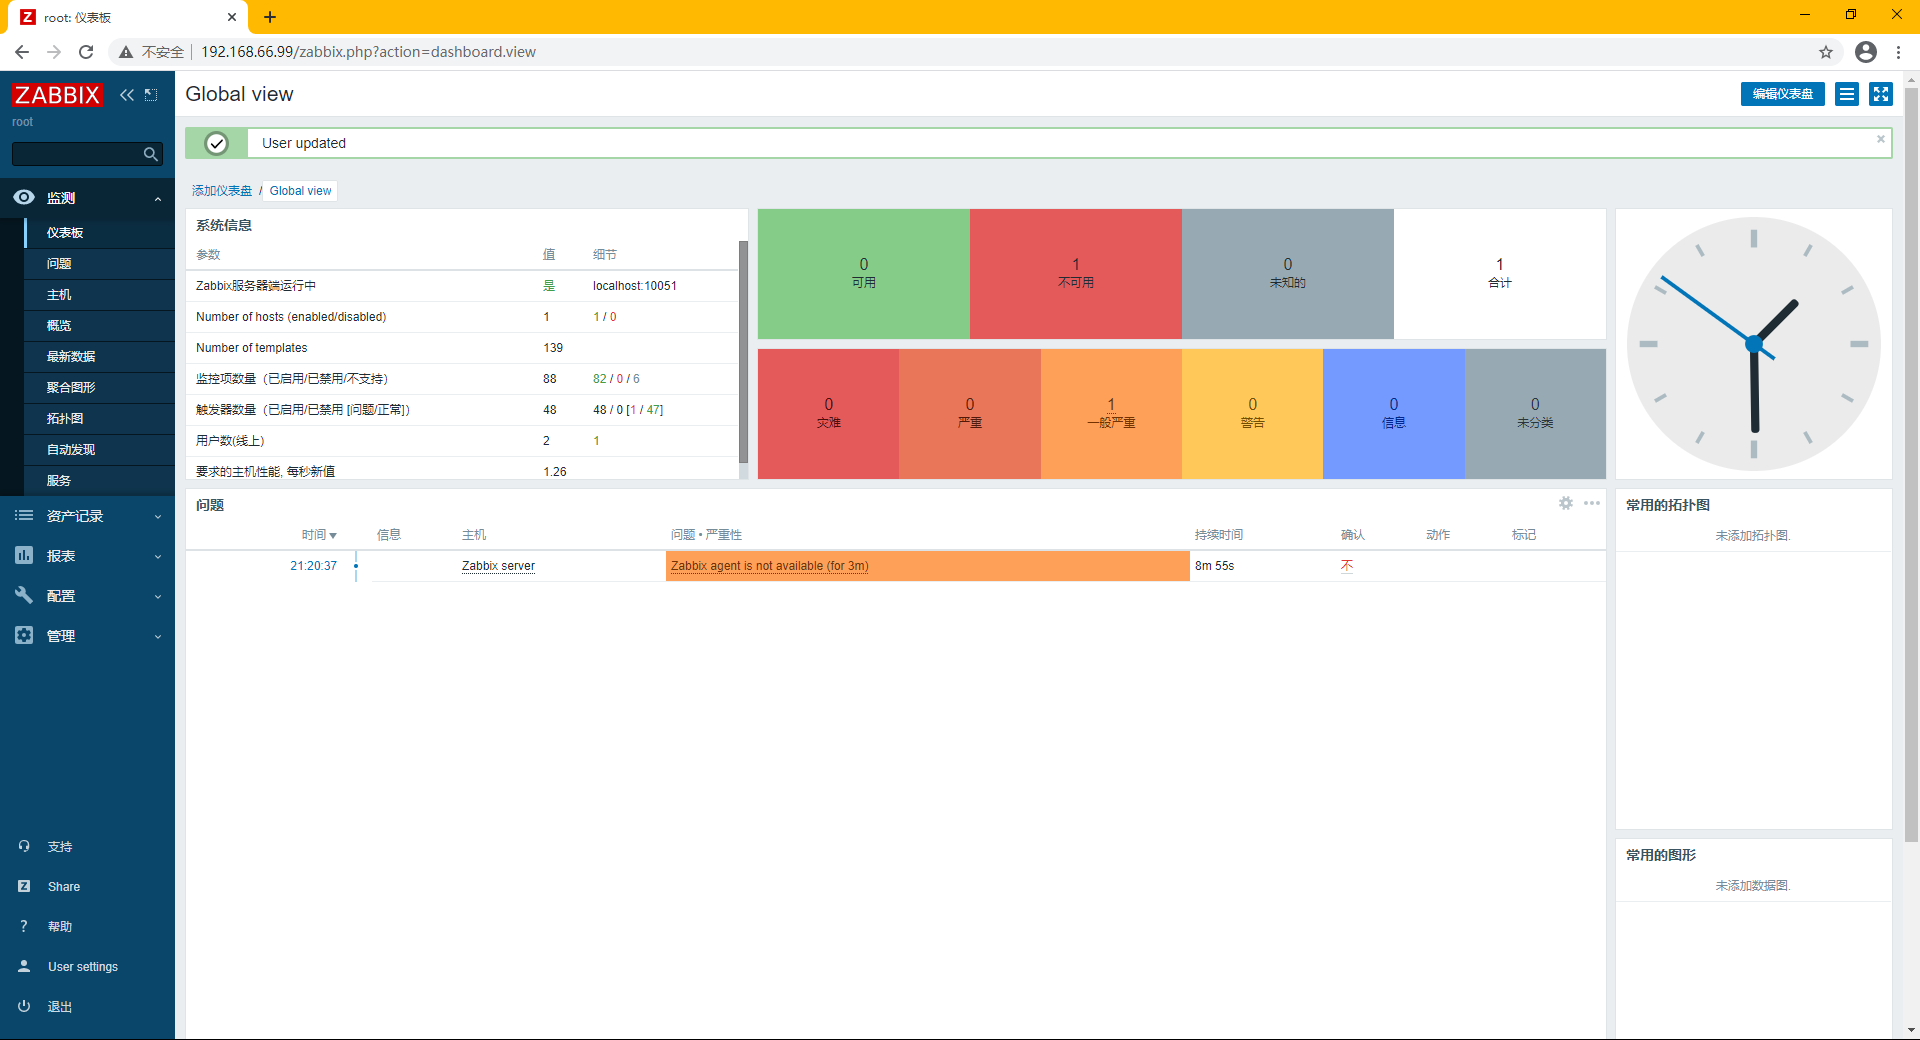
zabbix服务端配置成功!
原文:https://www.cnblogs.com/liziaoligei/p/14411466.html