一、配置
再来创建一个新的虚拟主机
#cd /usr/local/nginx/conf/vhost
#vi test.com.conf
写入:
server
{
listen 80;
server_name test.com;
index index.html index.htm index.php;
root /data/nginx/test.com;
location /
{
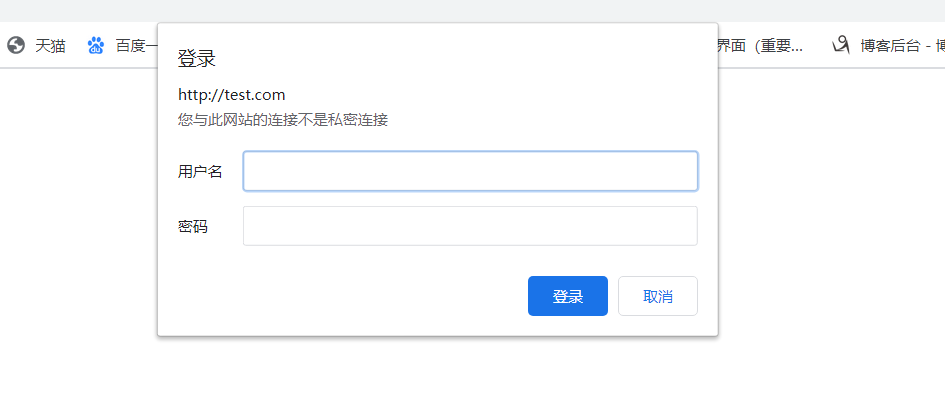
auth_basic "Auth";
//打开认证
auth_basic_user_file /usr/local/nginx/conf/htpasswd;
//指定用户密码文件
}
}
#yum install -y httpd
//安装httpd,也可以使用之前编译安装的Apache2.4
下面创建和更新用于基本认证的用户认证密码文件
#htpasswd -c /usr/local/nginx/conf/htpasswd dongying
new password:
re-type new password:
Adding password for user dongying
# /usr/local/nginx/sbin/nginx -t

#/usr/local/nginx/sbin/nginx -s reload
#mkdir /data/nginx/test.com
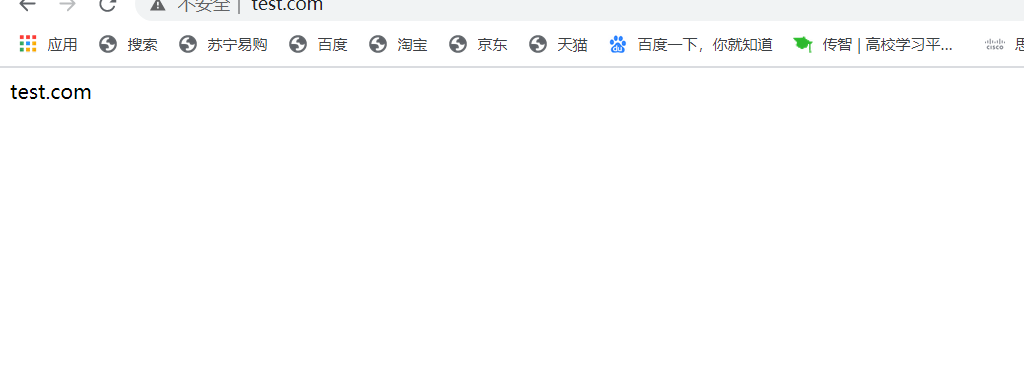
#echo "test.com" > /data/nginx/test.com/index.html
二、测试
#curl -I -x127.0.0.1:80 test.com
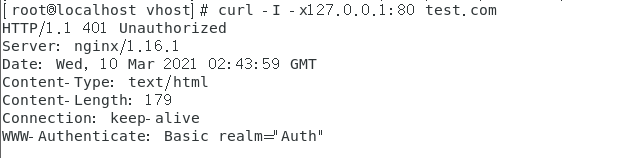
状态码401
# curl -udongying:dongying -x127.0.0.1:80 test.com

[root@localhost vhost]# systemctl stop firewalld
[root@localhost vhost]# setenforce 0
关闭防火墙
编辑C:\Windows\System32\drivers\etc\hosts文件,添加映射
终端的IP test.com ifconfig 查看
打开浏览器访问test.com
原文:https://www.cnblogs.com/lsy579/p/14510226.html