环境说明
本文演示部署NET Core 编写WebApi并部署为IIS站点,演示环境如下:
- Visual Studio 2019(v16.8) 下载
- .Net Core 3.1 下载
- 一台安装了IIS的设备,理论上
Note:.NET Core 3.0项目开发需要vs2019(v16.3及以上)支持
项目创建
下面简单演示.NET Core WebApi项目的创建
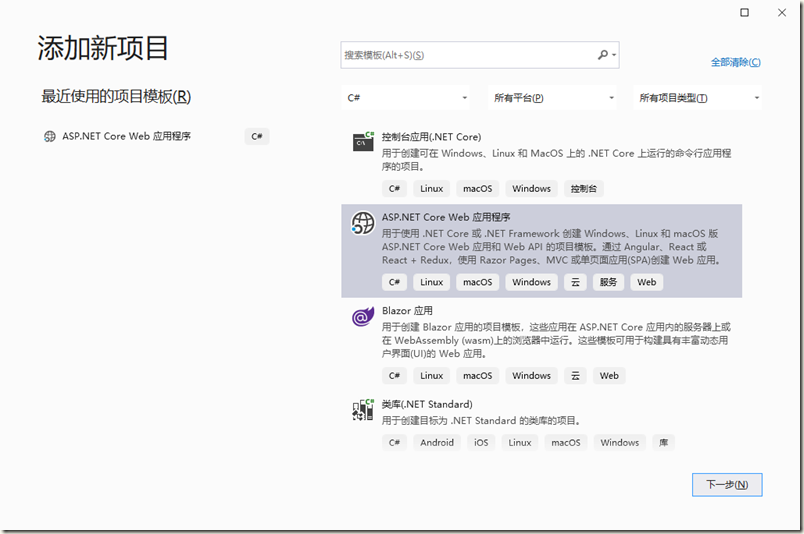
- 打开vs 2019 ,添加新项目,选择ASP.NET Core Web应用程序,点击【下一步】
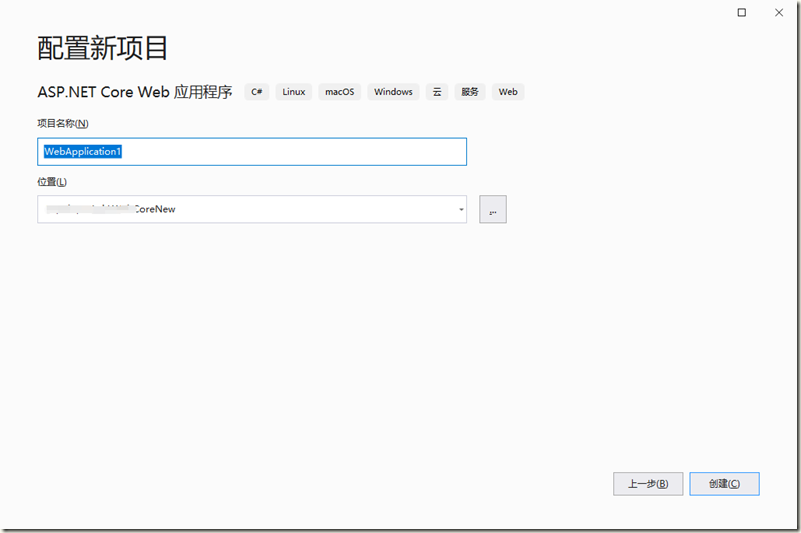
- 输入项目名称,然后点击【创建】
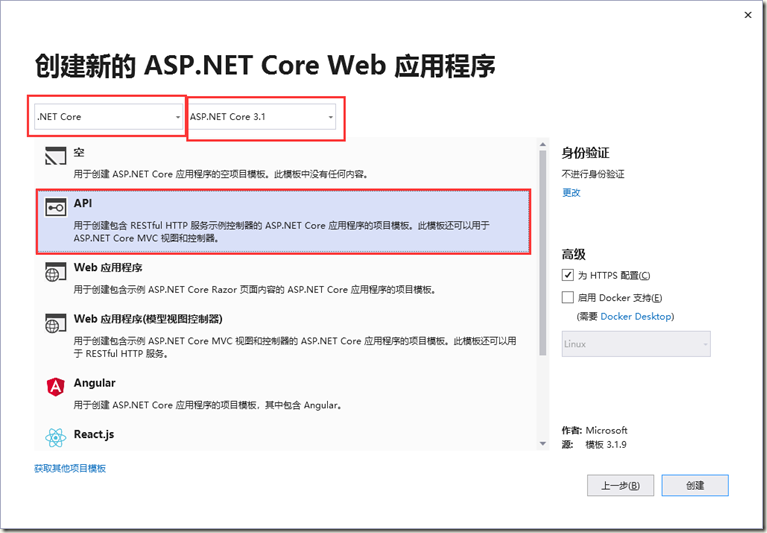
- 选择API,运行时选择ASP.NET Core 3.1 ,然后点击【创建】
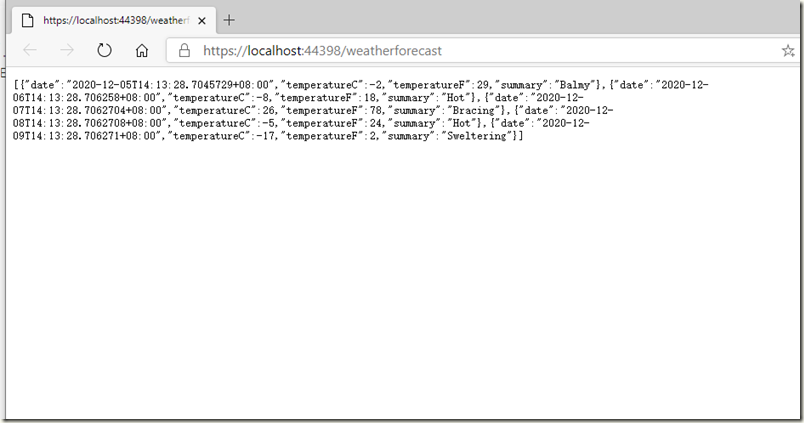
- 直接F5,生成并运行,在浏览器中看到默认的接口输出,项目创建完毕.
项目发布
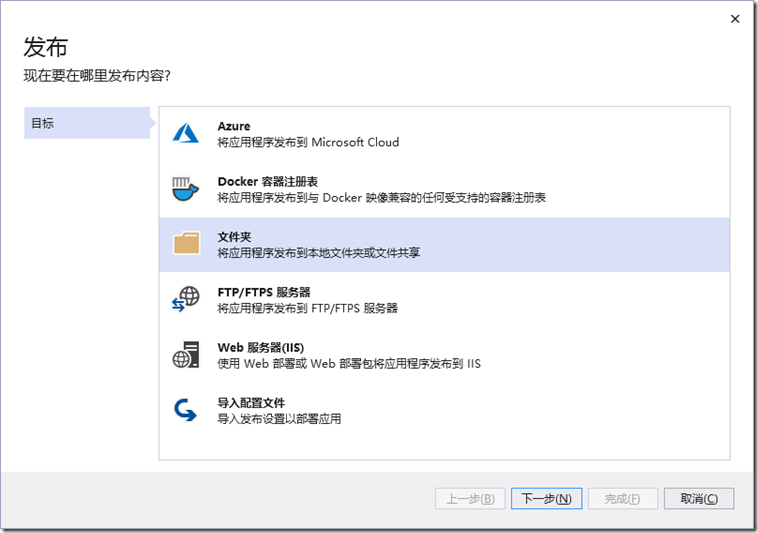
- 在VS中,选中刚才创建的项目,右键菜单选择 发布 ,进入发布界面,选择文件夹,然后点击【下一步】。
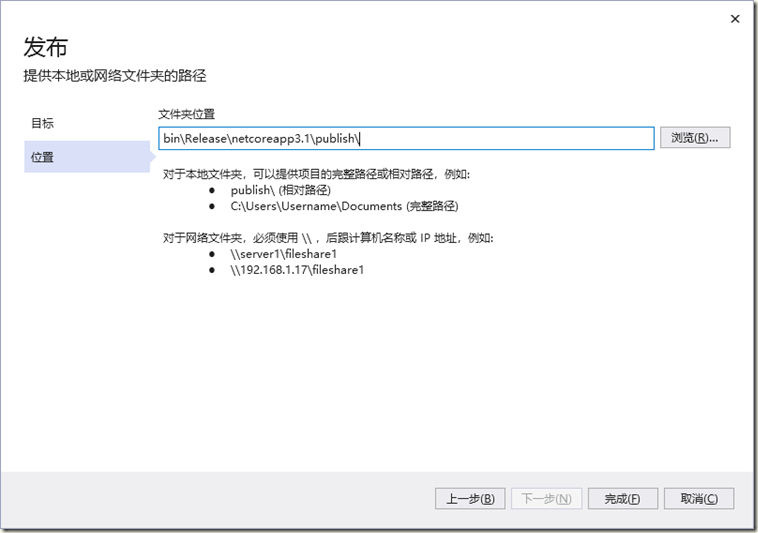
- 设置好发布文件的位置,然后点击【完成】
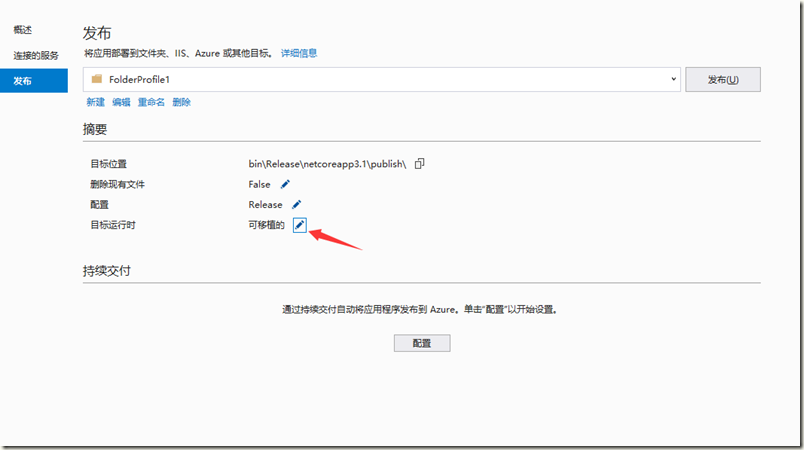
- 进入到文件发布窗口,修改运行时等信息,点击铅笔图标,修改运行时等信息。
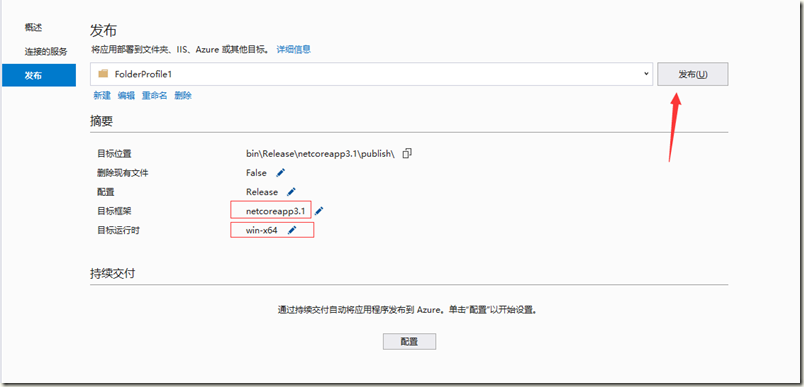
- 部署模式选择 框架依赖 ,目标运行时选择 win-x64 ,点击【保存】
- 进入发布界面,点击【发布】
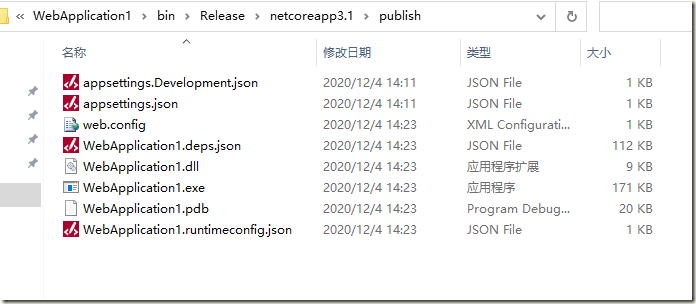
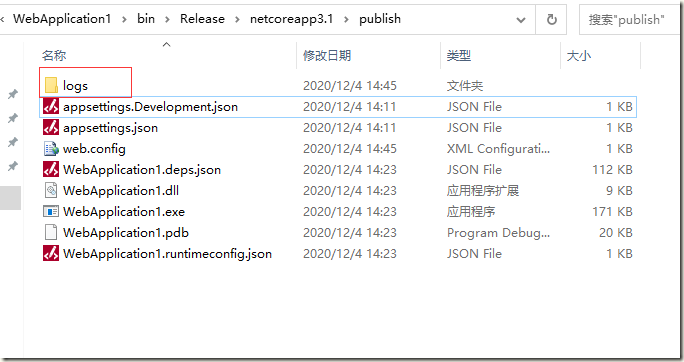
- 等待发布完成,进入到发布文件目录。
项目部署
- 进入到部署服务器,确保服务器上已经安装了IIS
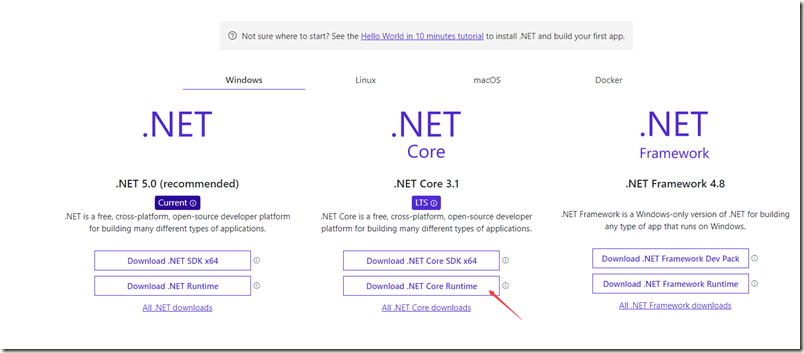
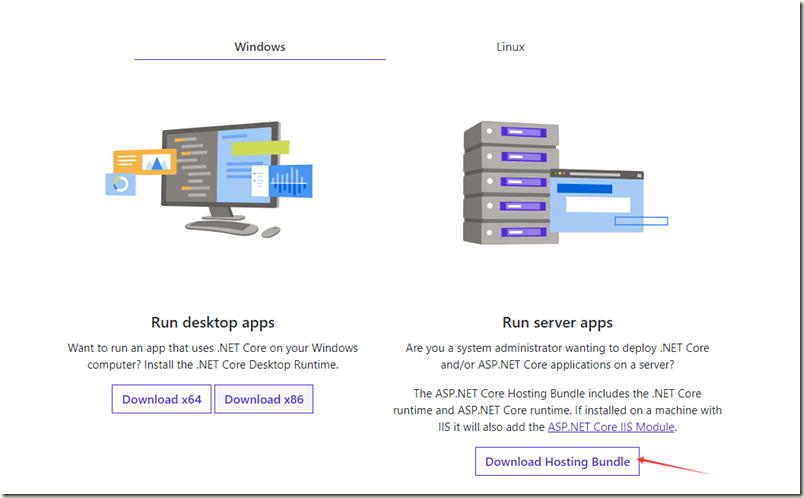
- 下载和安装.NET Core 3.1.x运行时(Hosting Bundle 安装包),一直下一步,直到安装完成
- 在IIS中部署.NET Core应用程序需要单独添加应用程序池,.NET CLR版本选择 无托管代码 ,对于部署.NET Core程序,IIS只是相当于一个反向代理。
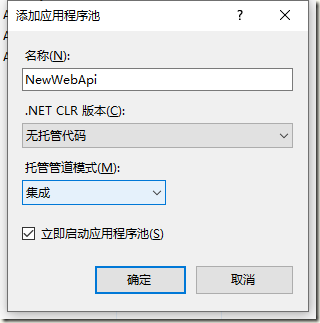
- 创建完成后,在iis中新增站点,应用程序池使用刚才创建的无托管代码程序池。
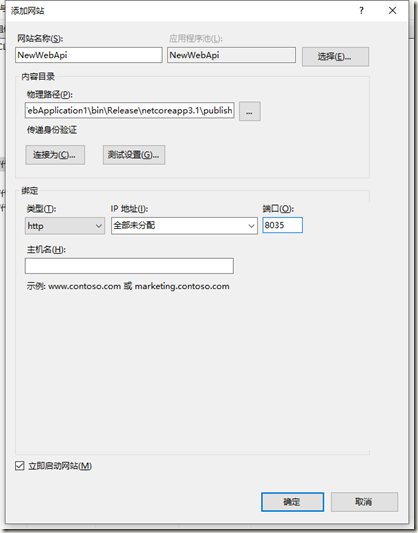
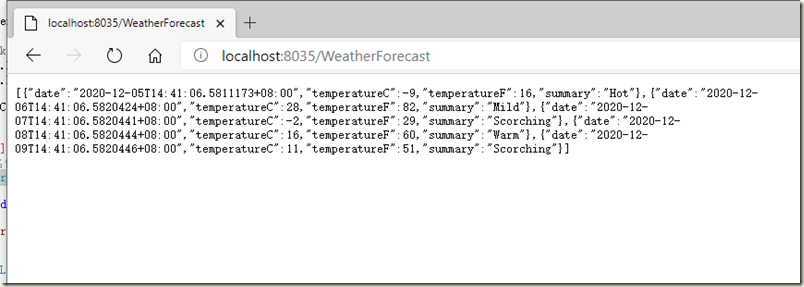
- 浏览网站,验证发布结果。
Note:在发布目录中找到Web.config文件,打开并将 stdoutLogEnabled 选项修改为 true ,可以启用日志功能

最后附上.NET Core各版本在操作系统中的支持情况

在IIS中部署.NET Core WebApi程序
原文:https://www.cnblogs.com/augustuss/p/14521715.html


