QML中接连信号有3种:
1. 通过on<Signal>信号处理器接收信号
以Button为例(参考https://www.cnblogs.com/lifexy/p/14488048.html),它的父类是AbstractButton,所以对应的信号有:
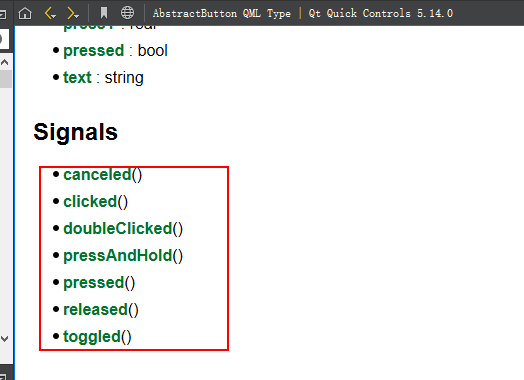
我们要处理这种信号的话,则是通过on<Signal>信号处理器来进行接收处理, 其中<Signal>是信号的名称,第一个字母大写。
退出示例如下所示:
Window{
    visible: true

    Button {
        text: "quit"

        onClicked: {
            Qt.quit();
        }

    }
}
当我们点击button后,就会触发clicked信号,从而执行onClicked信号接收器里面的代码块.并且这里代码块是可以访问父类下其它成员的.也可以访问函数
访问父类下其它成员,示例如下所示:
Window{
    visible: true
    Rectangle {
        id: rect1
        x: 0
        y: 0
        width: parent.width / 2
        height: parent.height
        z: 1
    }
    Rectangle {
        id: rect2
        x: parent.width / 2
        y: 0
        width: parent.width / 2
        height: parent.height
        z: 1
    }

    Button {
        text: "改变颜色"
        onClicked: {
           rect1.color = Qt.rgba(Math.random(), Math.random(), Math.random(), 1);
            rect2.color = Qt.rgba(Math.random(), Math.random(), Math.random(), 1);

            //changeColor(); // 等价于,调用了changeColor()函数
        }
        z: 2
    }
    function changeColor() {
        rect1.color = Qt.rgba(Math.random(), Math.random(), Math.random(), 1);
        rect2.color = Qt.rgba(Math.random(), Math.random(), Math.random(), 1);
    }
}
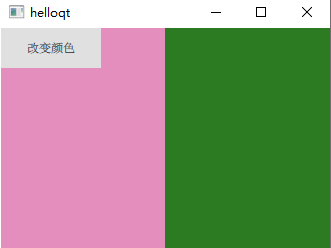
效果如下所示:
2. 通过<附加属性>.on<Signal>信号接收器接受附加属性的信号
以Item的key附加属性为例(参考https://www.cnblogs.com/lifexy/p/14474555.html),通过“key”可以让所有基于Item的视图元素都可以使用键处理,如下图所示:
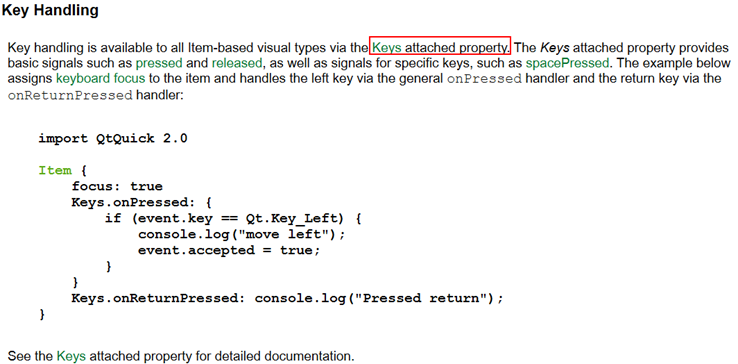
参考链接很详细,就不一一描述如何使用了.
3.on<Property>Changed属性更改信号处理器
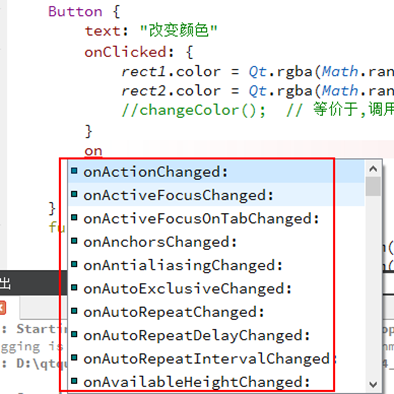
属性值发生变化时会触发一个<Property>Changed信号,我们便可以通过on<Property>Changed信号处理器去处理它,但是也有极少属性没有<Property>Changed信号, 这个在目前的帮助手册中未说明,所以我们可以通过输入提示来寻找那些属性拥有<Property>Changed信号,如下图所示:
4.使用Connections对象建立信号连接
使用Conections的好处在于:
写法如下所示:
Connections {
    target: xxx; // 表示发出信号的对象
    on<Signal>: {
        // 进行target对象发出信号的处理
    }
}
示例如下所示:
Window{
    visible: true

    Row {
        Rectangle {
            width: 100;
            height:100;
            id: rect1
            color: "red"
        }
        Rectangle {
            width: 100;
            height:100;
            id: rect2
            color: "blue"
        }
    }

    MouseArea {
        anchors.fill: parent;
        id: area;
    }

    Connections{
        target: area
        onClicked: {
            rect1.color = Qt.rgba(Math.random(), Math.random(), Math.random(), 1);
            rect2.color = Qt.rgba(Math.random(), Math.random(), Math.random(), 1);
        }
    }
}
5.使用signal信号的connect()进行连接
信号本身有connect()和disconnect()两个函数来连接或断开一个信号或方法.
示例如下所示(鼠标点击了哪个位置,则在哪个位置显示小圆圈):
Window{
    visible: true

    Rectangle {
        id: rect1
        width: 20;
        height:20;
        radius: 10
        color: "red"
        visible: false
    }

    MouseArea {
        anchors.fill: parent;
        id: area;
    }

    function click() {
        rect1.visible = true;
        rect1.color = Qt.rgba(Math.random(), Math.random(),     Math.random(), 1);
        rect1.x = arguments[0].x - rect1.width/2;
        rect1.y = arguments[0].y - rect1.height/2;
  }
    Component.onCompleted: {
        area.clicked.connect(click); // 将MouseArea的clicked(mouse)信号连接到click方法上
    }
}
6.自定义信号
QML帮助如下图所示,可以通过signal关键字来自定义一个QML类型的信号: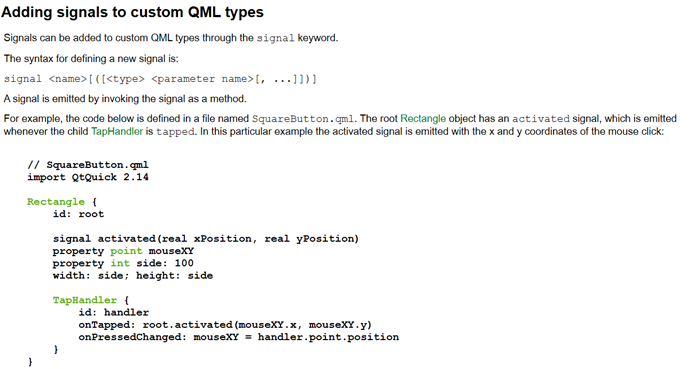
定义信号的语法为:
signal <name>[([<type> <parameter name>[, ...]])]
信号本质就是个方法,调用信号时,就是作为方法来调用的。
注意:
示例如下所示:
Window{
    visible: true
    Rectangle {
        id: rect1
        width: 20;
        height:20;
        radius: 10
        color: "red"
       visible: false
    }

    MouseArea {
        id: area;
        anchors.fill: parent;
        signal moveRectPos(real x, real y)
        onClicked: area.moveRectPos(mouse.x, mouse.y); // 当点击后,发射moveRectPos信号
    }

    Connections {
        target: area;
        onMoveRectPos: {
          rect1.visible = true;
          rect1.color = Qt.rgba(Math.random(), Math.random(), Math.random(), 1);
          rect1.x = x - rect1.width/2;
          rect1.y = y - rect1.height/2;
        }
    }
}
END
原文:https://www.cnblogs.com/lifexy/p/14607879.html