(1)规划节点
|
IP地址 |
主机名 |
节点 |
|
192.168.200.30 |
Mall |
单节点服务器 |
(2)编辑hosts文件
(3)Nginx配置文件/etc/nginx/conf.d/default.conf中添加映射
(4)上传jar包,并运行
修改/etc/hosts文件,修改项目全局配置文件如下:
[root@mall ~]# cat /etc/hosts

127.0.0.1   localhost localhost.localdomain localhost4 localhost4.localdomain4

::1         localhost localhost.localdomain localhost6 localhost6.localdomain6

192.168.200.30 mall

192.168.200.30 kafka.mall

192.168.200.30 mysql.mall

192.168.200.30 redis.mall

192.168.200.30 zookeeper.mall //这里都应该是自己本机的IP
将dist目录上传至服务器的/root目录下。接着将dist目录下的文件,复制到Nginx默认项目路径(首先清空默认项目路径下的文件)。
[root@mall ~]# rm -rf /usr/share/nginx/html/*

[root@mall ~]# cp -rvf dist/* /usr/share/nginx/html/

修改Nginx配置文件/etc/nginx/conf.d/default.conf,添加映射如下所示:

[root@mall ~]# vi /etc/nginx/conf.d/default.conf

server {

    listen       80;

    server_name  localhost;


    #charset koi8-r;

    #access_log  /var/log/nginx/host.access.log  main;


    location / {

        root   /usr/share/nginx/html;

        index  index.html index.htm;

    }

 location /user {

            proxy_pass http://127.0.0.1:8082;

        }


    location /shopping {

            proxy_pass http://127.0.0.1:8081;

        }


    location /cashier {

            proxy_pass http://127.0.0.1:8083;

        }

    #error_page  404              /404.html;

重启Nginx服务,命令如下:

[root@mall ~]# systemctl restart nginx
到此,前端部署完毕。
将提供的4个jar包上传到服务器的/root目录下,并启动,启动命令如下:
[root@mall gpmall]# nohup java -jar shopping-provider-0.0.1-SNAPSHOT.jar &

[1] 6432

[root@mall gpmall]# nohup: ignoring input and appending output to ‘nohup.out’


[root@mall gpmall]# nohup java -jar user-provider-0.0.1-SNAPSHOT.jar &

[2] 6475

[root@mall gpmall]# nohup: ignoring input and appending output to ‘nohup.out’


[root@mall gpmall]# nohup java -jar gpmall-shopping-0.0.1-SNAPSHOT.jar &

[3] 6523

[root@mall gpmall]# nohup: ignoring input and appending output to ‘nohup.out’


[root@mall gpmall]# nohup java -jar gpmall-user-0.0.1-SNAPSHOT.jar &

[4] 6563

[root@mall gpmall]# nohup: ignoring input and appending output to ‘nohup.out’
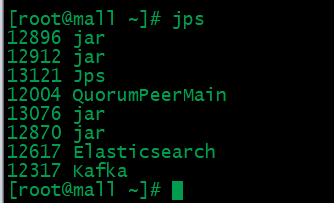
按照顺序运行4个jar包后,至此后端服务部署完毕,如下图所示:

打开浏览器,在地址栏中输入http://192.168.200.30,访问界面,如下图所示。

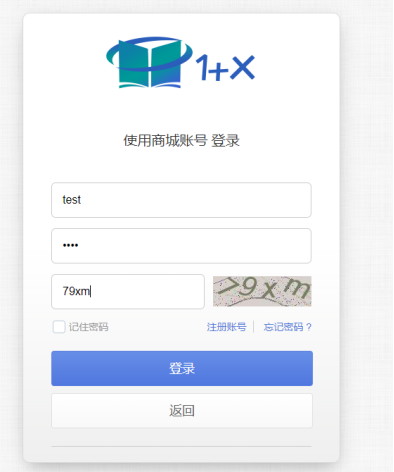
单击右上角“头像”,进行登录操作,使用用户名/密码为test/test进行登录,如下图所示。

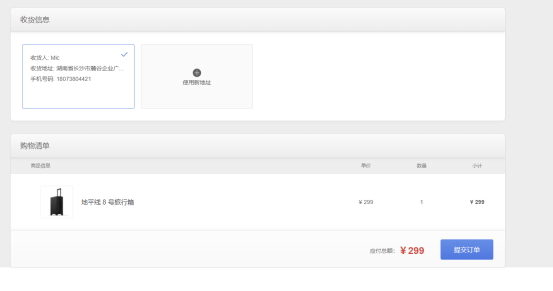
登录后,可进行购买商品操作,单击首页“地平线8号”旅行箱图片,加入购物车,提交订单,如下图所示。

至此,单机部署应用系统完成。
原文:https://www.cnblogs.com/tcq123/p/14611280.html