
In the command line window, check the AWS CLI version:
aws --versionIt should be an older version.
Download v2:
curl "https://awscli.amazonaws.com/awscli-exe-linux-x86_64.zip" -o "awscliv2.zip"Unzip the file:
unzip awscliv2.zipSee where the current AWS CLI is installed:
which awsIt should be /usr/bin/aws.
Update it:
sudo ./aws/install --bin-dir /usr/bin --install-dir /usr/bin/aws-cli --updateCheck the version of AWS CLI:
aws --versionConfigure the CLI:
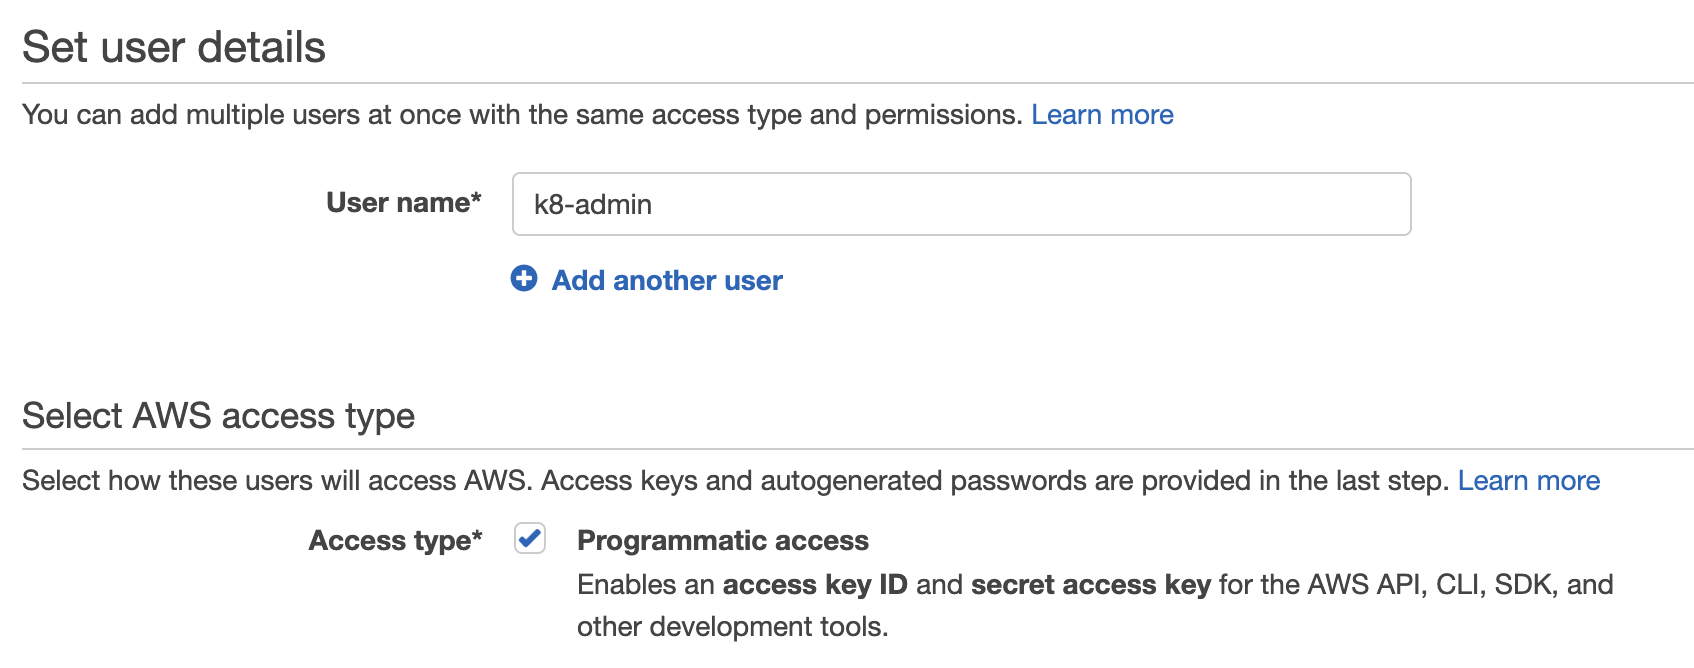
aws configureFor AWS Access Key ID, paste in the access key ID you copied earlier.
For AWS Secret Access Key, paste in the secret access key you copied earlier.
For Default region name, enter us-east-1.
For Default output format, enter json.
Download kubectl:
curl -o kubectl https://amazon-eks.s3.us-west-2.amazonaws.com/1.16.8/2020-04-16/bin/linux/amd64/kubectlApply execute permissions to the binary:
chmod +x ./kubectlCopy the binary to a directory in your path:
mkdir -p $HOME/bin && cp ./kubectl $HOME/bin/kubectl && export PATH=$PATH:$HOME/binEnsure kubectl is installed:
kubectl version --short --clientEnsure kubectl is installed:
kubectl version --short --clientDownload eksctl:
curl --silent --location "https://github.com/weaveworks/eksctl/releases/latest/download/eksctl_$(uname -s)_amd64.tar.gz" | tar xz -C /tmpMove the extracted binary to /usr/bin:
sudo mv /tmp/eksctl /usr/binGet the version of eksctl:
eksctl versionSee the options with eksctl:
eksctl helpProvision an EKS cluster with three worker nodes in us-east-1:
eksctl create cluster --name dev --version 1.16 --region us-east-1 --nodegroup-name standard-workers --node-type t3.micro --nodes 3 --nodes-min 1 --nodes-max 4 --managedIt will take 10–15 minutes since it‘s provisioning the control plane and worker nodes, attaching the worker nodes to the control plane, and creating the VPC, security group, and Auto Scaling group.
It is using CloudFormation to create the whole stack:

If you run into problem that `us-east-1 e` doesn‘t have enough resource, just wait for CloudFormation rollback and run the cmd again.
It create NodeGroup as well in EKS Cluster
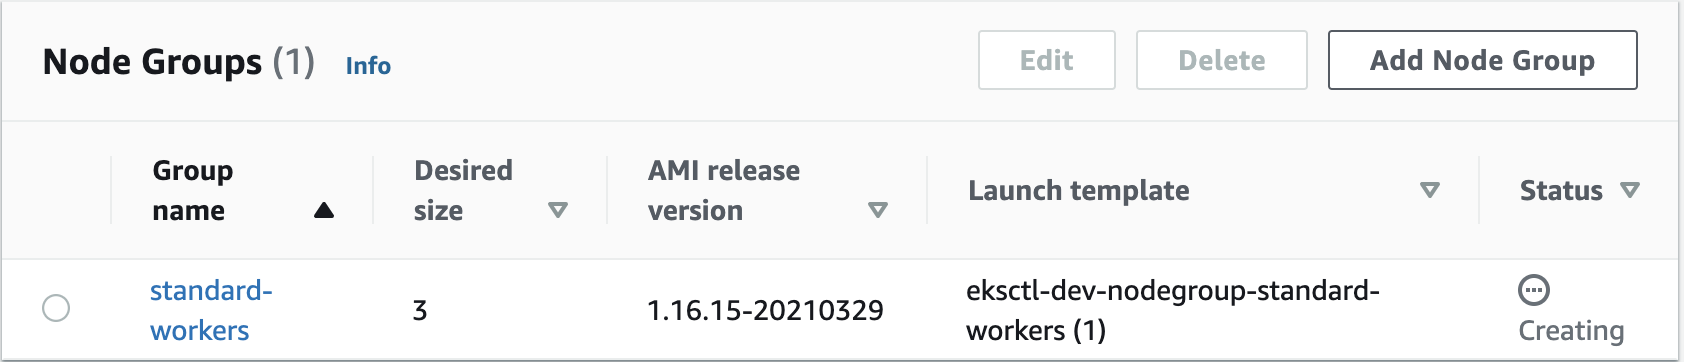
In EC2, you can see it creates worker nodes:

In the AWS Management Console, navigate to CloudFormation and take a look at what’s going on there.
Select the eksctl-dev-cluster stack (this is our control plane).
Click Events, so you can see all the resources that are being created.
We should then see another new stack being created — this one is our node group.
Once both stacks are complete, navigate to Elastic Kubernetes Service > Clusters.
Click the listed cluster.
Click the Compute tab, and then click the listed node group. There, we‘ll see the Kubernetes version, instance type, status, etc.
Click dev in the breadcrumb navigation link at the top of the screen.
Click the Networking tab, where we‘ll see the VPC, subnets, etc.
Click the Logging tab, where we‘ll see the control plane logging info.
Navigate to EC2 > Instances, where you should see the instances have been launched.
Close out of the existing CLI window, if you still have it open.
Select the original t2.micro instance, and click Connect at the top of the window.
In the Connect to your instance dialog, select EC2 Instance Connect (browser-based SSH connection).
Click Connect.
In the CLI, check the cluster:
eksctl get clusterEnable it to connect to our cluster:
aws eks update-kubeconfig --name dev --region us-east-1Install Git:
sudo yum install -y gitDownload the course files:
git clone https://github.com/ACloudGuru-Resources/Course_EKS-BasicsChange directory:
cd Course_EKS-BasicsTake a look at the deployment file:
cat nginx-deployment.yamlTake a look at the service file:
cat nginx-svc.yamlnginx-deployment.yaml
apiVersion: apps/v1
kind: Deployment
metadata:
  name: nginx-deployment
  labels:
    env: dev
spec:
  replicas: 3
  selector:
    matchLabels:
      env: dev
  template:
    metadata:
      labels:
        env: dev
    spec:
      containers:
      - name: nginx
        image: nginx
        ports:
        - containerPort: 80
nginx-svc.yaml
apiVersion: v1
kind: Service
metadata:
  name: nginx-svc
  labels:
    env: dev
spec:
  type: LoadBalancer
  ports:
  - port: 80
  selector:
    env: dev
Create the service:
kubectl apply -f ./nginx-svc.yamlCheck its status:
kubectl get serviceCopy the external IP of the load balancer, and paste it into a text file, as we‘ll need it in a minute.
Create the deployment:
kubectl apply -f ./nginx-deployment.yamlCheck its status:
kubectl get deploymentView the pods:
kubectl get podView the ReplicaSets:
kubectl get rsView the nodes:
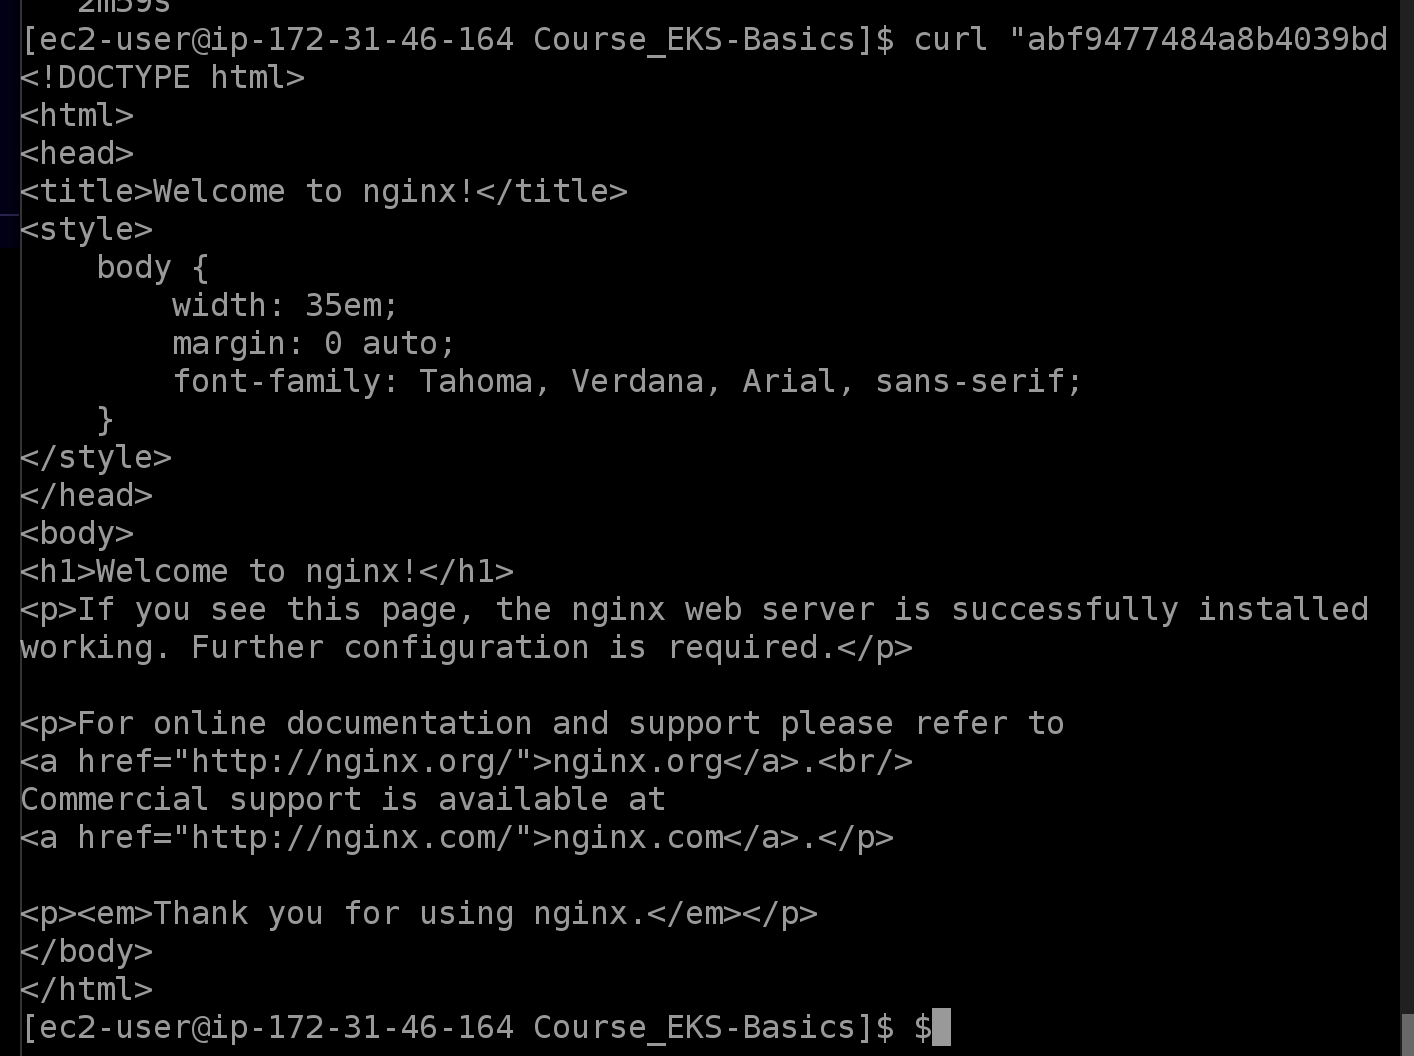
kubectl get nodeAccess the application using the load balancer, replacing <LOAD_BALANCER_EXTERNAL_IP> with the IP you copied earlier:
curl "<LOAD_BALANCER_EXTERNAL_IP>"The output should be the HTML for a default Nginx web page.
In a new browser tab, navigate to the same IP, where we should then see the same Nginx web page.
In the AWS console, on the EC2 instances page, select the three t3.micro instances.
Click Actions > Instance State > Stop.
In the dialog, click Yes, Stop.
After a few minutes, we should see EKS launching new instances to keep our service running.
In the CLI, check the status of our nodes:
kubectl get nodeAll the nodes should be down (i.e., display a NotReady status).
Check the pods:
kubectl get podWe‘ll see a few different statuses — Terminating, Running, and Pending — because, as the instances shut down, EKS is trying to restart the pods.


Check the nodes again:
kubectl get nodeWe should see a new node, which we can identify by its age.
Wait a few minutes, and then check the nodes again:
kubectl get nodeWe should have one in a Ready state.
Check the pods again:
kubectl get podWe should see a couple pods are now running as well.
Check the service status:
kubectl get serviceCopy the external IP listed in the output.
Access the application using the load balancer, replacing <LOAD_BALANCER_EXTERNAL_IP> with the IP you just copied:
curl "<LOAD_BALANCER_EXTERNAL_IP>"We should see the Nginx web page HTML again. (If you don‘t, wait a few more minutes.)
In a new browser tab, navigate to the same IP, where we should again see the Nginx web page.
In the CLI, delete everything:
eksctl delete cluster dev
[AWS] Lab: Launching an EKS Cluster
原文:https://www.cnblogs.com/Answer1215/p/14620103.html