1.使用IDEA创建Maven工程
2.IDEA配置Maven
3.添加web
(1)右键项目名:“Add Framework Support"
(2)选择WebApplication
(3)核实版本号
(4)核实是否会自动创建web.xml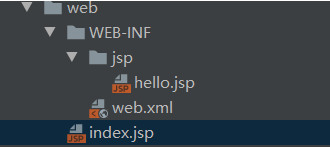
4.引入依赖
```go
<dependencies>
<dependency>
<groupId>junit</groupId>
<artifactId>junit</artifactId>
<version>4.13.2</version>
<scope>test</scope>
</dependency>
<dependency>
<groupId>org.springframework</groupId>
<artifactId>spring-webmvc</artifactId>
<version>5.2.13.RELEASE</version>
</dependency>
<dependency>
<groupId>javax.servlet</groupId>
<artifactId>servlet-api</artifactId>
<version>2.5</version>
</dependency>
<dependency>
<groupId>javax.servlet</groupId>
<artifactId>javax.servlet-api</artifactId>
<version>4.0.1</version>
<scope>provided</scope>
</dependency>
</dependencies>
```
5.添加Spring框架的核心配置文件
```go
<?xml version="1.0" encoding="UTF-8"?>
<beans xmlns="http://www.springframework.org/schema/beans"
xmlns:xsi="http://www.w3.org/2001/XMLSchema-instance"
xmlns:context="http://www.springframework.org/schema/context"
xmlns:mvc="http://www.springframework.org/schema/mvc"
xsi:schemaLocation="http://www.springframework.org/schema/beans
http://www.springframework.org/schema/beans/spring-beans.xsd
http://www.springframework.org/schema/context
https://www.springframework.org/schema/context/spring-context.xsd
http://www.springframework.org/schema/mvc
https://www.springframework.org/schema/mvc/spring-mvc.xsd
">
<!-- bean definitions here -->
</beans>
```
6.在Spring的配置文件中配置MVC
```go
<!-- 1加载注解驱动 -->
<mvc:annotation-driven/>
```
7.在controller包下新建HelloController类
```go
package controller;
@Controller
public class HelloController {
@RequestMapping("/hello")
public String hello(Model model){
// Model 封装数据
model.addAttribute("msg","HELLO MY FIRST SPRING MVC PROJECT");
// 返回的字符串就是视图的名字 会被视图解析器处理
return "hello";
}
}
```
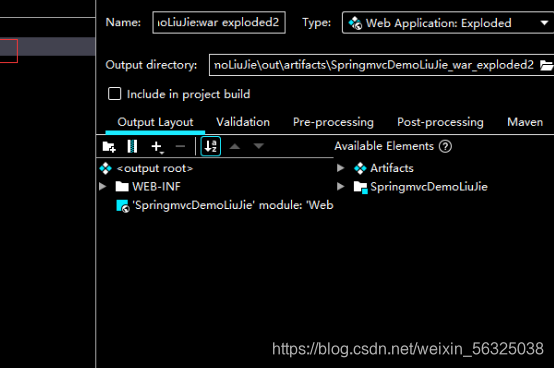
运行Web项目
原文:https://www.cnblogs.com/huangjq/p/14660628.html