事务就是把一系列的动作当成一个独立的工作单元,这些动作要么全部完成,要么全部不起作用。
事务四个属性ACID
原子性(atomicity)
一致性(consistency)
隔离性(isolation)
持久性(durability)
下面主要讲解Spring的事务控制,如何使用Spring来对程序进行事务控
一般地,我们事务控制都是在service层做的。。为什么是在service层而不是在dao层呢??有没有这样的疑问...
service层是业务逻辑层,service的方法一旦执行成功,那么说明该功能没有出错。
一个service方法可能要调用dao层的多个方法...如果在dao层做事务控制的话,一个dao方法出错了,仅仅把事务回滚到当前dao的功能,这样是不合适的[因为我们的业务由多个dao方法组成]。如果没有出错,调用完dao方法就commit了事务,这也是不合适的[导致太多的commit操作]。
事务控制分为两种:
编程式事务控制
声明式事务控制
自己手动控制事务,就叫做编程式事务控制。
Jdbc代码:Conn.setAutoCommite(false); // 设置手动控制事务
Hibernate代码:Session.beginTransaction(); // 开启一个事务
特点:细粒度的事务控制: 可以对指定的方法、指定的方法的某几行添加事务控制(比较灵活,但开发起来比较繁琐:每次都要开启、提交、回滚)
Spring提供对事务的控制管理就叫做声明式事务控制
Spring提供了对事务控制的实现。
如果用户想要使用Spring的事务控制,只需要配置就行了。
当不用Spring事务的时候,直接移除就行了。
特点:Spring的事务控制是基于Spring AOP实现的。因此它的耦合度是非常低的。【粗粒度的事务控制: 只能给整个方法应用事务,不可以对方法的某几行应用事务。】(因为aop拦截的是方法。)
Spring给我们提供了事务的管理器类,事务管理器类又分为两种,因为JDBC的事务和Hibernate的事务是不一样的。
Spring声明式事务管理器类:
Jdbc技术:DataSourceTransactionManager
Hibernate技术:HibernateTransactionManager
1、引入相应pom依赖
<!-- aspectj AOP -->
<dependency>
    <groupId>org.aspectj</groupId>
    <artifactId>aspectjweaver</artifactId>
    <version>1.9.6</version>
</dependency>

<!-- spring-jdbc -->
<dependency>
    <groupId>org.springframework</groupId>
    <artifactId>spring-jdbc</artifactId>
    <version>5.3.5</version>
</dependency>
2、创建实体类
public class User {
    private Integer id;
    private String name;
    private String pwd;

	//各种setter,getter,toString
}
3、创建mapper接口
public interface UserMapper {

    @Delete("delete from user where id = #{id}")
    int deleteById(@Param("id") int id);

}
4、创建mybatis核心配置文件
<?xml version="1.0" encoding="UTF-8" ?>
<!DOCTYPE configuration
        PUBLIC "-//mybatis.org//DTD Config 3.0//EN"
        "http://mybatis.org/dtd/mybatis-3-config.dtd">

<configuration>

    <settings>
        <!-- 内置日志 -->
        <setting name="logImpl" value="STDOUT_LOGGING"/>
    </settings>

    <!--  设置别名  -->
    <typeAliases>
        <package name="org.com.pojo"/>
    </typeAliases>

</configuration>
5、创建UserService接口及其实现类
public interface UserService {

    int deleteById(int id);

}
@Service
public class UserServiceImpl implements UserService {

    @Autowired
    private UserMapper userMapper;

    @Override
    public int deleteById(int id) {
        return userMapper.deleteById(id);
    }
}
6、配置spring配置文件,整合mybatis
<?xml version="1.0" encoding="UTF-8"?>
<beans xmlns="http://www.springframework.org/schema/beans"
       xmlns:xsi="http://www.w3.org/2001/XMLSchema-instance"
       xmlns:context="http://www.springframework.org/schema/context"
       xmlns:aop="http://www.springframework.org/schema/aop"
       xmlns:tx="http://www.springframework.org/schema/tx"
       xsi:schemaLocation="http://www.springframework.org/schema/beans
       https://www.springframework.org/schema/beans/spring-beans.xsd
       http://www.springframework.org/schema/context
       https://www.springframework.org/schema/context/spring-context.xsd
       http://www.springframework.org/schema/aop
       https://www.springframework.org/schema/aop/spring-aop.xsd
	   http://www.springframework.org/schema/tx
       https://www.springframework.org/schema/tx/spring-tx.xsd
        ">
    <!-- 扫描注解 -->
    <context:component-scan base-package="org.com.service"/>

    <!--
    读取数据库配置文件
    system-properties-mode="NEVER" :防止${xxx}读取环境变量
    -->
    <context:property-placeholder location="classpath:db.properties" system-properties-mode="NEVER"/>
    <bean id="dataSource" class="org.springframework.jdbc.datasource.DriverManagerDataSource">
        <property name="driverClassName" value="${driver}"/>
        <property name="url" value="${url}"/>
        <property name="username" value="${username}"/>
        <property name="password" value="${password}"/>
    </bean>

    <!-- 创建sqlSessionFactory -->
    <bean id="sqlSessionFactory" class="org.mybatis.spring.SqlSessionFactoryBean">
        <property name="dataSource" ref="dataSource" />
        <!--关联Mybatis-->
        <property name="configLocation" value="classpath:mybatis-config.xml"/>
    </bean>

    <!-- 注册mapper映射器并放入Spring中 -->
    <bean id="userMapper" class="org.mybatis.spring.mapper.MapperFactoryBean">
        <property name="mapperInterface" value="org.com.mapper.UserMapper" />
        <property name="sqlSessionFactory" ref="sqlSessionFactory" />
    </bean>


    <!-- 配置声明式事务 -->
    <!--1.配置事务的管理器类:JDBC-->
    <bean id="dataSourceTransactionManager" class="org.springframework.jdbc.datasource.DataSourceTransactionManager">
        <!--引用数据库连接池-->
        <property name="dataSource" ref="dataSource"/>
    </bean>

    <!--2.配置如何管理事务-->
    <tx:advice id="txAdvice" transaction-manager="dataSourceTransactionManager">
        <!--配置事务的属性-->
        <tx:attributes>
            <!--所有的方法,并不是只读-->
            <tx:method name="*" read-only="false"/>
        </tx:attributes>
    </tx:advice>

    <!--3.配置拦截哪些方法+事务的属性-->
    <aop:config>
        <aop:pointcut id="pointcut" expression="execution(* org.com.service.*.*(..))"/>
        <aop:advisor advice-ref="txAdvice" pointcut-ref="pointcut"/>
    </aop:config>


</beans>
7、数据库配置(db.properties)
driver = com.mysql.cj.jdbc.Driver
url = jdbc:mysql://localhost:3306/mybatis?useSSL=true&useUnicode=true&characterEncoding=utf8
username = root
password = 123456
8、测试
    @Test
    public void test1(){
        ApplicationContext context = new ClassPathXmlApplicationContext("spring-dao.xml");
        UserService userService = context.getBean("userServiceImpl", UserService.class);
        userService.deleteById(4);
    }
}
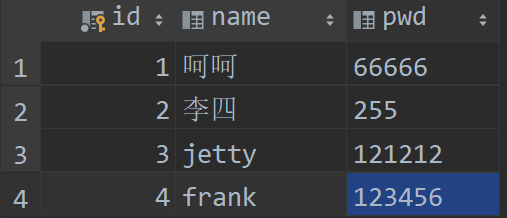
测试前数据库:
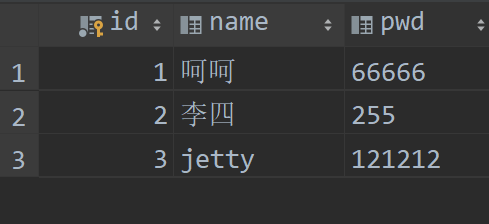
测试后数据库:
9、我们把UserServiceImpl中deleteById方法修改一下测试事务
@Service
public class UserServiceImpl implements UserService {

    @Autowired
    private UserMapper userMapper;

    @Override
    public int deleteById(int id) {
        userMapper.deleteById(2);
        // 这里会报错,我们配置了事务,所以这个方法中的两个删除操作都不会成功
        int temp = 1 / 0;
        return userMapper.deleteById(id);
    }
}
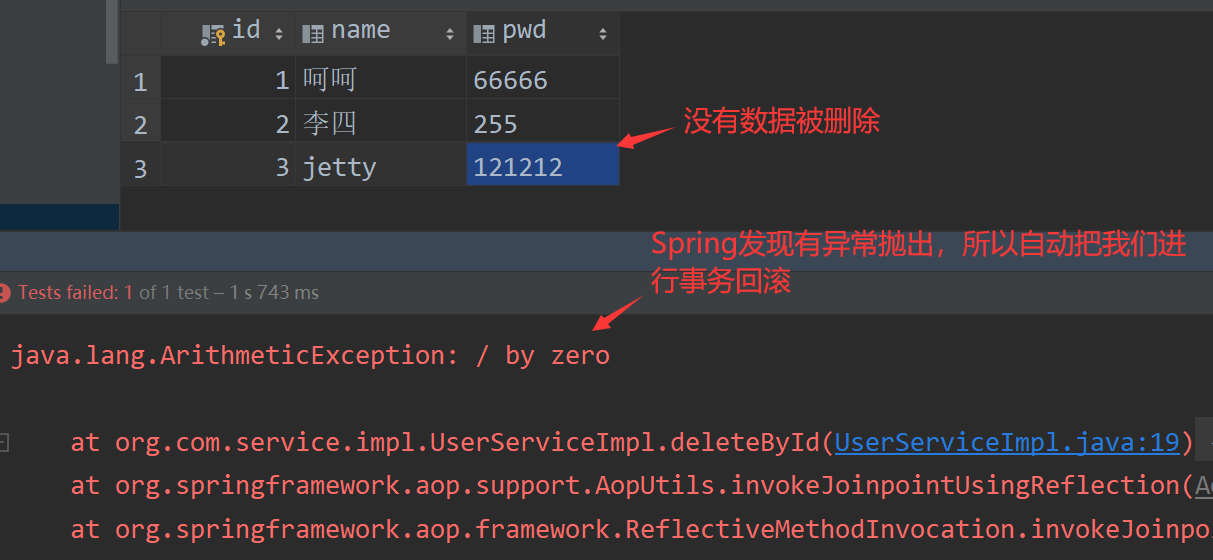
10、再次测试
@Test
public void test1(){
    ApplicationContext context = new ClassPathXmlApplicationContext("spring-dao.xml");
    UserService userService = context.getBean("userServiceImpl", UserService.class);
    userService.deleteById(3);
}
}
上面这是用xml的方式实现的,下面我们用注解实现
1、第一步和XML的是一样的,必须配置事务管理器类
<!-- 配置声明式事务 -->
<!-- 1.配置事务的管理器类:JDBC -->
<bean id="dataSourceTransactionManager" class="org.springframework.jdbc.datasource.DataSourceTransactionManager">
    <!-- 引用数据库连接池 -->
    <property name="dataSource" ref="dataSource"/>
</bean>
2、开启以注解的方式来实现事务控制
<!-- 2.开启以注解的方式来实现事务控制 -->
<tx:annotation-driven transaction-manager="dataSourceTransactionManager"/>
3、想要控制哪个方法事务,在其前面添加@Transactional这个注解就行了!如果想要控制整个类的事务,那么在类上面添加就行了。
// @Transactional
@Service
public class UserServiceImpl implements UserService {

    @Autowired
    private UserMapper userMapper;

    @Transactional
    @Override
    public int deleteById(int id) {
        userMapper.deleteById(2);
        // 这里会报错,我们配置了事务,所以这个方法中的两个删除操作都不会成功
        int temp = 1 / 0;
        return userMapper.deleteById(id);
    }
}
4、测试,结果正常(出现异常,事务回滚,没有数据被修改)
其实我们在XML配置管理器类如何管理事务,就是在指定事务的属性!我们来看一下事务的属性有什么:
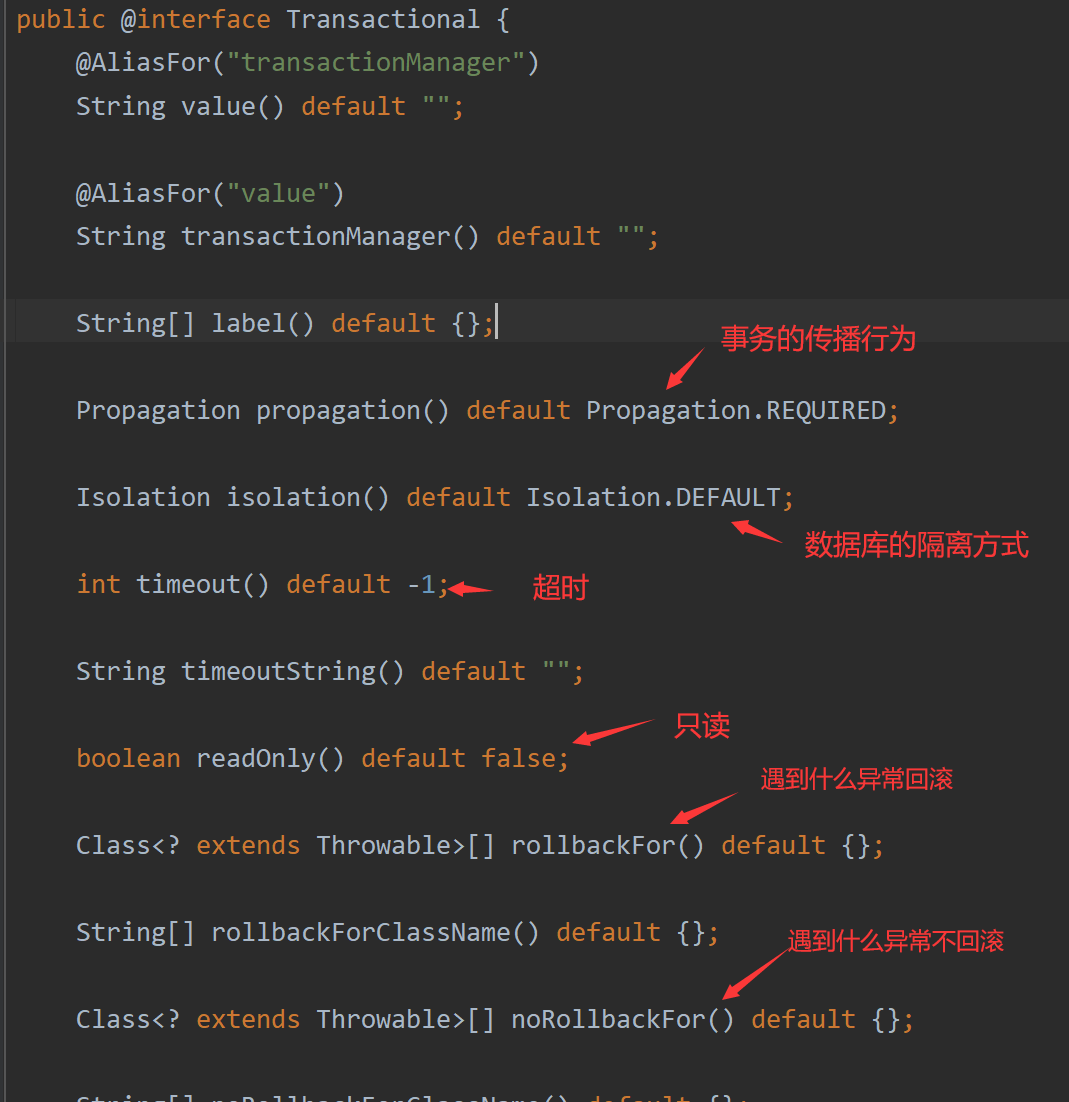
看了上面的事务属性,没有接触过的属性其实就这么一个:propagation = Propagation.REQUIRED事务的传播行为。
事务传播行为就是多个事务方法相互调用时,事务如何在这些方法间传播。spring支持7种事务传播行为:
假设 ServiveX#methodX() 都工作在事务环境下(即都被 Spring 事务增强了),假设程序中存在如下的调用链:Service1#method1()->Service2#method2()->Service3#method3(),那么这 3 个服务类的 3 个方法通过 Spring 的事务传播机制都工作在同一个事务中。

原文:https://www.cnblogs.com/javaconner/p/14768109.html