1解压软件到指定目录:
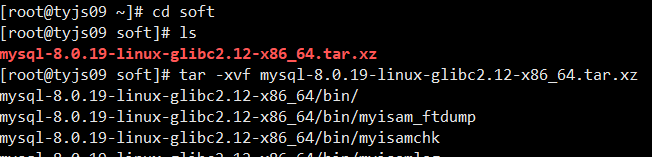

[root@tyjs09 ~]# cd soft
[root@tyjs09 soft]# ls
mysql-8.0.19-linux-glibc2.12-x86_64.tar.xz
[root@tyjs09 soft]# tar -xvf mysql-8.0.19-linux-glibc2.12-x86_64.tar.xz
[root@tyjs09 soft]# mv mysql-8.0.19-linux-glibc2.12-x86_64 mysql
[root@tyjs09 soft]# mv mysql /usr/local/
2进入软件所在的目录创建用户和用户组
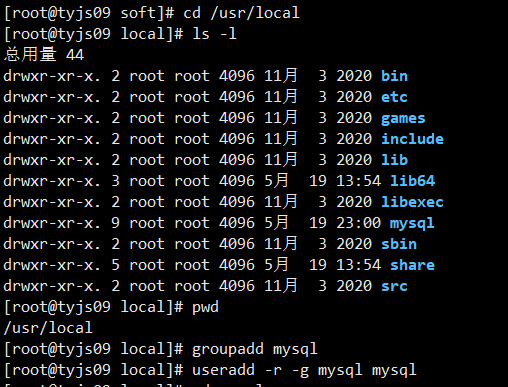
[root@tyjs09 soft]# cd /usr/local
[root@tyjs09 local]# groupadd mysql
[root@tyjs09 local]# useradd -r -g mysql mysql
3进入软件目录授权给创建的用户和用户组,并创建数据data目录
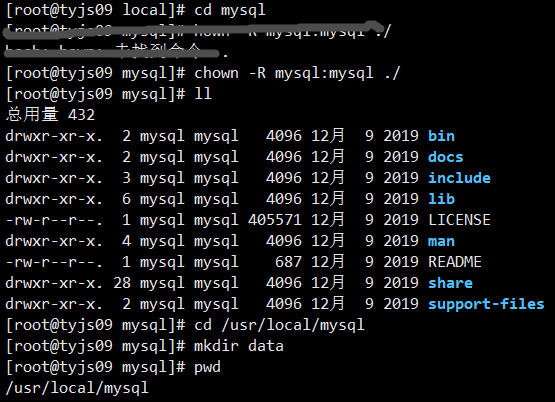
[root@tyjs09 mysql]# cd /usr/local/mysql
[root@tyjs09 mysql]# chown -R mysql:mysql ./
[root@tyjs09 mysql]# mkdir data
初始化数据并授权用户
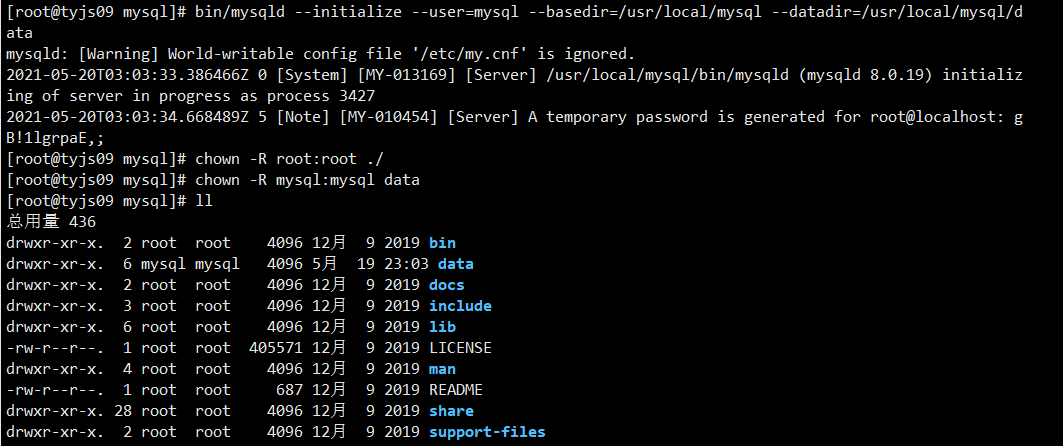
[root@tyjs09 mysql]# bin/mysqld --initialize --user=mysql --basedir=/usr/local/mysql --datadir=/usr/local/mysql/data
[root@tyjs09 mysql]# chown -R root:root ./
[root@tyjs09 mysql]# chown -R mysql:mysql data
创建配置文件
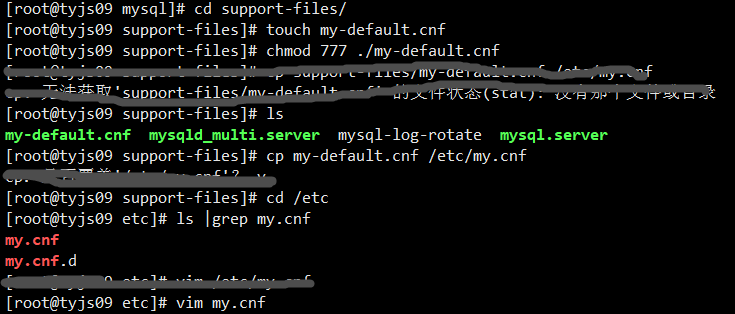
[root@tyjs09 mysql]# cd support-files/
[root@tyjs09 support-files]# touch my-default.cnf
[root@tyjs09 support-files]# chmod 777 ./my-default.cnf
[root@tyjs09 support-files]# cp my-default.cnf /etc/my.cnf
[root@tyjs09 etc]# vim my.cnf
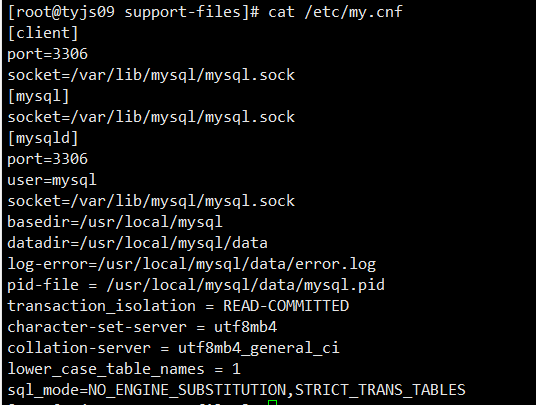
[root@tyjs09 etc]# cat my.cnf
[client]
port=3306
socket=/var/lib/mysql/mysql.sock
[mysql]
socket=/var/lib/mysql/mysql.sock
[mysqld]
port=3306
user=mysql
socket=/var/lib/mysql/mysql.sock
basedir=/usr/local/mysql
datadir=/usr/local/mysql/data
log-error=/usr/local/mysql/data/error.log
pid-file = /usr/local/mysql/data/mysql.pid
transaction_isolation = READ-COMMITTED
character-set-server = utf8mb4
collation-server = utf8mb4_general_ci
lower_case_table_names = 1
sql_mode=NO_ENGINE_SUBSTITUTION,STRICT_TRANS_TABLES
[root@tyjs09 etc]#
进入 /usr/local/mysql/support-files 目录设置开机自启
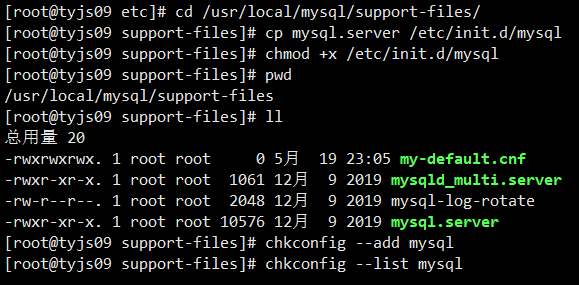
[root@tyjs09 etc]# cd /usr/local/mysql/support-files/
[root@tyjs09 support-files]# cp mysql.server /etc/init.d/mysql
[root@tyjs09 support-files]# chmod +x /etc/init.d/mysql
注册服务并查看是否成功:
[root@tyjs09 support-files]# chkconfig --add mysql
[root@tyjs09 support-files]# chkconfig --list mysql
在etc/ld.so.conf中要配置路径,不然报错
[root@tyjs09 support-files]# vim /etc/ld.so.conf
[root@tyjs09 support-files]# cat /etc/ld.so.conf
include ld.so.conf.d/*.conf
/usr/local/mysql/lib
配置环境变量:
[root@tyjs09 support-files]# vim /etc/profile
[root@tyjs09 support-files]# tail -n 3 /etc/profile
MYSQL_HOME=/usr/local/mysql
PATH=$MYSQL_HOME/bin:$MYSQL_HOME/lib:$PATH
export PATH
[root@tyjs09 support-files]# source /etc/profile
启动服务并解决进入数据库报错的问题
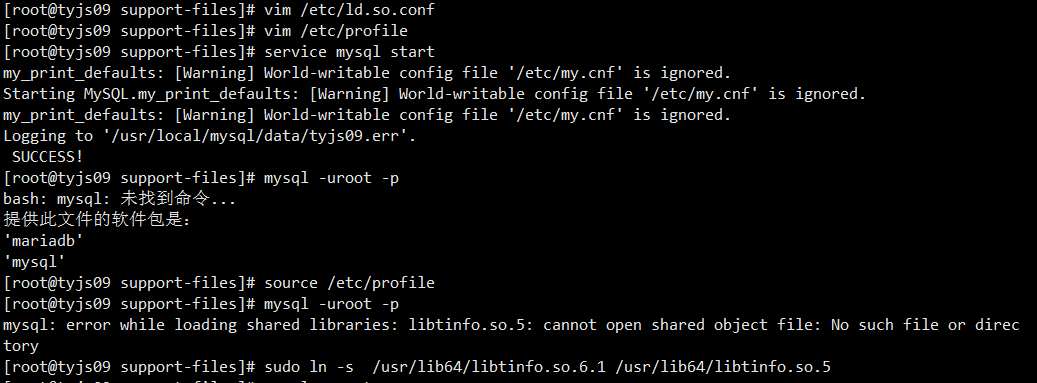
[root@tyjs09 support-files]# service mysql start
[root@tyjs09 support-files]# mysql -uroot -p
mysql: error while loading shared libraries: libtinfo.so.5: cannot open shared object file: No such file or directory
[root@tyjs09 support-files]# sudo ln -s /usr/lib64/libtinfo.so.6.1 /usr/lib64/libtinfo.so.5
登录数据库修改密码:
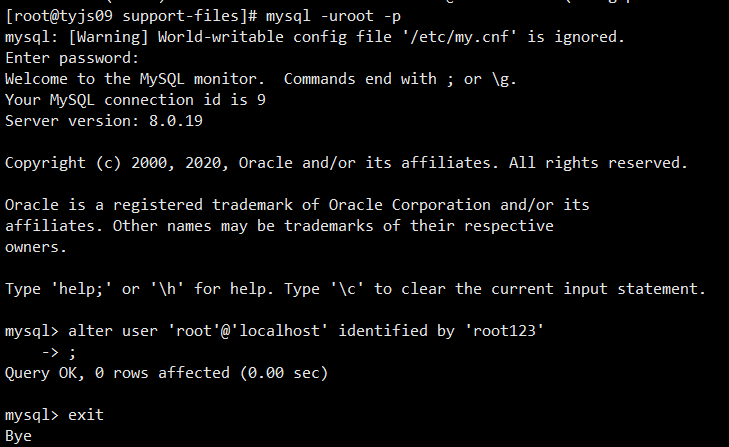
[root@tyjs09 support-files]# mysql -uroot -p
mysql> alter user ‘root‘@‘localhost‘ identified by ‘root123‘ ;
Query OK, 0 rows affected (0.00 sec)
mysql> exit
Bye
设置root用户可以远程能连接上
[root@tyjs09 support-files]# mysql -uroot -p
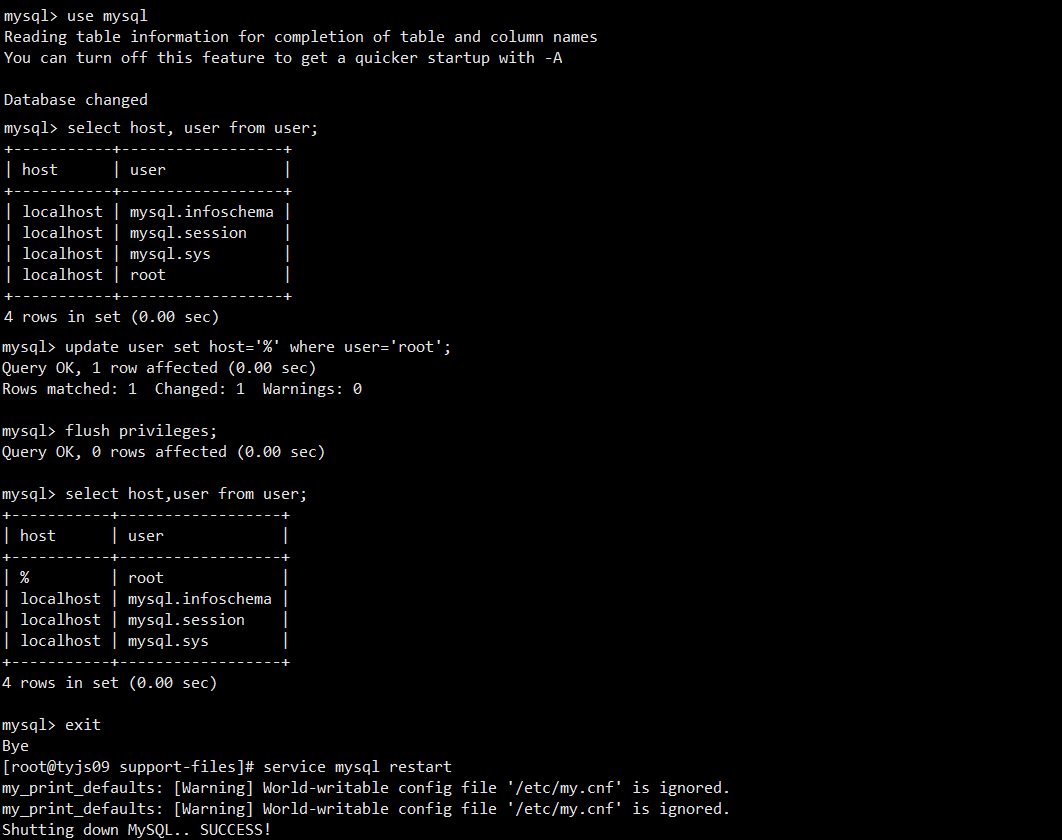
mysql> use mysql
mysql> select host, user from user;
mysql> update user set host=‘%‘ where user=‘root‘;
Query OK, 1 row affected (0.00 sec)
Rows matched: 1 Changed: 1 Warnings: 0
mysql> flush privileges;
Query OK, 0 rows affected (0.00 sec)
mysql> select host,user from user;
mysql> exit
重启mysql,让防火墙放行3306端口
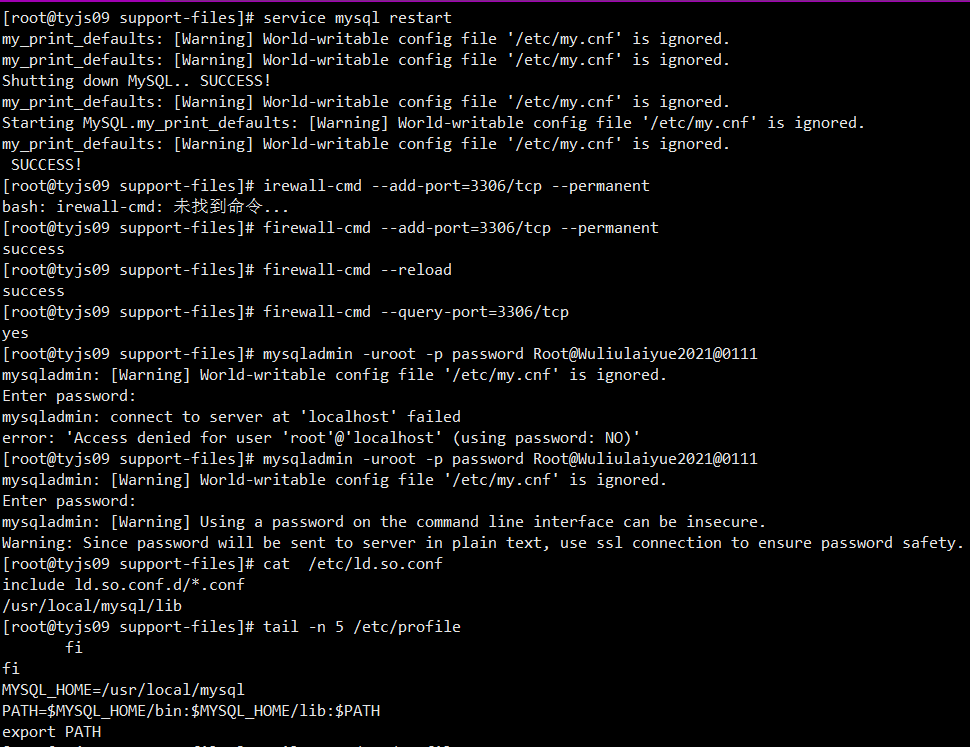
[root@tyjs09 support-files]# service mysql restart
[root@tyjs09 support-files]# firewall-cmd --add-port=3306/tcp --permanent
success
[root@tyjs09 support-files]# firewall-cmd --reload
success
[root@tyjs09 support-files]# firewall-cmd --query-port=3306/tcp
yes
为远程连接设置登录密码并用navicat测试
[root@tyjs09 support-files]# mysqladmin -uroot -p password Root@Wuliulaiyue2021@0111
VM虚拟机在centos8.3.2011中安装mysql8.0.19
原文:https://www.cnblogs.com/tyjs09/p/14789256.html