1、添加Druid依赖
<dependency>
    <groupId>com.alibaba</groupId>
    <artifactId>druid-spring-boot-starter</artifactId>
    <version>1.2.6</version>
</dependency>
2、数据源配置
在application.yml配置文件里添加druid的配置
#数据库连接配置
spring:
  datasource:
    driver-class-name: com.mysql.cj.jdbc.Driver
    url: jdbc:mysql://localhost:3306/XXXXX?serverTimezone=Asia/Shanghai&useSSL=false&characterEncoding=utf8
    username: root
    password: root
    druid:
      initial-size: 5
      max-active: 30
      min-idle: 5
      max-wait: 60000
      validation-query: SELECT 1 FROM DUAL
      min-evictable-idle-time-millis: 300000
      test-while-idle: true
      stat-view-servlet:
        login-username: admin
        login-password: admin
        url-pattern: /druid/*
        allow: localhost,127.0.0.1
        reset-enable: false
        # 必须启用,要不会404
        enabled: true
3、修改WebSecurityConfig将druid监控页面请求路径配置在不需要token校验的路径中
httpSecurity
// we don‘t need CSRF because our token is invulnerable
.csrf().disable()
.cors().and() // 跨域访问,开放式授权
.exceptionHandling().authenticationEntryPoint(unauthorizedHandler).and()
// don‘t create session
.sessionManagement().sessionCreationPolicy(SessionCreationPolicy.STATELESS).and()
.authorizeRequests()
.antMatchers("/auth/**","/druid/**").permitAll()
.anyRequest().authenticated();
// Custom JWT based security filter
JwtAuthenticationTokenFilter authenticationTokenFilter=new JwtAuthenticationTokenFilter(userDetailsService(), jwtTokenUtil, tokenHeader);
httpSecurity
.addFilterBefore(authenticationTokenFilter, UsernamePasswordAuthenticationFilter.class);
// disable page caching
httpSecurity
.headers()
.frameOptions().sameOrigin() // required to set for H2 else H2 Console will be blank.
.cacheControl();
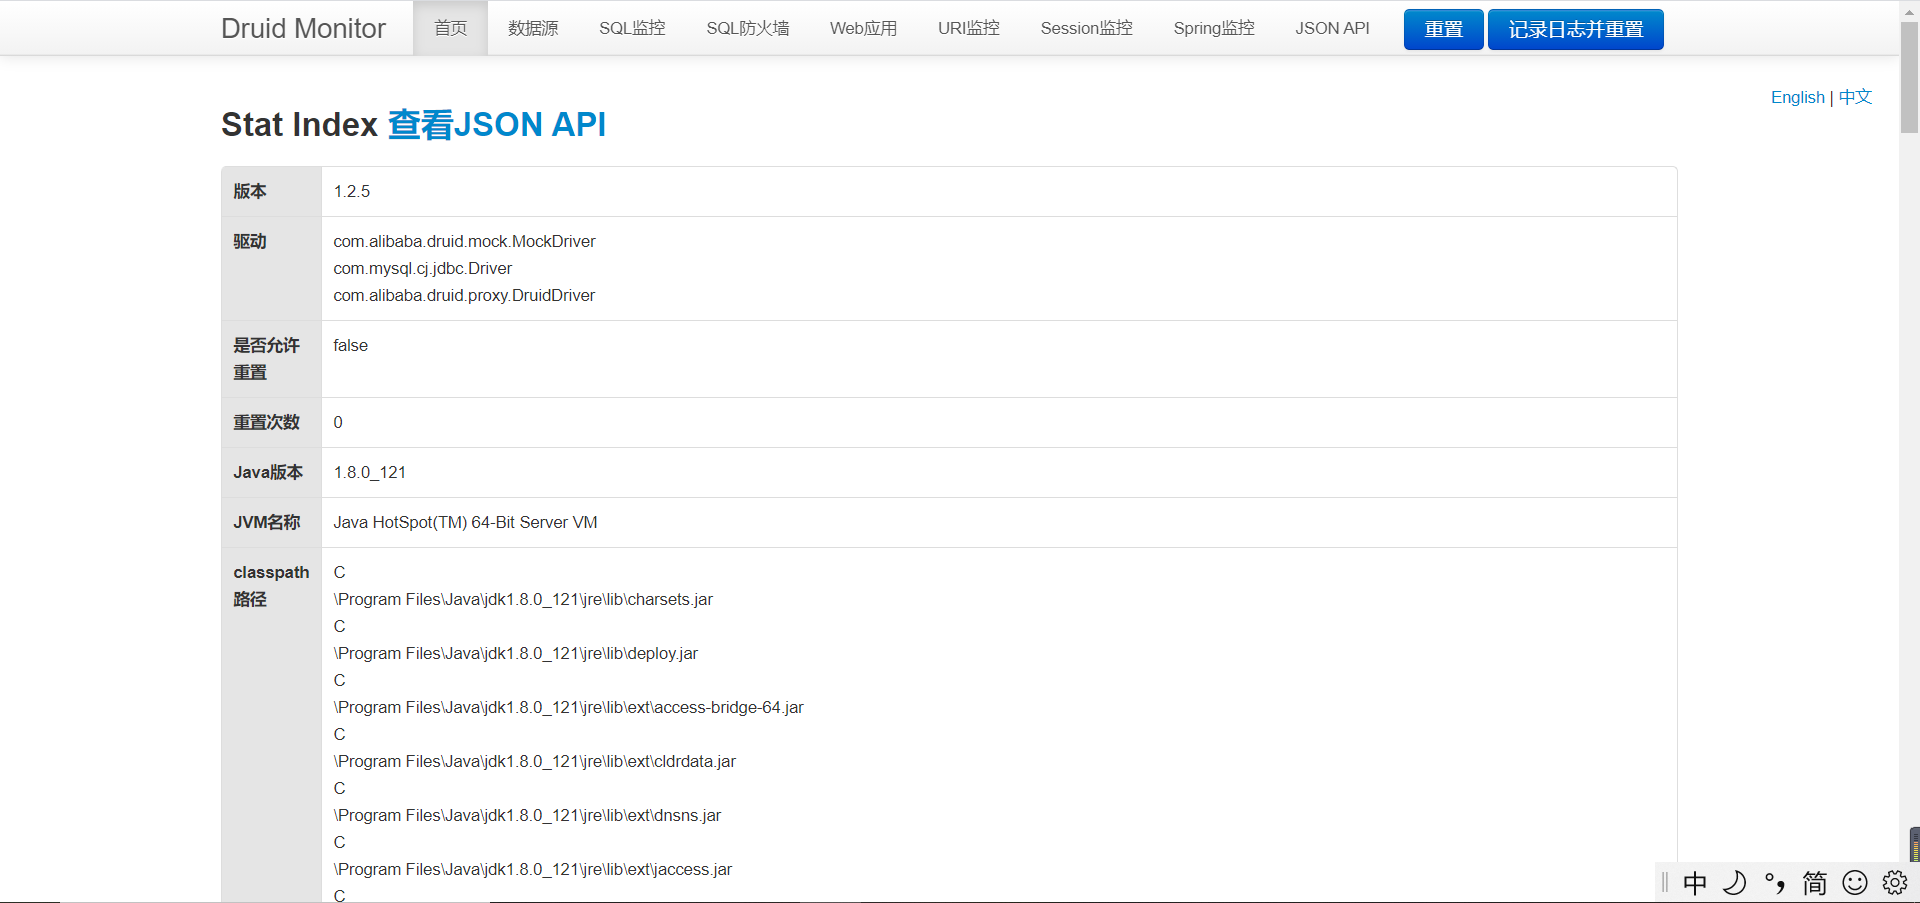
4、浏览器输入http://localhost:8086/druid,界面如下:
SpringBoot+SpringSecurity+JWT+Druid配置(解决Druid监控页面不显示的问题)
原文:https://www.cnblogs.com/shiningFu/p/14818717.html