normalize.css- > 对css进行初始化,对标签的风格进行了统一
module.exports = {
configureWebpack: {
resolve: {
alias: {
‘assets‘: ‘@/assets‘,
‘common‘: ‘@/common‘,
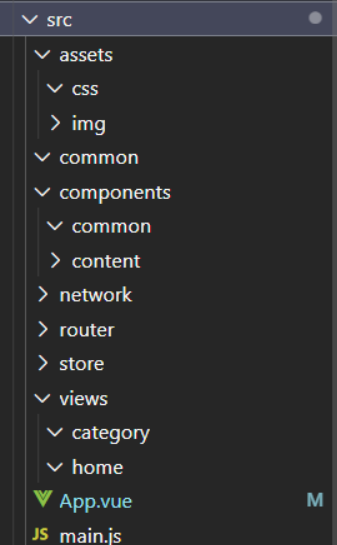
‘components‘: ‘@/components‘,
‘network‘: ‘@/network‘,
‘views‘: ‘@/views‘,
}
}
}
}
root = true

[*]
charset = utf-8
indent_style = space
indent_size = 2
end_of_line = lf
insert_final_newline = true
trim_trailing_whitespace = true
配置路由,项目的模块划分:tabbar -> 路由映射关系
下载 npm install vue-router --save
配置index.js文件
import Vue from ‘vue‘
import VueRouter from ‘vue-router‘

const Home = () => import(‘../views/home/Home‘)
const Category = () => import(‘../views/category/Category‘)
const Cart = () => import(‘../views/cart/Cart‘)
const Profile = () => import(‘../views/profile/Profile‘)

// 1.安装插件
Vue.use(VueRouter)

// 2.创建router
const routes = [
  {
    path: ‘‘,
    redirect: ‘/home‘
  },
  {
    path: ‘/home‘,
    component: Home
  },
  {
    path: ‘/category‘,
    component: Category
  },
  {
    path: ‘/cart‘,
    component: Cart
  },
  {
    path: ‘/profile‘,
    component: Profile
  }
]
const router = new VueRouter({
  routes,
  mode: ‘history‘
})

//3.导出路由
export default router
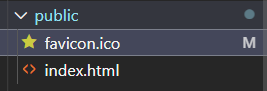
只需要在public文件下的favicon.ico修改
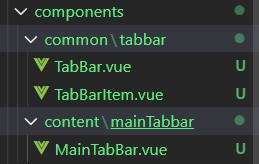
在components的common下创建navbar文件夹,创建NavBar.vue文件
<template>
  <div class="nav-bar">
    <div class="left"><slot name="left"></slot></div>
    <div class="center"><slot name="center"></slot></div>
    <div class="right"><slot name="right"></slot></div>
  </div>
</template>

<script>
  export default {
    name: "NavBar"
  }
</script>

<style scoped>
  .nav-bar {
    display: flex;
    height: 44px;
    line-height: 44px;
    text-align: center;
    box-shadow: 0 1px 1px rgba(100,100,100,.1);
  }

  .left, .right {
    width: 60px;
  }

  .center {
    flex: 1;
  }
</style>
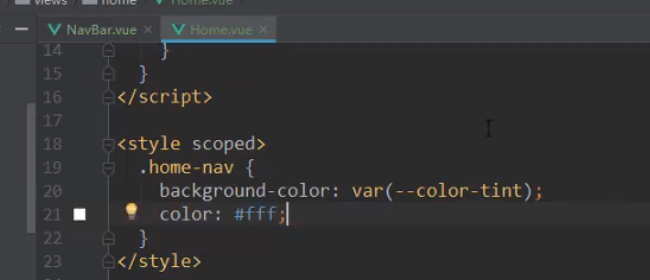
公共的css可以在封装的导航栏组件里配置,不同页面的导航栏不同的样式可以字该页面的组件中进行css配置,
比如home页面里导航栏的背景颜色是粉色
原文:https://www.cnblogs.com/107w/p/14829728.html