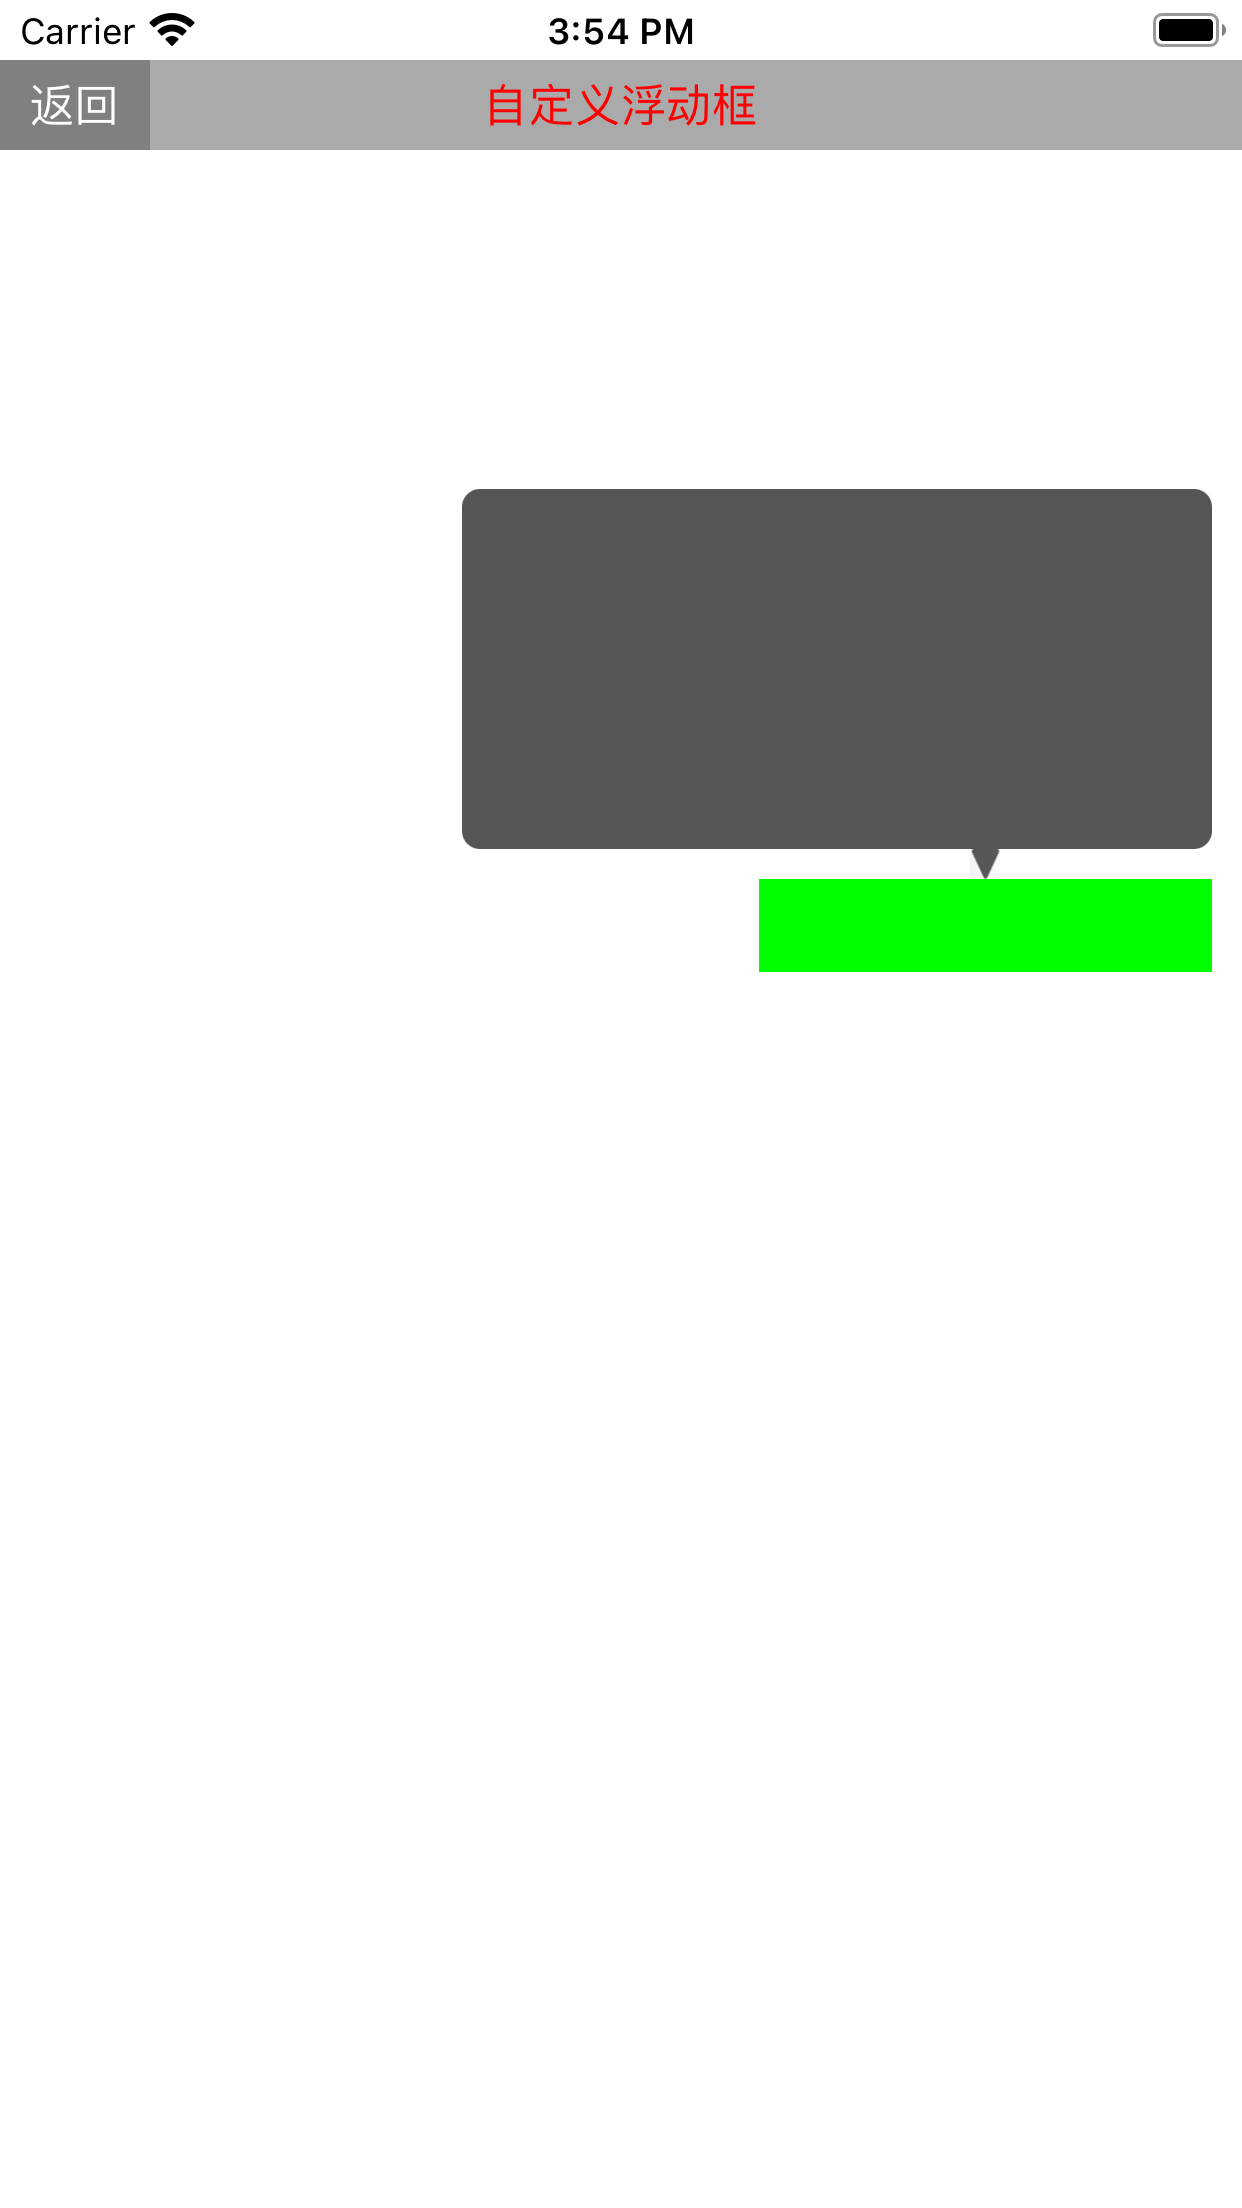
今天有个需求是如上图实现类似微信的自定义浮动操作框效果
我自己就写了个demo,大家感兴趣的可以试试,下面是代码
VC代码如下
#import "TestCustomMenuItemVC.h"
#import "CustomMenuItemView.h"

@interface TestCustomMenuItemVC ()

/** 移动视图,给这个视图来添加浮动窗*/
@property (strong, nonatomic) UIView *moveView;

@end

@implementation TestCustomMenuItemVC

- (UIView *)moveView
{
    if (_moveView == nil) {
        _moveView = [[UIView alloc] initWithFrame:CGRectMake(0, 0, 100, 30)];
        _moveView.backgroundColor = [UIColor greenColor];
        [self.view addSubview:_moveView];
    }
    return _moveView;
}

- (void)viewDidLoad
{
    [super viewDidLoad];
}

- (void)touchesBegan:(NSSet<UITouch *> *)touches withEvent:(UIEvent *)event
{
    //解析出随机点击页面的坐标
    UITouch *touch = touches.anyObject;
    CGPoint point = [touch locationInView:self.view];
    NSLog(@"point x-%@ y-%@", @(point.x), @(point.y));
    //随机改变移动视图宽高
    NSInteger width = 50 + arc4random() % 200;
    NSInteger height = 20 + arc4random() %80;
    NSInteger ox = point.x - width/2;
    NSInteger oy = point.y - height/2;
    //对越界判断处理
    if (ox < 10) {
        ox = 10;
    } else if (ox > self.view.bounds.size.width - 10 - width) {
        ox = self.view.bounds.size.width - 10 - width;
    }
    if (oy < 30) {
        oy = 30;
    }
    self.moveView.frame = CGRectMake(ox, oy, width, height);
    //添加浮动窗
    CustomMenuItemView *view = [[CustomMenuItemView alloc] init];
    [view showInView:self.view frame:self.moveView.frame];
}

@end
自定义浮动框视图类如下 CustomMenuItemView.h
#import <UIKit/UIKit.h>

@interface CustomMenuItemView : UIView

- (void)showInView:(UIView *)view frame:(CGRect)rect;

@end
CustomMenuItemView.m
#import "CustomMenuItemView.h"

@implementation CustomMenuItemView

- (void)showInView:(UIView *)view frame:(CGRect)rect
{
    self.frame = view.bounds;
    [view addSubview:self];
    NSInteger jiantouSize = 10;
    NSInteger width = 250;
    NSInteger height = 120;
    UIView *bgview = [[UIView alloc] initWithFrame:CGRectMake(0, 0, width, height)];
    bgview.backgroundColor = [UIColor darkGrayColor];
    bgview.layer.masksToBounds = YES;
    bgview.layer.cornerRadius = 6;
    [self addSubview:bgview];
    UIImageView *imageView = [[UIImageView alloc] initWithFrame:CGRectMake(0, 0, jiantouSize, jiantouSize)];
    imageView.image = [UIImage imageNamed:@"down"];
    [self addSubview:imageView];

    NSInteger ox = rect.origin.x + rect.size.width/2 - width/2;
    NSInteger oy = rect.origin.y - height/2 - jiantouSize - height/2;
    NSInteger jiantouCenterY = rect.origin.y - jiantouSize/2;

    if (oy <= 50) {
        imageView.transform = CGAffineTransformRotate(imageView.transform, M_PI);
        oy = rect.origin.y + rect.size.height + jiantouSize;
        jiantouCenterY = rect.origin.y + rect.size.height + jiantouSize/2;
    }

    if (oy > view.bounds.size.height - jiantouSize - height - 10) {
        oy = view.bounds.size.height - height - 10;
        jiantouCenterY = view.bounds.size.height - jiantouSize/2 - height - 10;
    }

    if (ox <= 10) {
        ox = 10;
    } else if (ox >= view.bounds.size.width - 10 - width) {
        ox = view.bounds.size.width - 10 - width;
    }
    bgview.frame = CGRectMake(ox, oy, width, height);
    imageView.center = CGPointMake(rect.origin.x + rect.size.width/2, jiantouCenterY);
}

- (void)touchesBegan:(NSSet<UITouch *> *)touches withEvent:(UIEvent *)event
{
    self.hidden = YES;
    self.removeFromSuperview;
}

@end
原文:https://www.cnblogs.com/hecanlin/p/14927269.html