Android虽然自带了很多控件,但有时仍然不能满足需求,这时就需要我们自己定义控件。本文自己定义了一个控件,单击该控件,可以使控件绘制不同的几何图形。
首先,新建一个Android工程,并新建一个类,继承自View。
|
1
2
3
4
5
6
7
8
9
10
11
12
13
14
15
16
17
18
19
20
21
22
23
24
25
26
27
28
29
30
31
32
33
34
35
36
37
38
39
40
41
42
43
44
45
46
47
48
49
50
51
52
53
54
55
56
57
58
59
60
61
62
63
64
65 |
package
com.hzhi.customview;import android.content.Context;import android.graphics.Canvas;import android.graphics.Color;import android.graphics.Paint;import android.graphics.Path;import android.util.AttributeSet;import android.view.View;public
class CustomView extends
View{ // 图形类型 int
ss=0; // 构造函数 public
CustomView(Context context, AttributeSet attrs) { super(context, attrs); } // onDraw函数 public
void onDraw(Canvas c){ super.onDraw(c); Paint p = new
Paint(); p.setColor(Color.GREEN); p.setStrokeWidth(10); switch
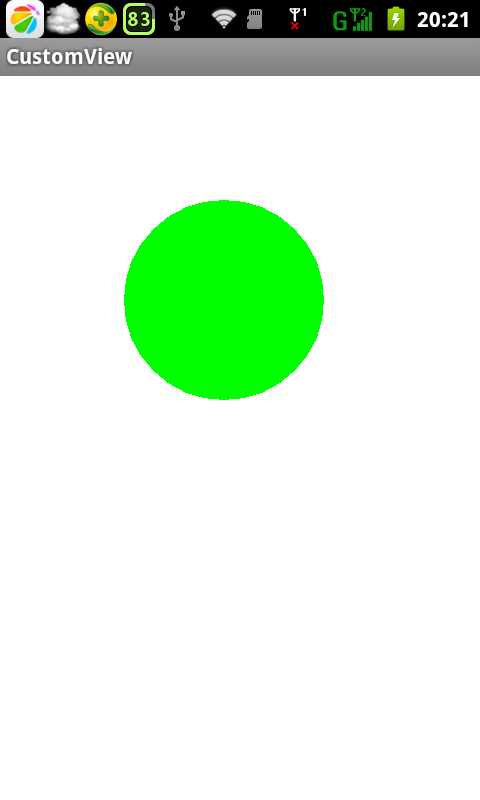
(ss){ // 画圆形 case
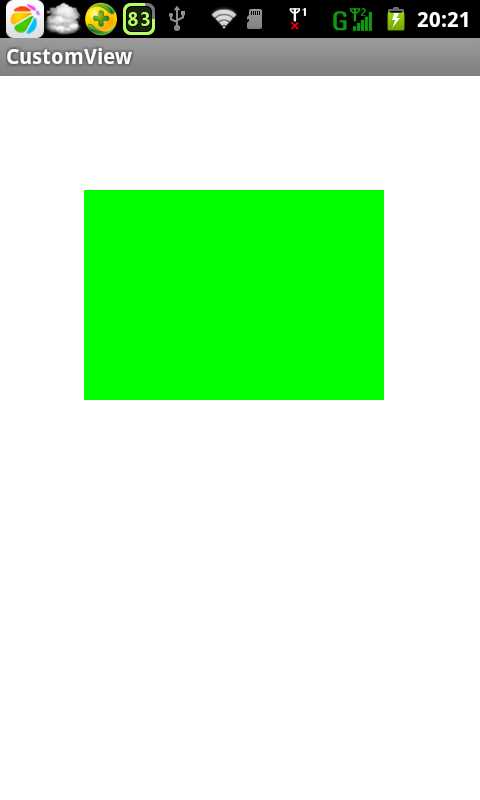
0: c.drawCircle(200, 200, 100, p); break; // 画矩形 case
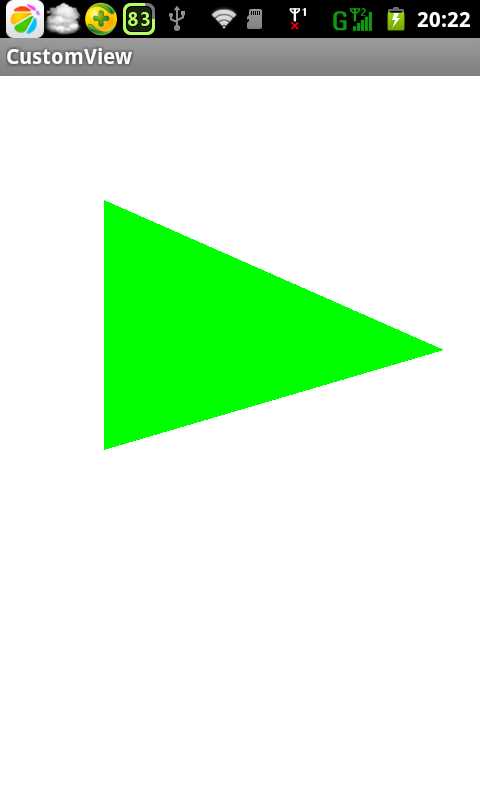
1: c.drawRect(60, 90, 360, 300, p); break; // 画三角形 case
2: Path path = new
Path(); path.moveTo(80, 100); path.lineTo(420, 250); path.lineTo(80, 350); path.close(); c.drawPath(path, p); break; default: break; } } public
void changeStyle(){ ss++; if
(ss>2){ ss=0; } }} |
该类就是我们自己定义的控件类,继承自View,单击时,将依次绘制出圆形、矩形和三角形。
然后,将该类加入主窗体的布局文件中,方法和加入Android自带控件的方法是一样的。
|
1
2
3
4
5
6
7
8
9
10
11
12
13
14
15
16
17
18 |
<RelativeLayout xmlns:android="http://schemas.android.com/apk/res/android" android:layout_width="match_parent" android:layout_height="match_parent" android:paddingBottom="@dimen/activity_vertical_margin" android:paddingLeft="@dimen/activity_horizontal_margin" android:paddingRight="@dimen/activity_horizontal_margin" android:paddingTop="@dimen/activity_vertical_margin" tools:context=".MainActivity"
> <com.hzhi.customview.CustomView android:id="@+id/cusView" android:layout_width="wrap_content" android:layout_height="wrap_content" > </com.hzhi.customview.CustomView></RelativeLayout> |
最后,是主窗体的Java文件。
|
1
2
3
4
5
6
7
8
9
10
11
12
13
14
15
16
17
18
19
20
21
22
23
24
25
26
27
28
29
30
31
32
33
34
35
36
37
38
39
40
41
42
43
44
45
46
47 |
package
com.hzhi.customview;import android.os.Bundle;import android.os.Handler;import android.os.Message;import android.app.Activity;import android.view.View;public class MainActivity extends
Activity { CustomView cv; @Override protected
void onCreate(Bundle savedInstanceState) { super.onCreate(savedInstanceState); setContentView(R.layout.activity_main); cv = (CustomView) findViewById(R.id.cusView); cv.setOnClickListener(new
View.OnClickListener() { @Override public
void onClick(View v) { Message message = new
Message(); message.what = 1; myHandler.sendMessage(message); } }); } Handler myHandler = new
Handler() { //接收到消息后处理 public
void handleMessage(Message msg) { switch
(msg.what) { case
1: cv.changeStyle(); cv.invalidate(); break; } super.handleMessage(msg); } };} |
通过findViewById()函数获得自定义控件,定义控件的单击事件,和Android自带控件的使用方法是一致的。
运行结果:
原文:http://www.cnblogs.com/mstk/p/3572298.html