Openfire开发配置,Openfire源码配置,OpenFire二次开发配置
时间:
2015-02-20 13:00:09
阅读:
321
评论:
收藏:
0
[点我收藏+]
2、把源码解压出的openfire_src目录放至eclipse workplace(注意:若是变更了解压出来的文件名称,则接下来全部用到文件名称的地方都要作出对应更改,否则会报错!)
3、把openfire_src目录里的三个没用的html文件删除

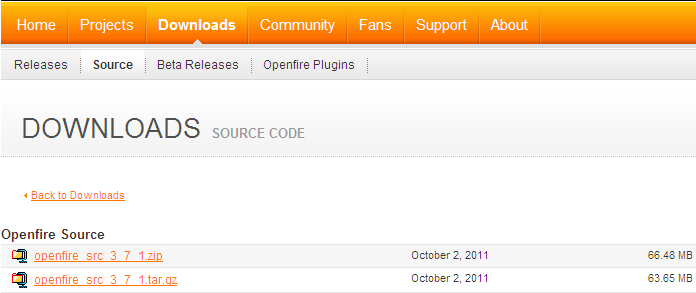
4、打开eclipse,新建一个名为openfire_src的Java Project,然后finish
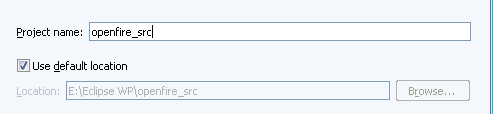
注:此处的默认路径为openfire_src目录的绝对路径
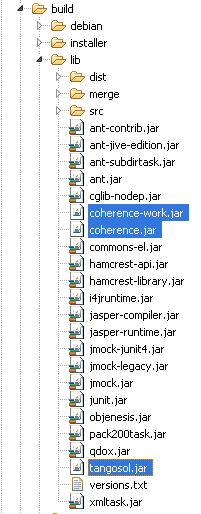
5、项目建好后如图所看到的,当中有几个文件夹报错,是因为缺少3个jar包:coherence.jar、coherence-work.jar、tangosol.jar

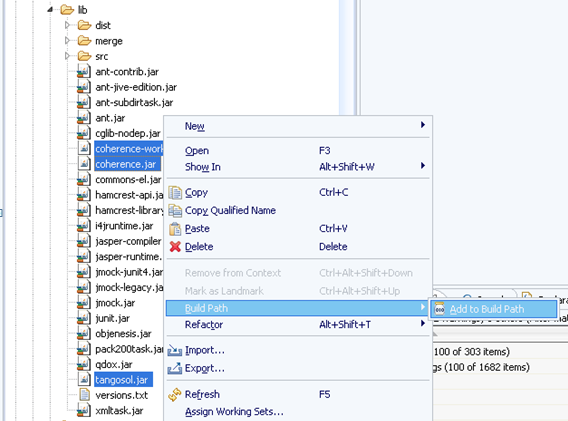
6、下载这几个jar包,然后拷贝到/openfire_src/build/lib文件夹下,下载地址
7、选中3个新加入的jar包,点击右键,选择Build Path -> Add to Build Path
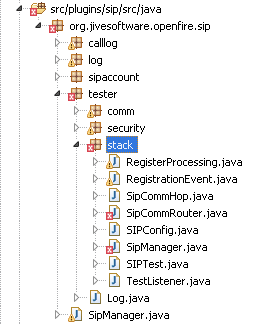
8、把jar包编译后还是会有报错,如图,解决的方法是直接找到java源文件SipCommRouter.java和SipManager.java ,使用eclipse的自己主动修复,把错误修复,通常是没有实现抽象方法和没有处理异常。
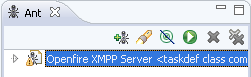
9、点击Window -> Show View -> Ant,在Ant中选择Add Buildfiles,将build文件夹下的build.xml选中,然后ok

10、把Java JDK的lib文件夹下的tools.jar包复制到 Java JRE的lib文件夹下
11、执行选中的文件
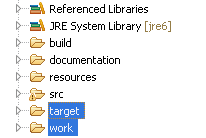
12、执行成功后,刷新project,文件夹多出两个文件夹
13、将target/lib文件夹下的全部jar包选中,单击右键,选择Build Path –> Add to Build Path(和步骤7相似)
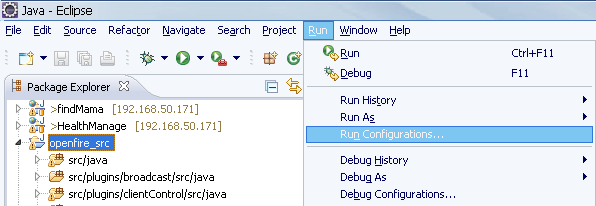
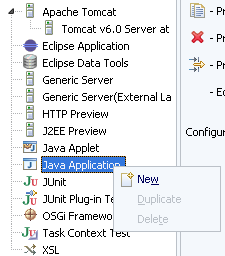
14、选中项目,点击run -> run configurations
15、选择run configurations左边的Java Application,单击右键,选择New
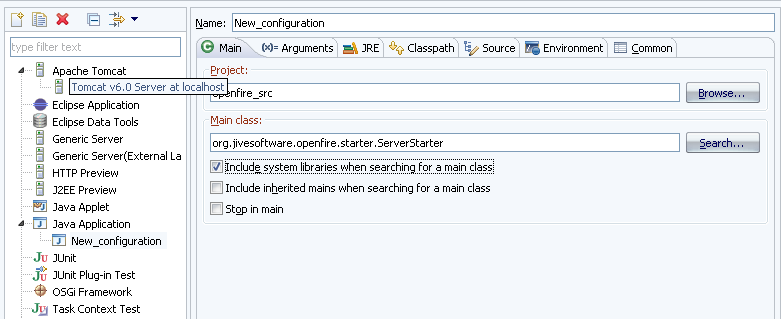
16、选中Main选项卡,点击Browse选择openfire_src项目;单击Search选择ServerStarter - org.jivesoftware.openfire.starter,结果例如以下
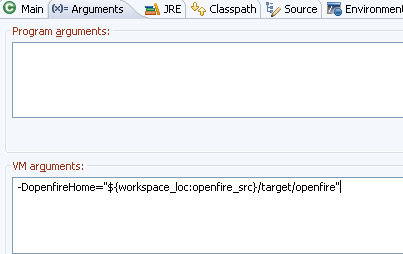
17、选中Arguments选项卡,在VM arguments中填入-DopenfireHome="${workspace_loc:openfire_src}/target/openfire"
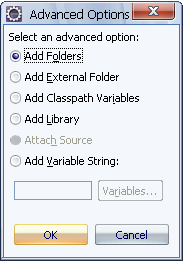
18、选中Classpath选项卡,选中User Entries,点击右边的Advancedbutton

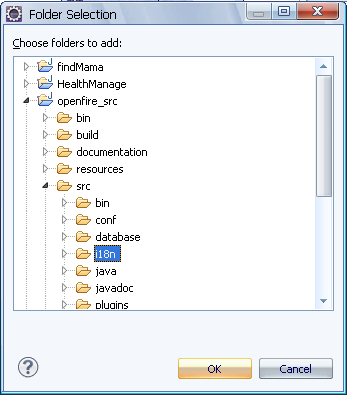
19、在弹出的框中选中Add Folders,选中src/i18n目录,点击ok
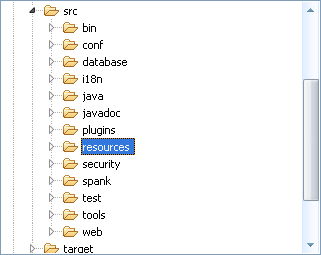
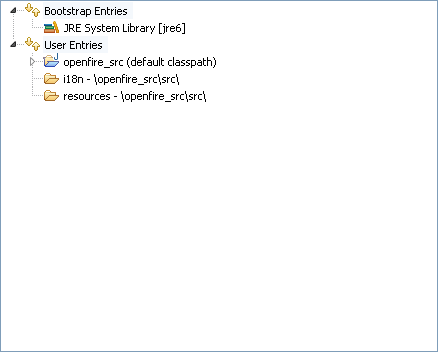
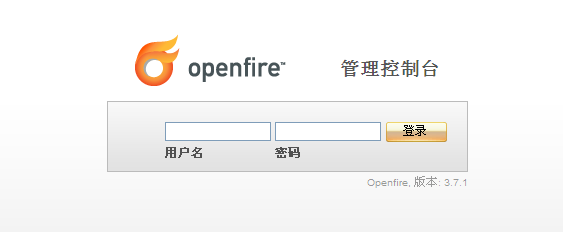
20、反复上一步骤把src/resources选中加入,结果例如以下:User Entries下多了两个目录
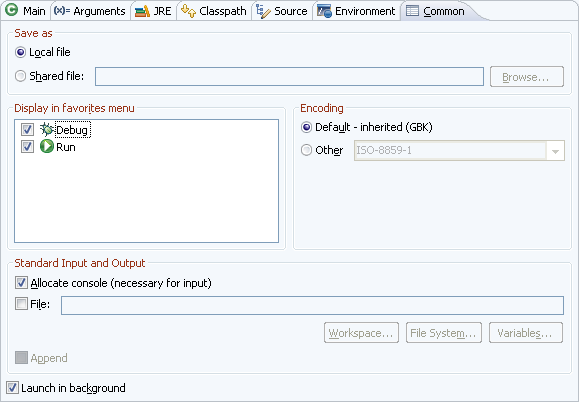
21、选中Common选项卡,将Debug和Run打钩,然后点击apply,再点击run
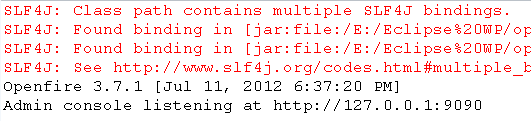
22、成功执行结果

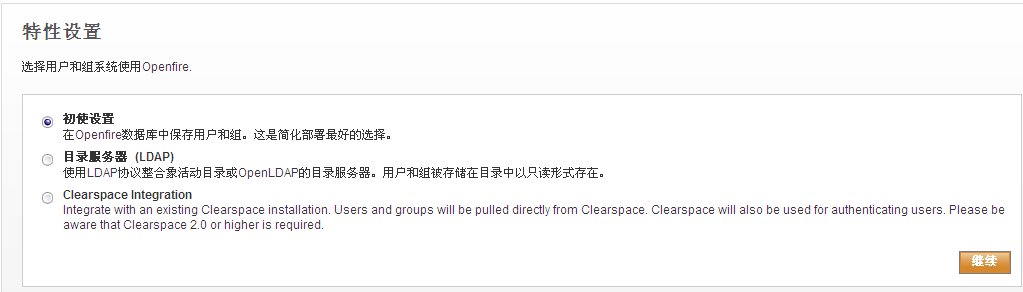
24、选择中文,然后继续。server设置可直接跳过。数据库设置选择标准数据库连接,点击继续

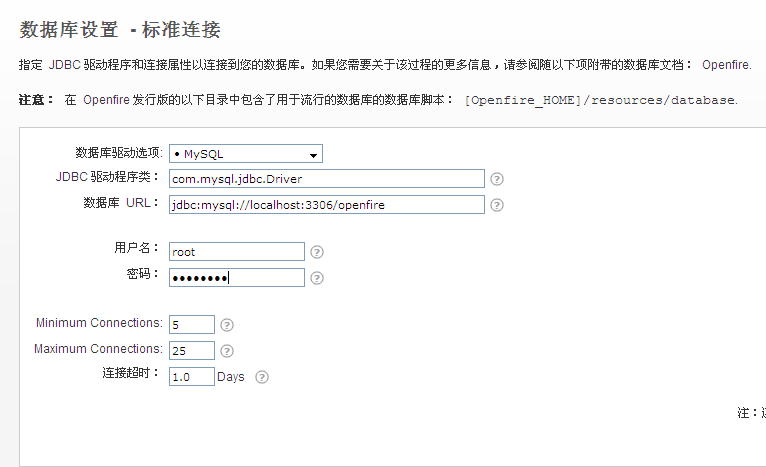
25、在数据库设置-标准连接设置界面,选择数据库驱动mysql,更改数据库url,当中须要更改的有serverip地址,还有数据库名,建议单独建立一个名为openfire的数据库。输入数据库管理员的账号和password,下一步。
26、数据库连接成功后界面,直接点击继续。
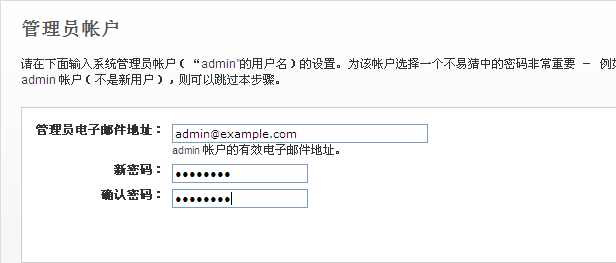
27、管理员账户设置界面,输入管理员的邮箱地址,还有管理员的账号的password,初始账号为admin。
28、完毕设置,登录到管理控制台,初始账户名adminpassword为上一步设置的password。
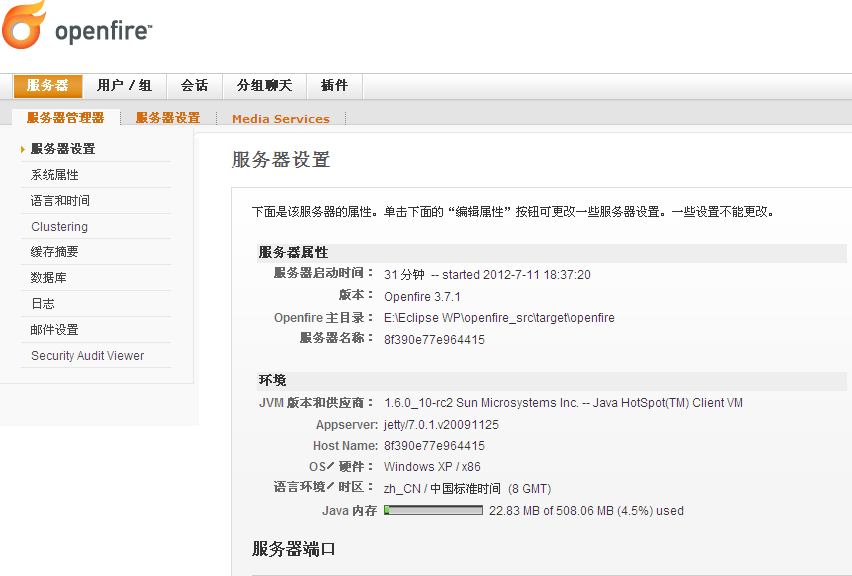
29、登陆成功后显示
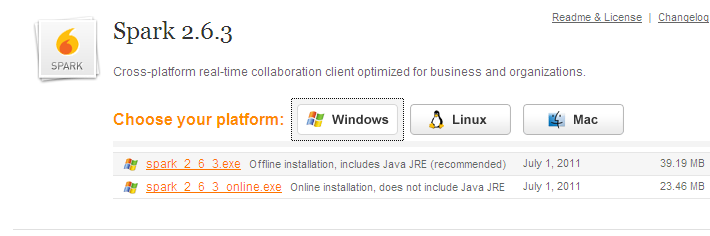
31、安装Spark,一路next,然后finish。执行Spark,创建Spark账号
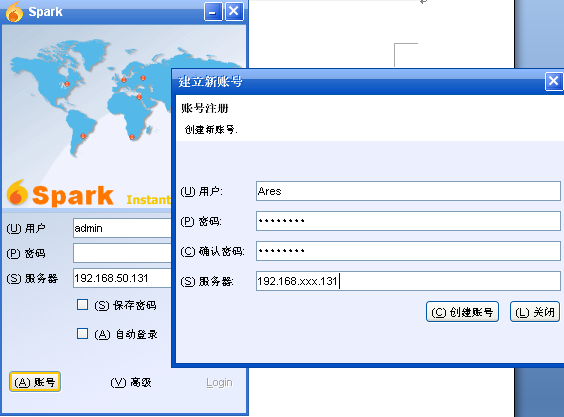
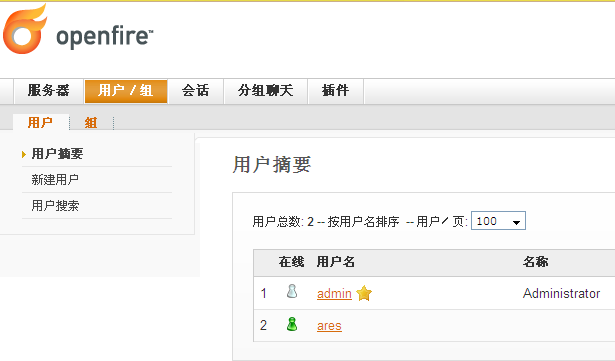
32、使用创建的账号登陆Spark,登陆成功可在Openfire管理控制台的用户组看到新注冊的用户和在线状态

Openfire开发配置,Openfire源码配置,OpenFire二次开发配置
原文:http://www.cnblogs.com/mengfanrong/p/4296468.html